ELECTRICAL SYSTEM
3-38
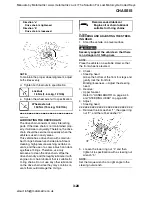
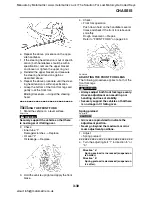
9. Install:
• Headlight bulb cover
10. Connect:
• Headlight bulb coupler (high beam)
11. Install:
• Intake air duct panel
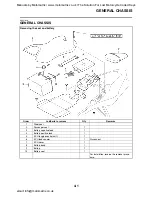
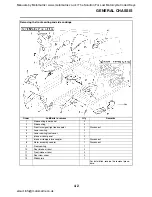
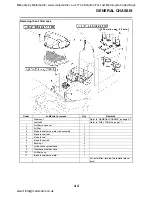
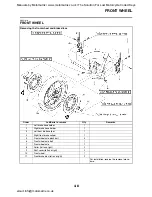
Refer to "GENERAL CHASSIS" on page 4-
1.
EAS21810
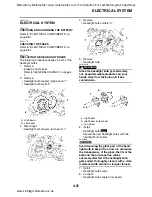
ADJUSTING THE HEADLIGHT BEAMS
The following procedure applies to both of the
headlights.
1. Remove:
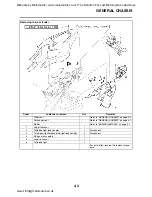
Front cowling inner panels
Refer to "GENERAL CHASSIS" on page 4-
1.
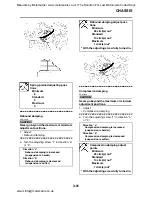
2. Adjust:
• Headlight beam (vertically)
▼▼▼▼▼▼▼▼▼▼▼▼▼▼▼▼▼▼▼▼▼▼▼▼▼▼▼▼▼▼
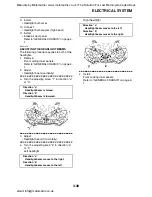
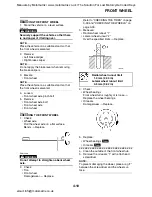
a. Turn the adjusting screw “1” in direction “a”
or “b”.
▲▲▲▲▲▲▲▲▲▲▲▲▲▲▲▲▲▲▲▲▲▲▲▲▲▲▲▲▲▲
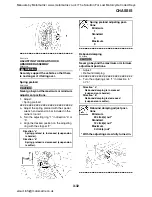
3. Adjust:
• Headlight beam (horizontally)
▼▼▼▼▼▼▼▼▼▼▼▼▼▼▼▼▼▼▼▼▼▼▼▼▼▼▼▼▼▼
a. Turn the adjusting knob “2” in direction “a”
or “b”.
Left headlight
Right headlight
▲▲▲▲▲▲▲▲▲▲▲▲▲▲▲▲▲▲▲▲▲▲▲▲▲▲▲▲▲▲
4. Install:
Front cowling inner panels
Refer to "GENERAL CHASSIS" on page 4-
1.
Direction “a”
Headlight beam is raised.
Direction “b”
Headlight beam is lowered.
Direction “a”
Headlight beam moves to the right.
Direction “b”
Headlight beam moves to the left.
Direction “a”
Headlight beam moves to the left.
Direction “b”
Headlight beam moves to the right.
Manuals by Motomatrix / www.motomatrix.co.uk / The Solution For Lost Motorcycle Coded Keys
email: [email protected]

