ENGINE
3-20
EAS21120
CHECKING THE COOLING SYSTEM
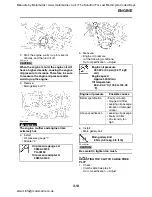
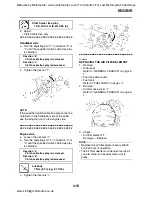
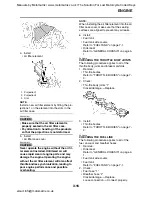
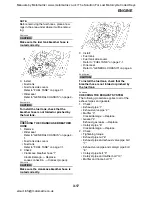
1. Remove:
• Lower cowlings
• Side cowling
Refer to "GENERAL CHASSIS" on page 4-
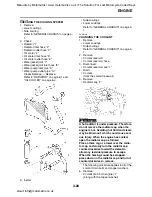
1.
2. Check:
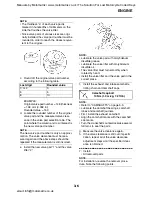
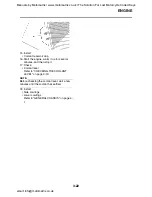
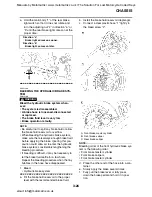
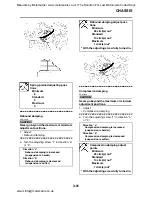
• Radiator “1”
• Radiator inlet hose “2”
• Radiator outlet hose “3”
• Oil cooler “4”
• Oil cooler inlet hose “5”
• Oil cooler outlet hose “6”
• Water jacket joint “7”
• Water jacket joint inlet hose “8”
• Water pump inlet pipe “9”
• Water pump outlet pipe “10”
Cracks/damage
→
Replace.
Refer to "RADIATOR" on page 6-1 and
"OIL COOLER" on page 6-4.
3. Install:
• Side cowlings
• Lower cowlings
Refer to "GENERAL CHASSIS" on page 4-
1.
EAS21130
CHANGING THE COOLANT
1. Remove:
• Lower cowlings
• Side cowlings
Refer to "GENERAL CHASSIS" on page 4-
1.
2. Remove:
• Coolant reservoir
• Coolant reservoir hose
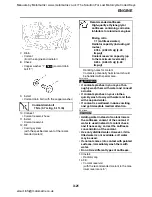
3. Disconnect:
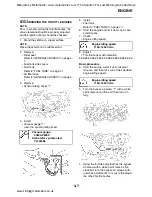
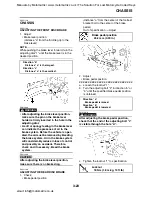
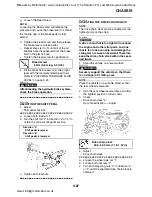
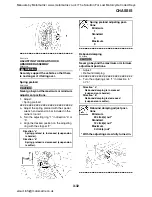
• Coolant reservoir cap “1”
4. Drain:
• Coolant
(from the coolant reservoir)
5. Remove:
• Radiator cap “2”
WARNING
EWA13030
A hot radiator is under pressure. Therefore,
do not remove the radiator cap when the
engine is hot. Scalding hot fluid and steam
may be blown out, which could cause seri-
ous injury. When the engine has cooled,
open the radiator cap as follows:
Place a thick rag or a towel over the radia-
tor cap and slowly turn the radiator cap
counterclockwise toward the detent to
allow any residual pressure to escape.
When the hissing sound has stopped,
press down on the radiator cap and turn it
counterclockwise to remove.
The following procedure applies to all of the
coolant drain bolts and copper washers.
6. Remove:
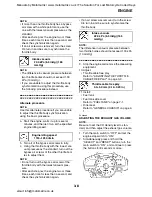
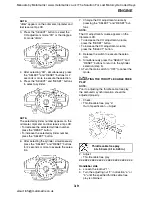
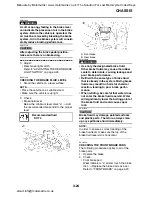
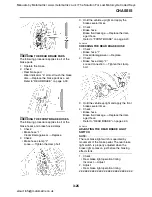
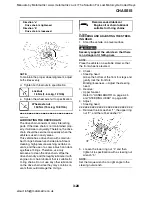
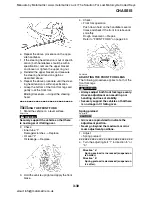
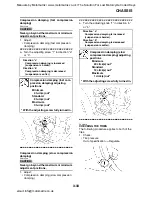
• Coolant drain bolt (engine) “1”
(along with the copper washer)
Manuals by Motomatrix / www.motomatrix.co.uk / The Solution For Lost Motorcycle Coded Keys
email: [email protected]

