CABLE ROUTING
2-50
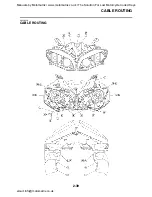
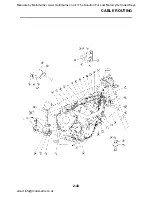
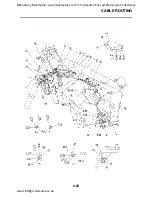
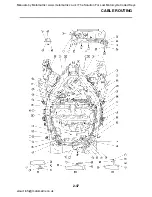
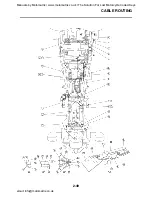
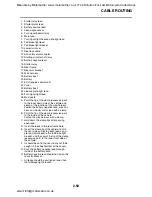
1. Starter relay lead
2. Starter motor lead
3. Battery positive lead
4. Lean angle sensor
5. Turn signal/hazard relay
6. Main fuse
7. Turn signal light/license plate light lead
8. Tail/brake light lead
9. Tail/brake light bracket
10.Lower tail cover
11.Seat lock cable
12.Anti safety alarm coupler
13.Starting circuit cut-off relay
14.Battery negative lead
15.Starter relay
16.Rear frame
17.Rear arm bracket
18.Wire harness
19.Battery box 1
20.Battery
21.ECU (engine control unit)
22.Cover
23.Battery box 2
24.License plate light lead
25.Turn signal light lead
26.Mud guard
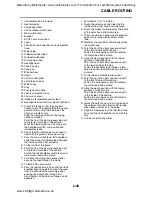
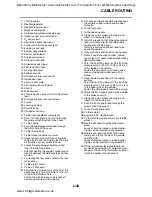
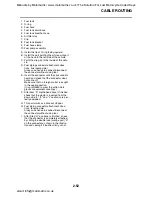
A. Point the tip of the clamp (excessive part)
to the inner down side of the vehicle and
clamp at the junction of the wire harness.
Fasten the battery negative lead, wire har-
ness and starter motor lead with a clamp.
B. Point the tip of the clamp (excessive part)
to the inside of the vehicle.
Fasten the wire harness with a clamp.
C. Hold down the clamp tips after passing
each lead.
D. Insert the leads to the rear frame hole.
E. Insert the clamp from the vehicle front to
the rear side and fasten each leads, cou-
pler and onionhead to the tail/brake light
bracket, and then point the tip of the clamp
(excessive part) to the lower front side of
the vehicle.
F. It should be set in the rear frame not to be
caught in the sheet bottom or the covers.
G. Pass the battery negative lead through
inside of the battery band.
H. Battery negative lead should not run on the
rear arm bracket.
I. All leads should be positioned lower than
the tail/brake light bracket.
Manuals by Motomatrix / www.motomatrix.co.uk / The Solution For Lost Motorcycle Coded Keys
email: [email protected]

