176
Detail program description - Control adjust
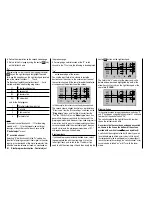
pitch setting for the hover and the maximum collective
pitch setting (point "H") now provides you with a simple
method of achieving constant system rotational speed
from hovering right through to maximum climb.
First, perform a prolonged, vertical climb by moving
the collective pitch stick to its end-point. Compared to
the hover confi guration, motor speed should remain
unchanged.
If motor speed falls off in the climb, even with the drive
system working at full power and therefore no further
power increase is possible, then reduce maximum
blade pitch angle at full defl ection of the collective
pitch stick, i.e. the value of point "H". Conversely, you
should increase the angle of attack if the motor speed
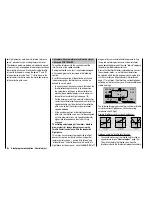
increases during the climb. On the "Pitch" graph page,
you should therefore use the collective pitch stick to
move the vertical line to point
"H"
and change its value
accordingly, using the arrow keys
on the right
touch pad.
This diagram shows only the
changes when setting the
maximum collective pitch value.
+100%
-100%
OUTPUT
2
3
4
5
1
Control travel
Hover
point
Then bring the model back to hover, which should, in
turn, be achieved with the C1 stick at its center point.
If the hover point is now achieved only by moving the
collective pitch stick from the center point towards
"higher" values, then you should compensate for this
hover deviation by slightly increasing collective pitch for
hover – i.e. for point "1" – until the model once again
hovers with stick at its center. Conversely, if the model
safety precautions applicable to handling motors
and helicopters before starting the motor for the
fi rst time!
With this basic set-up complete, the motor should
be started in accordance with the motor operating
instructions: idling can then be confi gured using the trim
lever of the throttle/collective pitch stick. The idle position
that you set is displayed on the transmitter's basic
display by a horizontal bar alongside the display of the
C1 trim lever position. Refer to the description of digital
trim on page 54 of this manual.
The model should lift off the ground with the collective
pitch stick roughly at its center point and hover roughly
at the expected rotational speed. If this is not the case,
proceed as follows:
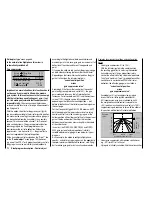
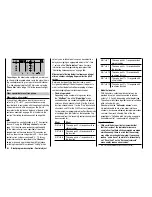
1. The model does not lift off until the collective
pitch stick is above the center point.
a) Rotational speed is too low
Remedy: On the graph
page of the
"C1
throttle
", increase the
value for point "1".
+100%
-100%
OUTPUT
2
3
4
5
1
Control travel
Hover
point
b) Rotational speed istoo
high
Remedy: Increase the
blade angle of attack pitch
by increasing the value
of point "1" on the "
Pitch
"
graph page.
+100%
-100%
OUTPUT
2
3
4
5
1
Control travel
Hover
point
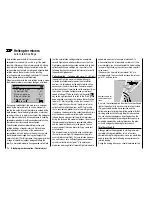
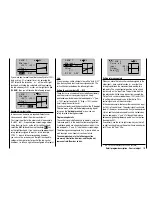
2. The model lifts off before the center point is
reached.
a) Rotational speed is too
high
Remedy: Decrease the
carburetor opening by
reducing the value of point
"1" on the graph page of
the
"C1
throttle"
.
+100%
-100%
OUTPUT
2
3
4
5
1
Control travel
Hover
point
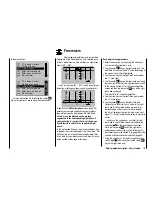
b) Rotational speed is too low
Remedy: Decrease the
blade angle of attack pitch
by reducing the value of
point "1" on the "
Pitch
"
graph page.
+100%
-100%
OUTPUT
2
3
4
5
1
Control travel
Hover
point
Important:
These settings must be reconfi gured until the model
hovers at the correct rotational speed with the throttle/
collective pitch stick at its center point. The confi guration
of all other model parameters depends on these settings
being made correctly!
Standard set-up
Standard set-up is completed on the basis of the basic
set-up described above, whereby the model hovers
in normal fl ight at the correct rotational speed with
the throttle/collective pitch stick set to its center point:
This means a set-up with which your model is capable
of hovering and fl ying circuits in all phases while
maintaining a
constant rotational speed
.
Climb settings
The combination of throttle hover setting, collective
Summary of Contents for mx-20 Hott
Page 41: ...41 Your notes...
Page 49: ...49 Your notes...
Page 55: ...55 Your notes...
Page 81: ...81 Your notes...
Page 85: ...85 Your notes...
Page 89: ...89 Your notes...
Page 99: ...99 Detail program description Control adjust...
Page 127: ...127 Detail program description Control adjust...
Page 131: ...131 Detail program description Control adjust...
Page 163: ...163 Detail program description Control adjust...
Page 191: ...191 Detail program description Control adjust...
Page 207: ...207 Detail program description Control adjust...
Page 228: ...228 Detail program description Control adjust...
Page 229: ...229 Detail program description Control adjust...
Page 251: ...251 Detail program description Control adjust...


