254
Detail program description - Control adjust
Servos running in parallel
A second servo running in parallel is often required,
such as when brake fl aps or spoilers installed in the
wings or the left and right elevator or a double fi n should
be actuated by a servo or a large rudder fl ap should
be simultaneously controlled by two servos due to high
throw forces.
In principle, this task could also be solved by connecting
the servos together on the model side using V-cable.
However, this has the disadvantage that the servos
combined in this manner can no longer be adjusted
individually and separately from the transmitter – the
advantage of a fi nely tuned adjustment of the respective
servos to one another by a computer remote steering
system would no longer be provided. This is similar
for the so-called "Channel Mapping" described in the
scope of the "
Telemetry
" menu: In comparison to the
adjustment possibilities of the transmitter, there are also
limitations with this process.
The fi rst example, therefore, describes the coupling of
two brake or spoiler servos, the second describes the
operation of two or more throttle servos and the third
describes the coupling of two elevator servos.
The "two rudder servos" example on the next page
describes the coupling of two rudder servos, whereas
Variant 1 is preferable for applications of this type,
because with the use of a "
cross-mixer
", because this
is quicker and easier to program. Contrary to this, the
second variant, also permits asymmetric and/or non-
linear curves with the use of the "
Free mixer
" menu.
Two brake or spoiler servos
For the operation of your brake fl aps and/or spoilers in
each wing half you have installed a servo and kept the
default linear control characteristics unchanged in the
"
Channel 1 curve
" menu.
Then connect one of the two servos to Output 1,
provided for this purpose by standard, and the second
to an arbitrary free receiver connection 5 ... 12, such as
Output "8". Now switch to the menu …
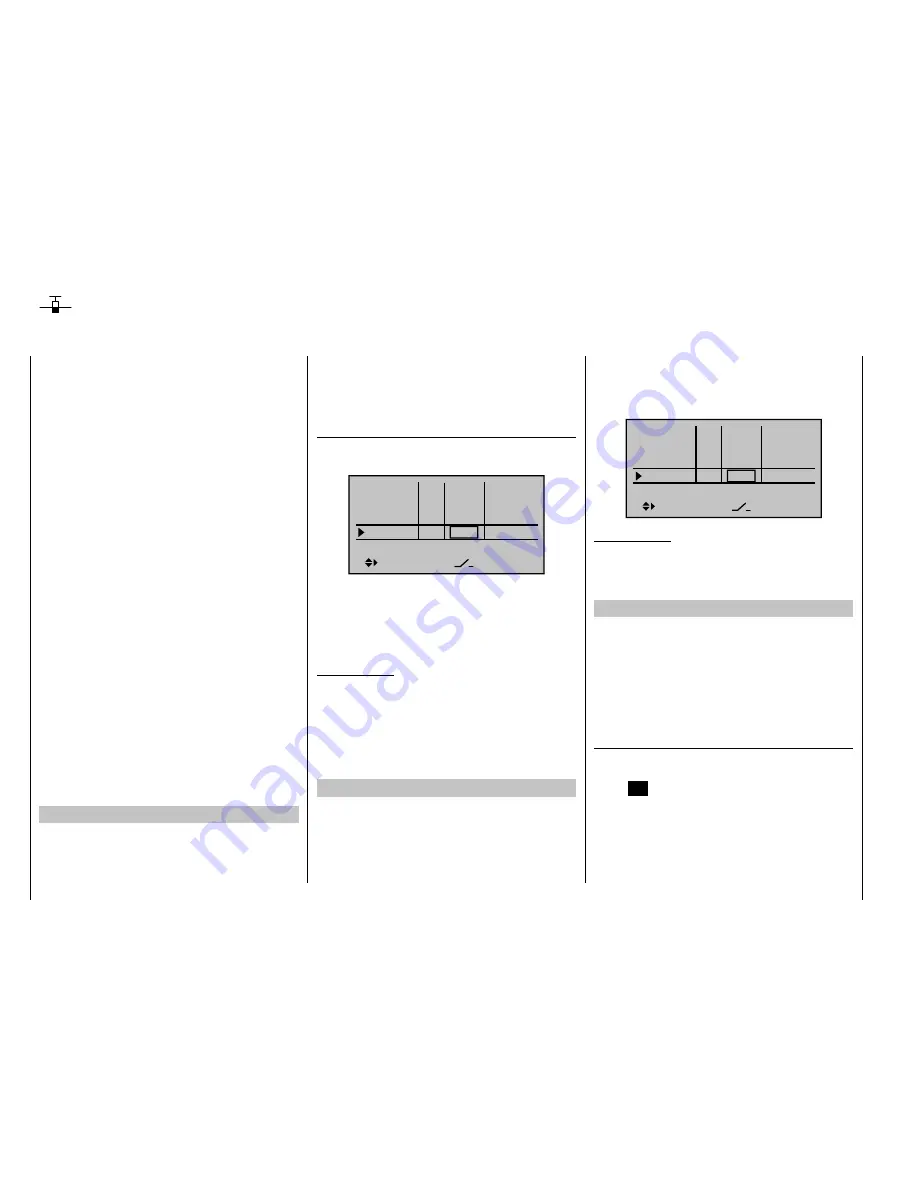
" Control adjust"
(page 96)
… and, using the arrow keys, assign the "Control 1" in
the line of Input 8:
Input 5
offset
0%
0%
0%
–––
0%
Input 6
Input 7
Input 8
–––
–––
GL
GL
GL
GL
typ
Ct1
Leave the standard settings for the remaining values.
If necessary, carry out the required servo travel
adjustments in the "
Servo adjustment
" menu. There
you can also adjust the travel of servo 1 and 8 to one
another, if necessary.
Important notice:
If you have defi ned fl ight phases in the "
Phase setting
"
and "
Phase assignment
" menus, the settings must be
made in the same manner for each active fl ight phase.
Otherwise, you may wonder why only one spoiler can
be moved as intended and the other remains in its half
extended position …
Multiple-motor aircraft
As described above, a model can also be operated with
two or more motors.
The fi rst throttle servo and/or the fi rst motor control is
connected as usual to (receiver) Output 1 and each
additional throttle servo and/or each additional motor
control is connected to a free (receiver) Output 5 ...
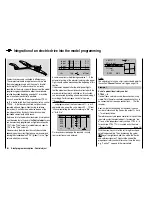
12. The inputs of the corresponding assigned control
channels are then each assigned to Control 1; for
example :
Input 8
offset
0%
0%
0%
0%
Input 9
Input10
Input11
GL
GL
GL
GL
typ
Ct1
Ct1
Ct1
Ct1
Important notice:
Since the motor control unit should be available
regardless of a currently active fl ight phase, make sure
to leave the standard default "GL" in the "Type" column.
Two elevator servos
Two elevator servos should be switched in parallel.
According to the receiver assignment plan, see page 57,
the receiver output 8 is intended for the connection of
the second elevator servo.
This would be taken into account on the software side in
the preconfi guration of a corresponding mixer. You can
fi nd this in the ...
"Model type" menu
(page 82)
In this menu switch to the "Tail" line using the arrow
keys, activate the value fi eld by briefl y pressing the
central
SET
key of the right key pad and select the entry
"8":
Summary of Contents for mx-20 Hott
Page 41: ...41 Your notes...
Page 49: ...49 Your notes...
Page 55: ...55 Your notes...
Page 81: ...81 Your notes...
Page 85: ...85 Your notes...
Page 89: ...89 Your notes...
Page 99: ...99 Detail program description Control adjust...
Page 127: ...127 Detail program description Control adjust...
Page 131: ...131 Detail program description Control adjust...
Page 163: ...163 Detail program description Control adjust...
Page 191: ...191 Detail program description Control adjust...
Page 207: ...207 Detail program description Control adjust...
Page 228: ...228 Detail program description Control adjust...
Page 229: ...229 Detail program description Control adjust...
Page 251: ...251 Detail program description Control adjust...


