189
Detail program description - Control adjust
+35%
–30%
2
nor mal
Kur ve
8
10
–30%
Trim offset
Input
Output
Point
C.MIX 9
+35%
–80%
2
nor mal
Kur ve
8
10
–80%
Trim offset
Input
Output
Point
C.MIX 9
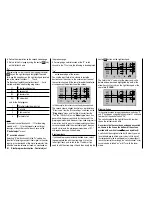
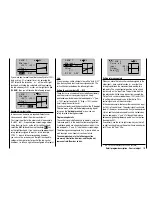
You can also exit from this function by tapping the center
ESC
key on the left touch pad.
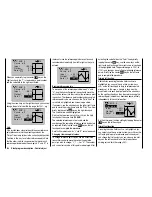
Trim x-axis function
This function is activated by tapping the left (
) or right
(
) arrow key on the right touch pad with an active
(i. e. highlighted) value fi eld. You can then use the arrow
keys on the right touch pad to reposition the active point
horizontally or vertically as you wish.
0%
–55%
?
nor mal
Kur ve
aus
8
10
–55%
Trim X-axis
Input
Output
Point
C.MIX 9
Notes:
If you reposition the point horizontally further away
•
from the current control position than approx. ±25%,
a "?" sign re-appears in the line. This question mark
does not refer to the repositioned point, however:
instead, it signifi es that a further point can be set at
the current control position.
Please note that the percentage value on the
•
"Output" line always relates to the current joystick
position and not to the position of the point.
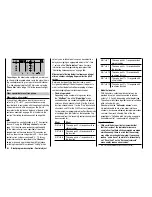
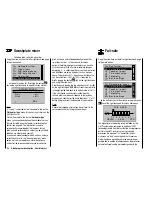
Smoothing the curve
This "jagged" curve profi le can be smoothed
automatically simply by pressing a button.
Then use the arrow keys on the left or right touch pad
to move the marker frame in an upwards direction to the
"Curve" line, as required. Now briefl y tap the center
SET
key on the right touch pad to activate the value fi eld on
the "Curve" line:
0%
–12%
nor mal
8
10
0%
Input
Output
Point
C.MIX 9
Cur ve
off
Use the arrow keys on the right touch pad to set the
curve value from "off" to "on" and complete this setup
procedure by briefl y tapping the center
SET
key on the
right touch pad or the center
ESC
key on the left touch
pad:
0%
–12%
?
nor mal
8
10
0%
Input
Output
Point
C.MIX 9
Cur ve
on
Note:
The curves shown here are for demonstration purposes
only and are not at all representative of real mixer
curves. For real-world application examples, see the
programming examples on pages 242 and 285.
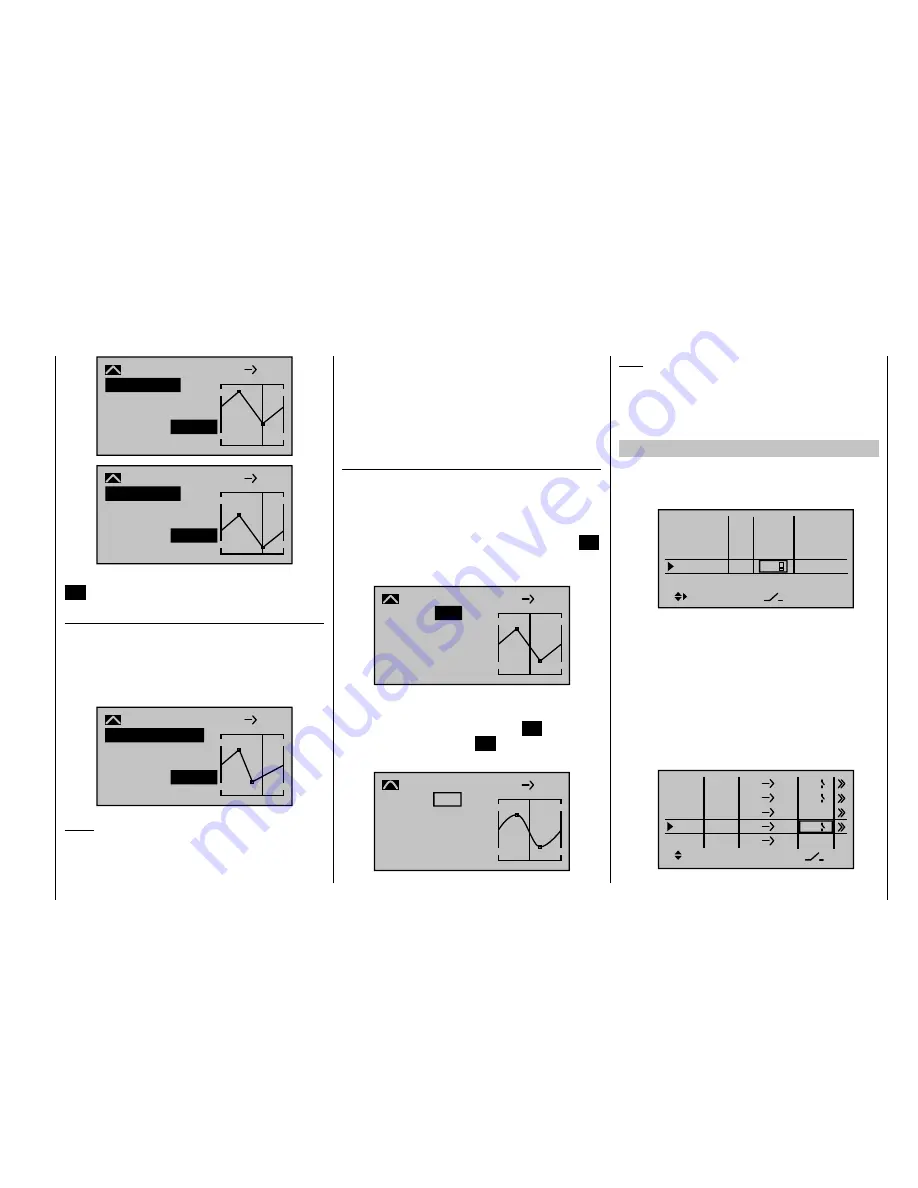
Examples:
To open and close an aero-tow, the switch SW 2 has
1.
already been assigned to control channel 8 on the
"Control adjust"
menu:
Input 5
offset
0%
0%
0%
–––
0%
Input 6
Input 7
Input 8
–––
–––
GL
GL
GL
GL
typ
nor mal
2
Subsequent aero-tow fl ying has proven that you
always have to fl y with the up-elevator held slightly in
during the tow. The solution will be to set up a mixer
that applies slight up-elevator trim to the elevator
servo connected to receiver output 3 when the aero-
tow release is closed. The screen-shot will be familiar
from page 182: here, the fourth linear mixer has been
set up for this function, with the switch channel "S"
as mixer input: Move the selected switch to the OFF
position and then switch …
ty
fr
to
M1
M2
M3
6
EL
C1
EL
M4
M5
3
8
S
EL
??
??
Tr
C4
4
2
Summary of Contents for mx-20 Hott
Page 41: ...41 Your notes...
Page 49: ...49 Your notes...
Page 55: ...55 Your notes...
Page 81: ...81 Your notes...
Page 85: ...85 Your notes...
Page 89: ...89 Your notes...
Page 99: ...99 Detail program description Control adjust...
Page 127: ...127 Detail program description Control adjust...
Page 131: ...131 Detail program description Control adjust...
Page 163: ...163 Detail program description Control adjust...
Page 191: ...191 Detail program description Control adjust...
Page 207: ...207 Detail program description Control adjust...
Page 228: ...228 Detail program description Control adjust...
Page 229: ...229 Detail program description Control adjust...
Page 251: ...251 Detail program description Control adjust...


