100
Detail program description - Control adjust
Control adjust
Basic procedure for transmitter control and switch assignment
Ser vo adjustment
Dual Rate / Expo
Stick mode
Channel 1 cur ve
Switch display
Control adjust
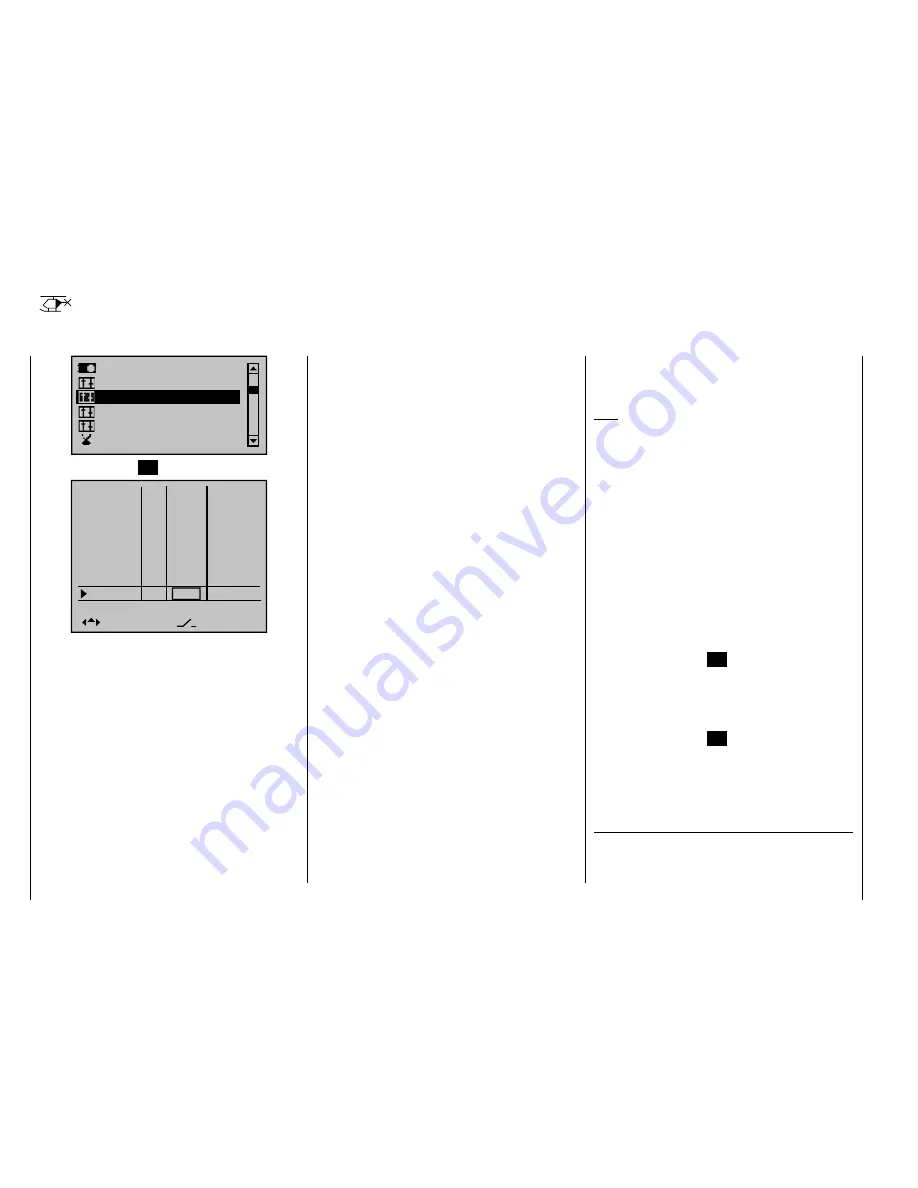
Briefl y tap the center
SET
key on the right touch pad:
Input 5
offset
0%
0%
0%
Throt
Gyro
Input 8
–––
–––
–––
6
7
Input 9
Input10
Input11
Th.L.12
–––
–––
–––
Ct6
0%
0%
0%
0%
0%
–––
GL
GL
GL
GL
GL
GL
GL
GL
typ
In addition to the two dual axis sticks for control
functions 1 to 4, the
mx-20
HoTT transmitter is
equipped with other controls as standard:
Two 3-stage switches: SW 4/5 and CTRL 9, plus SW
•
6/7 and CTRL 10. On this menu, these are assigned
as "Ct9" and "Ct10".
Three proportional rotary controls: CTRL 6, 7 and 8.
•
Named as "Ct6", "Ct7" and "Ct8" on this menu.
Three 2-stage switches: SW 2, 3 and 8. Labeled
•
accordingly as "2", "3" and "8" on the menu. A switch
icon indicating the switch direction is also shown.
Two push-button switches: SW 1 and SW 9.
•
Displayed as with the preceding switches, "1" and "9"
with a switch icon indicating the switch direction.
Even with a newly-initialized model memory for the
"Helicopter" model type, the two dual axis sticks will – in
the absence of further confi guration – infl uence only
those servos connected to receiver outputs 1 … 4 and
6. Unlike these, the "additional" transmitter controls
mentioned above are theoretically inactive at fi rst. (The
exception here is the CTRL 6 proportional rotary control
(throttle limiter), which also affects servo 6.)
One of the effects of this is that (as mentioned back
on page 20 ) with a factory-fresh unit, only the servos
connected to receiver outputs 1 … 4 and –depending on
the position of the throttle limiter– servo 6 can be moved
using the two joysticks. (This also applies following
the initialization of a new model memory with the
"Helicopter" model type and its "binding" to the receivers
to be installed in the model.) The servos connected
to slots 5, 7 and 8, on the other hand, will simply stay
"stuck" at their center points.
While this may appear more than a little awkward at
fi rst glance … this is the only way to ensure that you
can select any of the "additional" transmitter controls
as you wish and, in addition, do not need to waste time
"disabling" control elements you do not require. This is
because
the only way to ensure an unwanted control element
has no effect on your model, even if operated by
accident, is to make it inactive, i.e. unassigned to a
function.
You can therefore use this "
Control adjust
" menu
exactly as you wish, to assign the "additional" control
elements as you want to any required function input; for
further details, see page 50. Equally, this also means
that you can assign individual transmitter controls to
multiple functions at the same time, if required. As an
example: the exact same rocker switch SW X that you
assign to an input on this menu can simultaneously be
assigned to "Timers" on the
"Timers (general)"
menu
as an "On/Off" switch, etc.
Note:
As a rule, input 6 must kept "free" for a helicopter model.
On this, see "Throttle" on the next double page.
Furthermore, if fl ight phases have been defi ned on
the "
Phase settings
" menu (page
128
) and "
Phase
assignment
" menu (page 134), then
all
inputs must be
set either as global or fl ight phase-specifi c. The names
assigned to each of these fl ight phases are then shown
in the bottom line of the screen display, e. g. "Normal".
Basic procedure
Using the arrow keys
1.
on the left or right touch
pad, select the input you want: Input 5, Throt 6, Gyro
7, Input 8 … 11 or Th.L.12.
If necessary, use the arrow keys
2.
on the left or
right touch pad to select the column you want.
Briefl y tap the center
3.
SET
key on the right touch pad.
The corresponding input fi eld is shown highlighted.
Activate your chosen transmitter control or use
4. the
arrow keys on the right touch pad to set your chosen
value.
Briefl y tap the center
5.
SET
key on the right touch pad
to complete data entry.
If you
6. tap
the
or
keys on the right touch
pad at the same time (
CLEAR
), this will reset any
settings made back to their respective default values.
Column 2, "typ"
Similarly to the "
Stick mode
" menu described
previously, this column can be used to defi ne whether
further settings for the input in question are to have a
Summary of Contents for mx-20 Hott
Page 41: ...41 Your notes...
Page 49: ...49 Your notes...
Page 55: ...55 Your notes...
Page 81: ...81 Your notes...
Page 85: ...85 Your notes...
Page 89: ...89 Your notes...
Page 99: ...99 Detail program description Control adjust...
Page 127: ...127 Detail program description Control adjust...
Page 131: ...131 Detail program description Control adjust...
Page 163: ...163 Detail program description Control adjust...
Page 191: ...191 Detail program description Control adjust...
Page 207: ...207 Detail program description Control adjust...
Page 228: ...228 Detail program description Control adjust...
Page 229: ...229 Detail program description Control adjust...
Page 251: ...251 Detail program description Control adjust...


