17
Operating notices
Joystick length adjustment
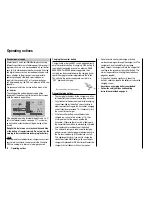
The length of both joysticks can be continuously
adjusted to adapt these transmitter controls to the pilot's
preference.
Hold the lower half of the knurled grip in place then turn
the upper section to release its counter-locked threads.
Now pull up or push down on the joystick's end to the
desired length. When the length is suitable, tighten the
counter-locked threads of the upper and lower sections
again.
Opening the transmitter housing
Carefully read the notices below before opening the
transmitter housing. It may be better if unexperienced
users ask a
Graupner
Service location to take care of
the procedures described below.
The transmitter should only be opened in the following
situations:
to convert a neutralized joystick to a non-neutralized
•
joystick or a non-neutralized joystick to a neutralized
joystick.
to adjust joystick return tension.
•
Switch off the transmitter before opening its cover
(power switch to "
OFF
").
Open the battery compartment as described on the
previous double-page, remove the battery and if a micro
SD card is inserted be sure to remove it too.
Once the battery and any micro SD card have been
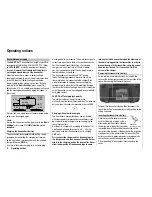
removed, loosen the six countersunk screws on the rear
of the transmitter with a Phillips, size PH1, screwdriver,
see illustration.
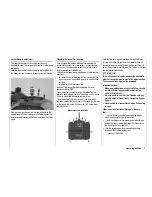
Housing screw locations
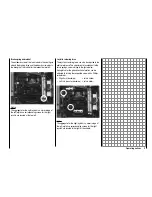
Hold the two housing sections together by hand then
turn the transmitter upright over a suitable surface so
these 6 screws can fall out without getting lost. Now lift
up on the backplate carefully and turn it open to the right
like you would open a book.
A T T E N T I O N:
Two multi-conductor cables connect the backplate
with the transmitter electronics in the upper section.
These connections must not be damaged.
Important notices:
Make no modifi cations of any kind to the circuitry
•
as this will void the guarantee as well as the
unit's offi cial permit.
Be sure not to touch the circuit boards with any
•
metallic objects. Do not touch contacts with your
fi ngers.
Never switch the transmitter on when its housing
•
is open.
When you close the transmitter again, be sure
that …
… no cables are caught between housing edges
•
when the backplate is put into position.
… both housing parts are properly seated with one
•
another before screwing them together. Never force
the housing sections together.
Turn the screws down into the existing housing
•
threads without stripping them out.
… reconnect the battery.
•
Summary of Contents for mx-20 Hott
Page 41: ...41 Your notes...
Page 49: ...49 Your notes...
Page 55: ...55 Your notes...
Page 81: ...81 Your notes...
Page 85: ...85 Your notes...
Page 89: ...89 Your notes...
Page 99: ...99 Detail program description Control adjust...
Page 127: ...127 Detail program description Control adjust...
Page 131: ...131 Detail program description Control adjust...
Page 163: ...163 Detail program description Control adjust...
Page 191: ...191 Detail program description Control adjust...
Page 207: ...207 Detail program description Control adjust...
Page 228: ...228 Detail program description Control adjust...
Page 229: ...229 Detail program description Control adjust...
Page 251: ...251 Detail program description Control adjust...


