


Chapter 6: Using the Web Interface
270
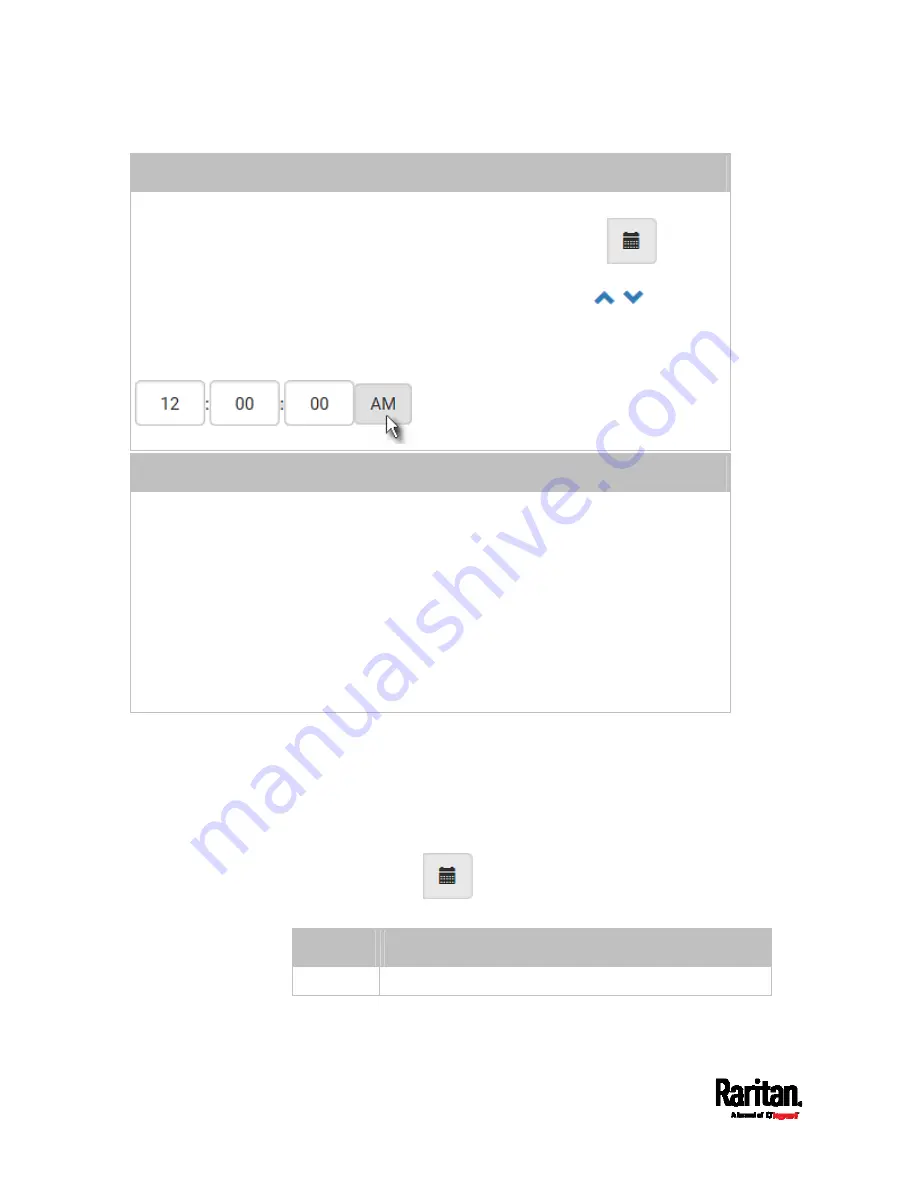
Customize the date and time
Select User Specified Time.
Type values in the Date field using the yyyy-mm-dd format, or click
to select
a date. For details, see
Calendar
(on page 270).
Type values in the Time field using the hh:mm:ss format, or click
to adjust
values.
The time is measured in 12-hour format so you must correctly specify AM or PM
by clicking the AM or PM button.
Use the NTP server
Select "Synchronize with NTP Server."
There are two ways to assign the NTP servers:
To use the DHCP-assigned NTP servers, DO NOT enter any NTP servers for the
First and Second NTP Server.
DHCP-assigned NTP servers are available only when either IPv4 or IPv6 DHCP is
enabled.
To use the manually-specified NTP servers, specify the primary NTP server in
the First Time Server field. A secondary NTP server is optional.
Click Check NTP Servers to verify the validity and accessibility of the
manually-specified NTP servers.
5.
Click Save.
The PX3 follows the NTP server sanity check per the IETF RFC. If your
PX3 has problems synchronizing with a Windows NTP server, see
Windows NTP Server Synchronization Solution
(on page 271).
Calendar
The calendar icon
in the Date field is a convenient tool to select
a custom date. Click it and a calendar appears.
Button
Function
arrows
Switch between months.
Summary of Contents for PX3-1000 series
Page 5: ......
Page 92: ...Chapter 4 Connecting External Equipment Optional 70...
Page 668: ...Appendix J RADIUS Configuration Illustration 646 Note If your PX3 uses PAP then select PAP...
Page 673: ...Appendix J RADIUS Configuration Illustration 651 14 The new attribute is added Click OK...
Page 674: ...Appendix J RADIUS Configuration Illustration 652 15 Click Next to continue...