Chapter 3: Initial Installation and Configuration
28
2.
Retrieve the DHCP-assigned IPv4 address. Use the front panel LCD
display to retrieve it. See
Device Info
(on page 111).
3.
Launch a web browser to configure the PX3. See
Login
(on page
Configuration using a connected computer:
1.
Connect the PX3 to a computer. See
Connecting the PX3 to a
Computer
(on page 28).
2.
Use the connected computer to configure the PX3 via the command
line or web interface.
Command line interface: See
Initial Network Configuration via
CLI
(on page 32).
Web interface: Launch the web browser on the computer, and
type the link-local IP address or
pdu.local to access the PX3. See
Login
(on page 127).
For link-local IP address retrieval, see
Device Info
(on page 111).
Tip: To configure a number of PX3 devices quickly, see
Bulk
Configuration Methods
(on page 37).
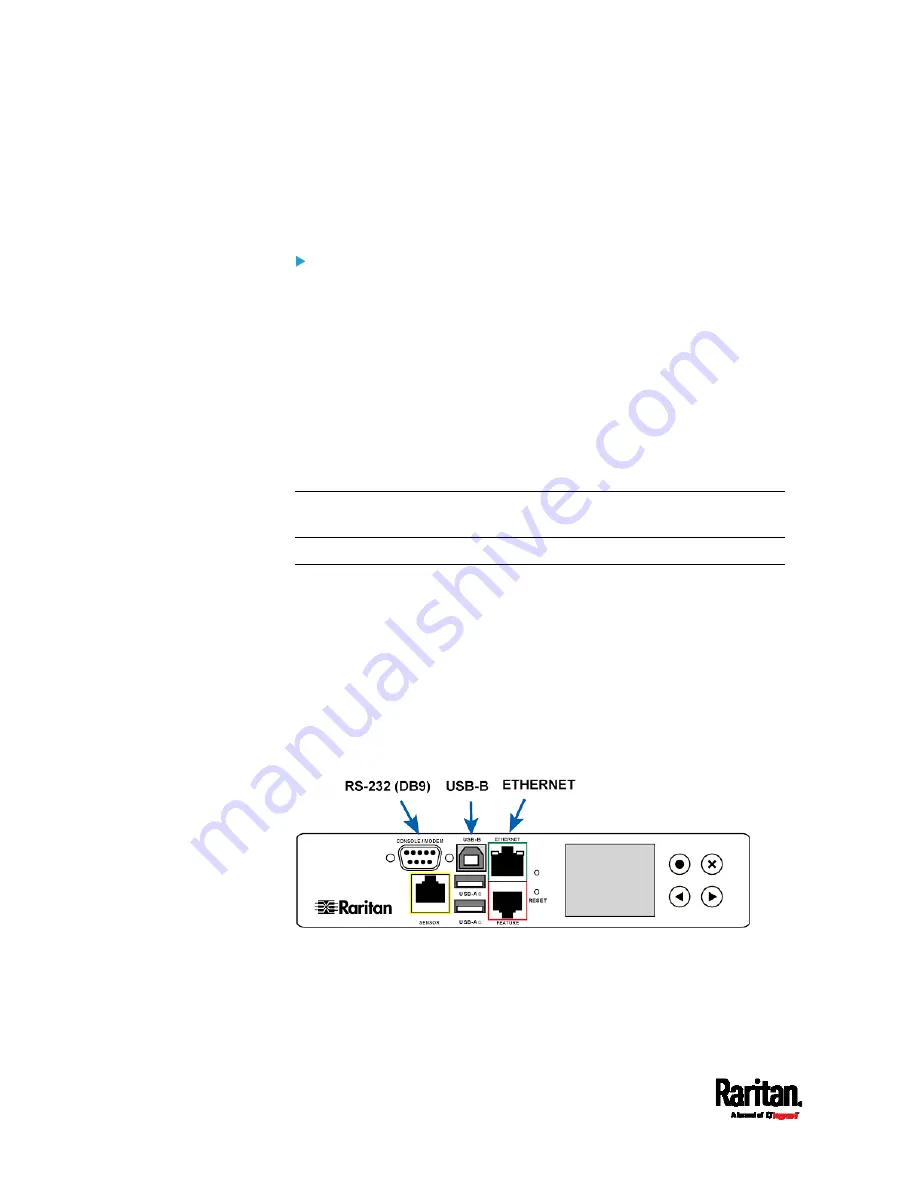
Connecting the PX3 to a Computer
The PX3 can be connected to a computer for configuration via one of the
following ports.
USB-B port (male)
ETHERNET port (female)
RS-232 serial port (model dependent -- male DB9 or female RJ-45
connector)
Note that the port locations on your models may differ.
PX3 models:
Summary of Contents for PX3-1000 series
Page 5: ......
Page 92: ...Chapter 4 Connecting External Equipment Optional 70...
Page 668: ...Appendix J RADIUS Configuration Illustration 646 Note If your PX3 uses PAP then select PAP...
Page 673: ...Appendix J RADIUS Configuration Illustration 651 14 The new attribute is added Click OK...
Page 674: ...Appendix J RADIUS Configuration Illustration 652 15 Click Next to continue...


