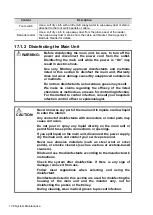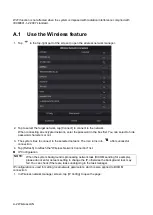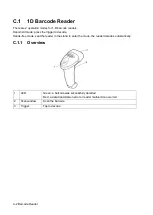
System Maintenance 17-7
17.1.5 Checking Appearance
Check if there are any cracks in the covers:
Ultrasound system covers
Probe appearance.
External appearance of the ECG lead.
17.1.6 System Hard Drive Backup
To prevent deterioration or loss of data stored in the system hard drive (including patient info data,
preset data, etc.), create a backup copy of the hard drive at regular intervals.
17.2 Troubleshooting
If any persistent system malfunction is experienced, e.g., an onscreen error message, blank
imaging screen, absent menus, see the table below. If the failure cannot be resolved, contact the
Mindray Customer Service Department or a sales representative.
Troubleshooting Table
No.
Failure
Cause
Measure
1
The system cannot
be powered on.
Abnormal power system or
incorrect connection of the
power cord.
Check that the system is plugged in.
Check that the plug has not become
loose or dislodged from the back of
the system.
2
The display has no
output.
The interval between turning
off and restarting the system
is too short – wait at least 20
seconds.
Turn off the system and wait at least
1 minute, then restart the system.
The display brightness or
contrast may be improperly
set.
Adjust the display brightness and
contrast.
3
The touch screen
displays the
characters and
menus but no
images.
The acoustic power, gain or
TGC controls are improperly
set.
Adjust the [A.Power] control, gain or
TGC control.
Check that a probe is
connected and/or fully
connected.
Check probe connection.
The system is in frozen
status.
Unfreeze the image.
4
The image quality
is degraded
The exam mode is incorrect. Select an appropriate exam mode.
The image parameter
settings are incorrect.
Adjust the image parameters.
Summary of Contents for TE5
Page 1: ...TE7 TE5 Diagnostic Ultrasound System Operator s Manual Basic Volume ...
Page 2: ......
Page 6: ......
Page 12: ......
Page 24: ......
Page 36: ......
Page 54: ......
Page 110: ......
Page 115: ...Display Cine Review 6 5 6 Tap Return on the screen or tap Freeze to exit image compare ...
Page 120: ......
Page 124: ......
Page 156: ......
Page 174: ......
Page 192: ...12 18 Setup Select Advanced and do as follows Select MAPS and do as follows ...
Page 202: ...13 2 Probes and Biopsy C5 2s L12 4s L7 3s P4 2s L14 6s C11 3s L14 6Ns V11 3Ws P7 3Ts 7LT4s ...
Page 226: ...13 26 Probes and Biopsy NGB 034 NGB 035 ...
Page 250: ......
Page 272: ......
Page 276: ...A 4 Wireless LAN Tap Add Manually create a network profile to set ...
Page 282: ......
Page 318: ......
Page 322: ......
Page 323: ...P N 046 006959 07 1 0 ...


