Image Optimization 5-31
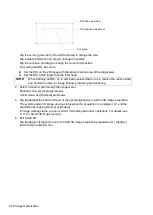
Trace ROI
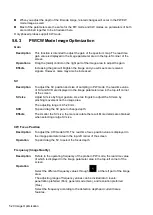
1. Tap [Trace ROI].
2. Review the image to a desired frame.
3. Move the green circle over the reference image(s) to position the circle.
4. Tap the circle to fix the starting point, and the center of the circle is set as the starting point.
5. Tap the circle to fix the other point. When a suitable ROI has been drawn, confirm the ROI by
double tapping the circle.
The system automatically links the start point to the end point by drawing a line between them.
Ellipse ROI
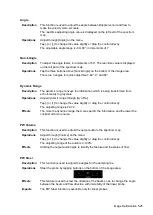
1. Tap [Ellipse ROI].
2. Review the image to a desired frame.
3. Move the green circle on the reference image. Tap the circle to fix the starting point, and the
center of the circle is set as the starting point.
4. Move the circle to the desired place. Tap the circle to fix the end point, and the center of the
circle is set as the end point.
5. Move the circle to adjust the size of the ROI. To confirm the size of the ROI, tap the circle.
Delete ROI
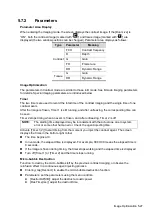
Tap [Delete All] to clear out all ROIs.
The corresponding traces for the deleted ROIs are erased from the plot.
Copy ROI
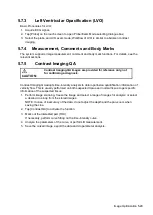
Tap [Copy ROI] to create a new ROI similar to the current or latest added ROI.
Motion Tracking
Tap [Motion Tracking] to enable the function.
This function provides a motion compensated ROI as precise time-intensity information can be
acquired using active tracking. It can enhance the calculation accuracy as reducing the impact of
probe or patient respiratory movement.
Tips: Elliptical ROIs can be positioned in any manner that keeps their center within the image
boundaries. In the case that part of the ROI is outside the image boundary, only data from within
the image boundary is used for calculating the mean intensity value.
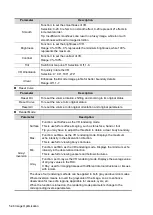
X Scale
Select [X Scale] to choose different value, so that the X scale display manner will be changed. This
function can be used to track detailed tissue information.
Export/Save Trace Data
1. Tap [Export].
2. Select the drive and enter the file name in the displayed window.
3. Select [OK] to save the data and return to the QA Analysis screen.
All displayed ROI traces are saved in the exported file.
The parameters are included in the trace file if the user has fixed a ROI.
Only data from the user selected image range is included in the exported trace file.
Summary of Contents for TE5
Page 1: ...TE7 TE5 Diagnostic Ultrasound System Operator s Manual Basic Volume ...
Page 2: ......
Page 6: ......
Page 12: ......
Page 24: ......
Page 36: ......
Page 54: ......
Page 110: ......
Page 115: ...Display Cine Review 6 5 6 Tap Return on the screen or tap Freeze to exit image compare ...
Page 120: ......
Page 124: ......
Page 156: ......
Page 174: ......
Page 192: ...12 18 Setup Select Advanced and do as follows Select MAPS and do as follows ...
Page 202: ...13 2 Probes and Biopsy C5 2s L12 4s L7 3s P4 2s L14 6s C11 3s L14 6Ns V11 3Ws P7 3Ts 7LT4s ...
Page 226: ...13 26 Probes and Biopsy NGB 034 NGB 035 ...
Page 250: ......
Page 272: ......
Page 276: ...A 4 Wireless LAN Tap Add Manually create a network profile to set ...
Page 282: ......
Page 318: ......
Page 322: ......
Page 323: ...P N 046 006959 07 1 0 ...


