System Preparation 3-3
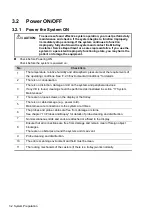
Check the system after it is powered on
Press the power button at the right side of the ultrasound system to power the system on.
Check after the system is powered on:
No.
Check Item
1
There are no unusual sounds or smells indicating possible overheating.
2
There are no persistently displayed system error messages.
3
There is no evident excessive noise, or discontinuous, absent or black items in the B
mode image.
4
Check whether there is abnormal heat on the surface of the probe during an ultrasound
procedure. If you use a probe which is giving off excessive heat, it may burn the patient.
5
The display (main screen) can respond functionally.
6
The date and time are displayed correctly.
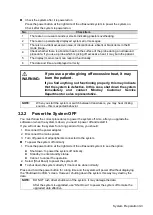
WARNING:
If you use a probe giving off excessive heat, it may
burn the patient.
If you find anything not functioning properly, this may indicate
that the system is defective. In this case, shut down the system
immediately and contact Mindray Customer Service
Department or sales representative.
NOTE:
When you start the system or switch between transducers, you may hear clicking
sounds – this is expected behavior.
3.2.2 Power the System OFF
You must follow the correct procedures to power the system off. Also, after you upgrade the
software or when the system is down, you need to power off and restart it.
If you will not use the system for a long period of time, you should:
1. Disconnect the power adapter.
2. Disconnect the mains power.
3. Turn off powers of all peripherals connected to the system.
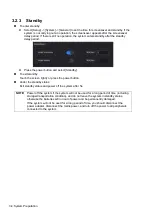
To power the system off normally
1. Press the power button at the right side of the ultrasound system to see the option:
Shut down: to power the system off normally.
Standby: to enter standby status.
Cancel: to cancel the operation.
2. Select [Shut Down] to power the system off.
To shut down the system directly if it cannot be done normally:
Press and hold the power button for a long time and the system will power off without displaying
the “Shutdown Confirm” screen. However, shutting down the system this way may destroy the
data.
NOTE:
DO NOT rush direct shutdown of the system. It may damage the data.
After the system is upgraded, use “Shut Down” to power the system off to make the
upgraded data effective.
Summary of Contents for TE5
Page 1: ...TE7 TE5 Diagnostic Ultrasound System Operator s Manual Basic Volume ...
Page 2: ......
Page 6: ......
Page 12: ......
Page 24: ......
Page 36: ......
Page 54: ......
Page 110: ......
Page 115: ...Display Cine Review 6 5 6 Tap Return on the screen or tap Freeze to exit image compare ...
Page 120: ......
Page 124: ......
Page 156: ......
Page 174: ......
Page 192: ...12 18 Setup Select Advanced and do as follows Select MAPS and do as follows ...
Page 202: ...13 2 Probes and Biopsy C5 2s L12 4s L7 3s P4 2s L14 6s C11 3s L14 6Ns V11 3Ws P7 3Ts 7LT4s ...
Page 226: ...13 26 Probes and Biopsy NGB 034 NGB 035 ...
Page 250: ......
Page 272: ......
Page 276: ...A 4 Wireless LAN Tap Add Manually create a network profile to set ...
Page 282: ......
Page 318: ......
Page 322: ......
Page 323: ...P N 046 006959 07 1 0 ...

