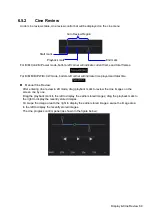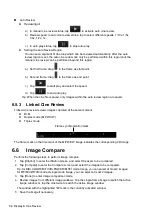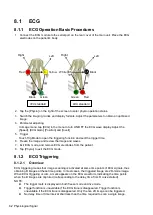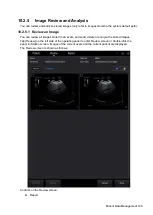
Annotations and Body Marks 9-1
9
Annotations and Body Marks
9.1 Annotations
Annotations can be added to an ultrasound image to bring attention, notate or communicate
information observed during the examination. You can add annotations to: zoomed images, cine
review images, real-time images, frozen images. You can type annotations as characters, insert
pre-defined annotations from the annotations library or insert arrow markers.
WARNING: Ensure that the entered annotations (body marks)
are correct. Incorrect annotations may lead to
misdiagnosis!
9.1.1 Annotations Basic Procedures
To enter an annotation:
1. Tap [Annotate] on the operating panel to enter annotation status as well as entering the
annotation sub-menu.
2. Tap to put the cursor over the desired location on the image area for the annotation.
3. Add a new annotation to the image in accordance with the actual situation. You can modify,
move or delete a completed annotation.
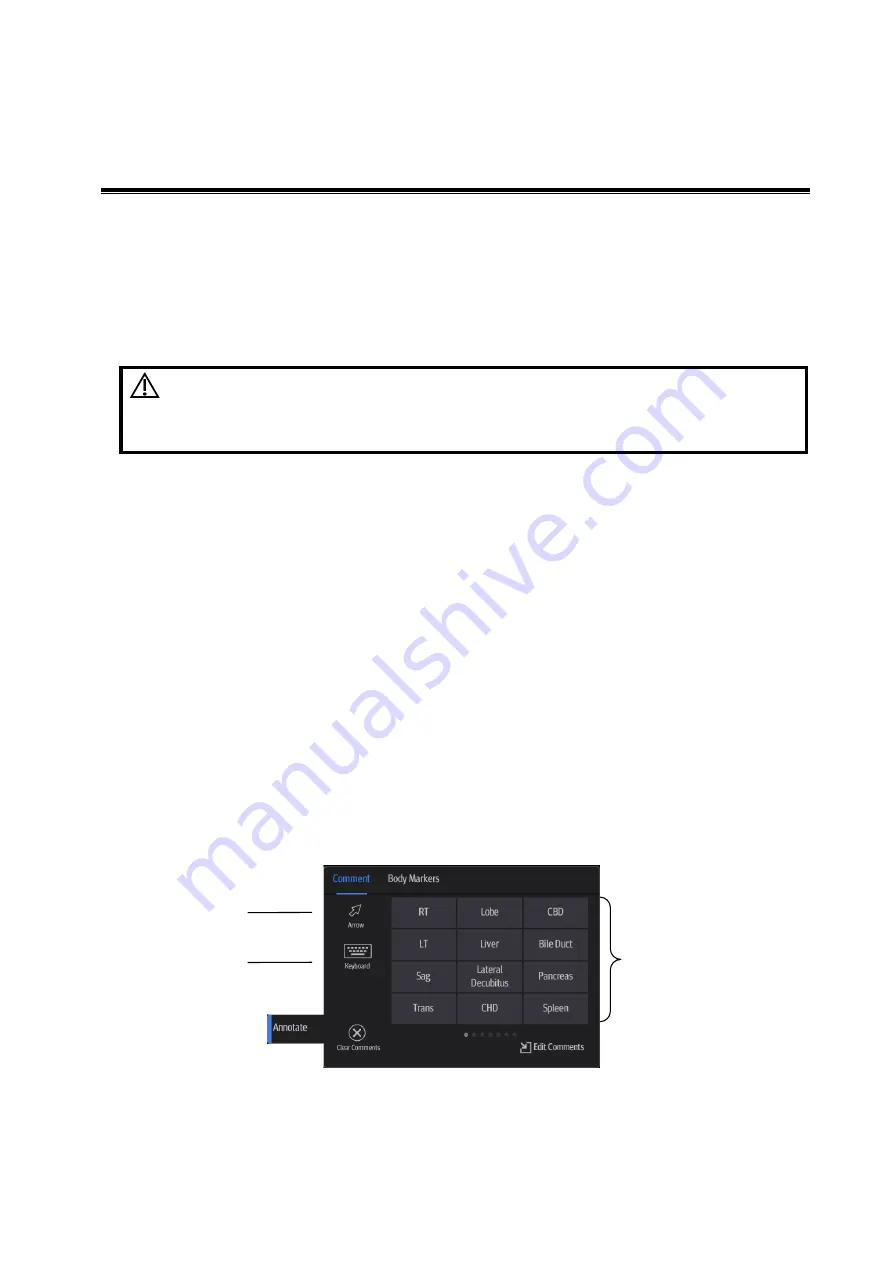
Arrow: tap [Arrow] to put an arrow on the image.
Type annotation: tap [Keyboard] to enter the text-typing status.
Select an annotation text directly from the menu.
4. Tap [Annotate] again to exit annotation status.
9.1.2
Annotation Menu
The system can be configured with annotation text libraries including Abdomen, Cardiology, GYN
(Gynecology), OB (Obstetrics), Urology, SMP (Small Part), Vascular, Nerve Blocks and emergency
medicine. In annotation status, you can enter the annotation text using the menu.
[Edit Comments]: Tap to enter comment preset page, you can add custom comments and change
comment layout. See chapter “12.2.3 Comment Preset” for details.
Adding
an arrow
Typing
annotation
Annotation text
library
Summary of Contents for TE5
Page 1: ...TE7 TE5 Diagnostic Ultrasound System Operator s Manual Basic Volume ...
Page 2: ......
Page 6: ......
Page 12: ......
Page 24: ......
Page 36: ......
Page 54: ......
Page 110: ......
Page 115: ...Display Cine Review 6 5 6 Tap Return on the screen or tap Freeze to exit image compare ...
Page 120: ......
Page 124: ......
Page 156: ......
Page 174: ......
Page 192: ...12 18 Setup Select Advanced and do as follows Select MAPS and do as follows ...
Page 202: ...13 2 Probes and Biopsy C5 2s L12 4s L7 3s P4 2s L14 6s C11 3s L14 6Ns V11 3Ws P7 3Ts 7LT4s ...
Page 226: ...13 26 Probes and Biopsy NGB 034 NGB 035 ...
Page 250: ......
Page 272: ......
Page 276: ...A 4 Wireless LAN Tap Add Manually create a network profile to set ...
Page 282: ......
Page 318: ......
Page 322: ......
Page 323: ...P N 046 006959 07 1 0 ...


