Image Optimization 5-27
5.7.2
Parameters
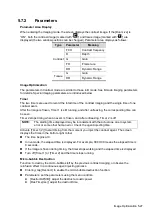
Parameter Area Display
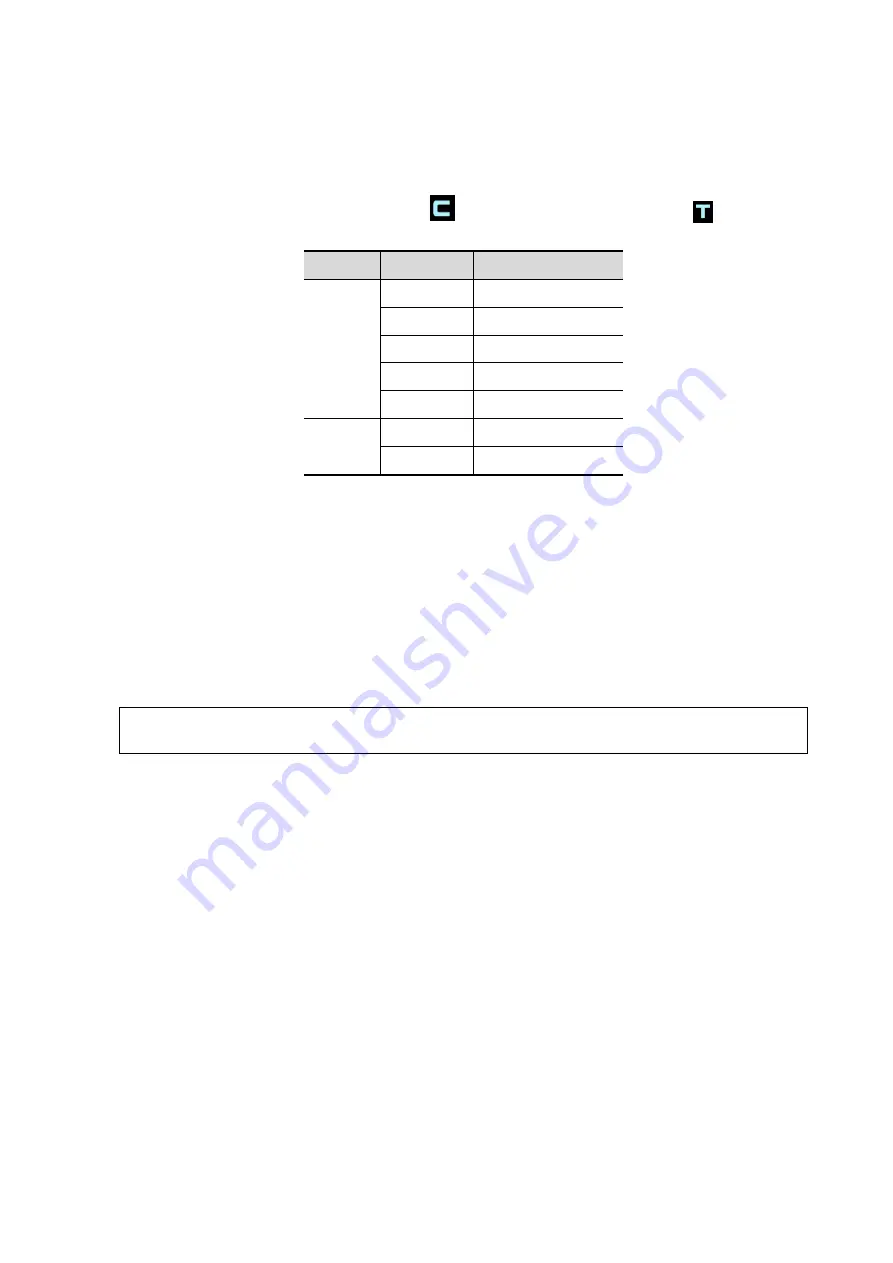
When entering the imaging mode, the screen displays the contrast image. If the [Dual Live] is
“ON”, both the contrast image (marked with “
”) and tissue image (marked with “
”) are
displayed (the two window positions can be changed). Parameter area displays as follows:
Type
Parameter
Meaning
Contrast
FC H
Contrast frequency
D
Depth
G
Gain
FR
Frame rate
DR
Dynamic Range
Tissue
G
Gain
DR
Dynamic Range
Image Optimization
The parameters in Contrast mode are similar to those in B mode. See B mode imaging parameters
for details. Special imaging parameters are introduced below.
Timer
The two timers are used to record the total time of the contrast imaging and the single time of one
contrast exam.
After the image is frozen, Timer 1 is still running, and after unfreezing, the corresponding time can
be seen.
Timer 2 stops timing when an exam is frozen, and after unfreezing, Timer 2 is off.
NOTE:
The starting time displayed may be inconsistent with the actual one due to system
error or some other human error. Check the agent-injecting time.
Activate [Timer 1(2)] to start timing from the moment you inject the contrast agent. The screen
displays the times in the bottom-right corner.
The time begins at 0.
In live mode, the elapsed time is displayed. For example, 00:00:08 means the elapsed time is
8 seconds.
If the image is frozen during timing, the timer stops working and the elapsed time is displayed.
Turn off [Timer 1] or [Timer 2] and the timer stops running.
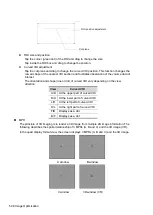
Micro-bubble Destruction
Function: to destroy the micro-bubbles left by the previous contrast imaging, or observe the
reinfusion effect in a continuous agent injecting process.
Entering: tap [Destruct] to enable the micro-bubble destruction function.
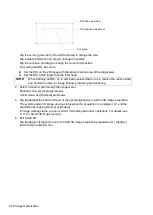
Parameters: set the parameters using the menu controls.
[DestructAP(dB)]: adjust the destruct acoustic power.
[Des.Time(ms)]: adjust the destruct time.
Summary of Contents for TE5
Page 1: ...TE7 TE5 Diagnostic Ultrasound System Operator s Manual Basic Volume ...
Page 2: ......
Page 6: ......
Page 12: ......
Page 24: ......
Page 36: ......
Page 54: ......
Page 110: ......
Page 115: ...Display Cine Review 6 5 6 Tap Return on the screen or tap Freeze to exit image compare ...
Page 120: ......
Page 124: ......
Page 156: ......
Page 174: ......
Page 192: ...12 18 Setup Select Advanced and do as follows Select MAPS and do as follows ...
Page 202: ...13 2 Probes and Biopsy C5 2s L12 4s L7 3s P4 2s L14 6s C11 3s L14 6Ns V11 3Ws P7 3Ts 7LT4s ...
Page 226: ...13 26 Probes and Biopsy NGB 034 NGB 035 ...
Page 250: ......
Page 272: ......
Page 276: ...A 4 Wireless LAN Tap Add Manually create a network profile to set ...
Page 282: ......
Page 318: ......
Page 322: ......
Page 323: ...P N 046 006959 07 1 0 ...


