Mesh to Texture
13
212
Lightscape
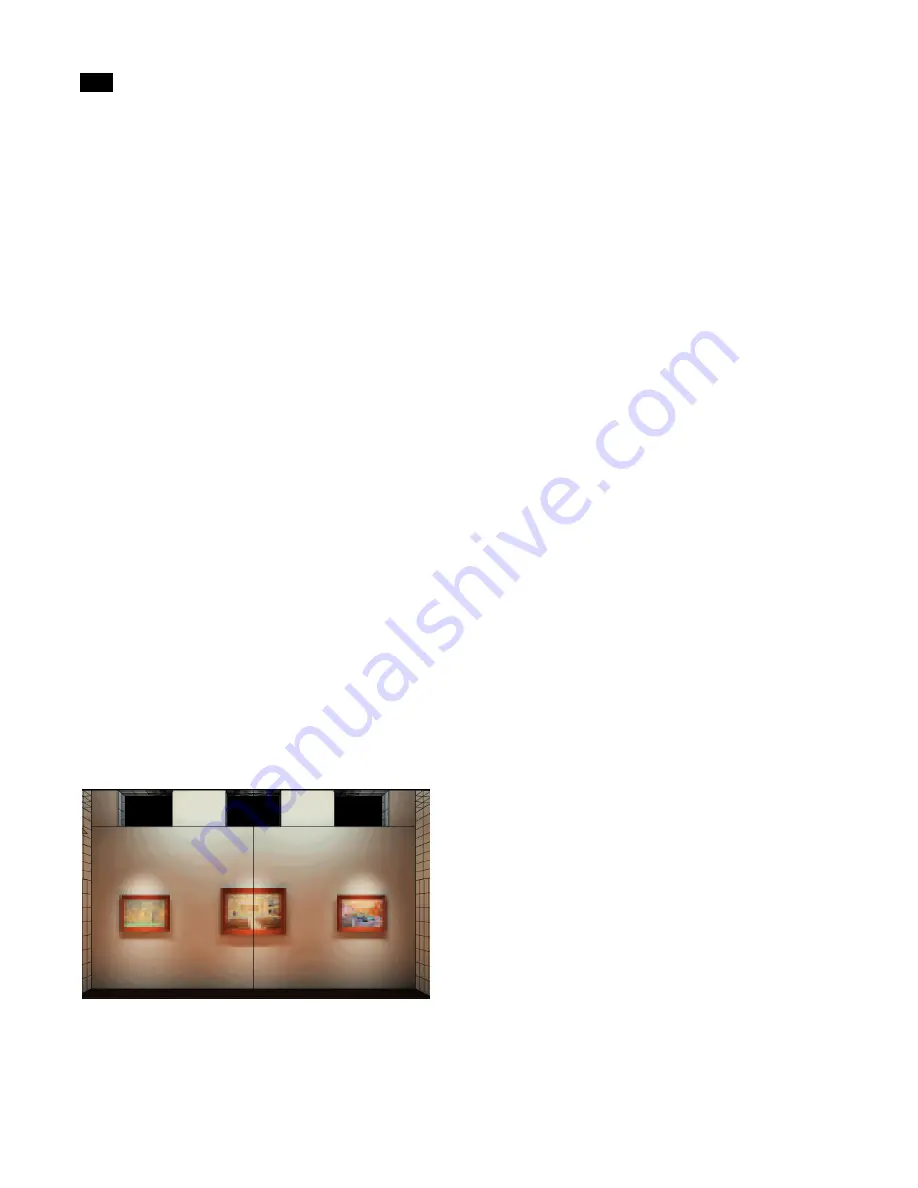
To create a texture map of the wall and pictures:
1.
Choose Tools | Mesh To Texture.
2.
Select the Project all selected geometry into one
texture option on the Method for Conversion page.
3.
Select the surfaces of the pictures and picture
frames as the first selection set (since you want to
project this geometry as a decal on the texture).
4.
Select the surfaces of the wall, including those at
the top, in the second selection set.
5.
Select Orthographic from the Projection list and
align the texture to the wall on the Select Projection
Method page.
6.
Choose a name and set a size for the texture on
the Texture Output Information page.
7.
Set the rendering options on the Rendering Op-
tions page.
8.
On the Replace/Delete page, choose the Replace
texture on target geometry option and the Reset the
mesh on the target geometry option.
9.
On the Replace/Delete page, choose the Delete
the projected geometry from the model option and
click Finish.
A single texture is created to represent the pictures
and the lighting on the wall. The radiosity mesh and
picture geometry are deleted from the model.
Summary of Contents for LIGHTSCAPE
Page 1: ...SULO 4 31 93 36034333308355 LJKWVFDSH...
Page 18: ...NOTES 10...
Page 110: ...NOTES 102...
Page 136: ...NOTES 128...
Page 166: ...NOTES 158...
Page 176: ...NOTES 168...
Page 202: ...NOTES 194...
Page 210: ...NOTES 202...
Page 248: ...NOTES 240...
Page 294: ...NOTES 286...
Page 308: ...NOTES 300...
Page 316: ...NOTES 308...
Page 324: ...NOTES 316...
Page 342: ...Glossary 334 Lightscape...
Page 360: ...Index ix 352 Lightscape...
Page 362: ......


