Chapter 6: Devices, Device Groups, and Ports
66
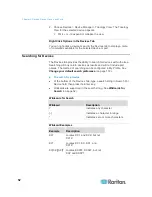
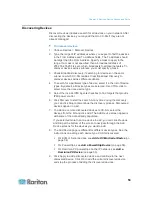
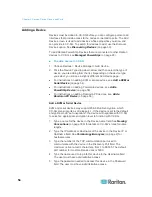
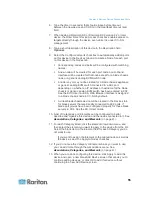
To configure each slot individually, click the Configure button
next to the slot. Then type a name for the slot in the Port Name
field, and type a node name in the Node Name field. The default
Access Application is set according to the default application
selected for "Blade Chassis: KVM" in the Application Manager.
To change it, click the Access Application drop-down menu to
select the one you prefer from the list. Click OK to configure the
slot.
Changing the Blade Server Status
This section applies only to the blade chassis with an integrated
KVM switch, such as Dell PowerEdge and IBM BladeCenter series.
If the "Installed" status for the corresponding blade server or slot is not
enabled on the KX2 device, CC-SG always shows "Down" as the port
status of the blade server. When you are sure some blade slots are live
with blade servers installed, you should change their status on the KX2
device to make CC-SG reflect the status properly.
To change the blade server status:
1. Click the Devices tab and select the KX2 device whose blade slot
status you want to change.
2. Choose Devices > Device Manager > Launch Admin. The KX2
Admin Client opens.
3. Choose Device Settings > Port Configuration.
4. Click the blade chassis port that you want to configure.
5. Scroll down the page until you see the blade slots section. Select the
Installed checkbox next to the blade slots that are live with blade
servers installed.
6. Click OK to save the changes.
Deleting Slots on a Blade Chassis Device
You can delete unused blade servers or slots so they do not appear in
the Devices and Nodes tabs.
To delete a slot from the Delete Ports screen:
1. In the Devices tab, click the + next to the KX2 device that is
connected to the blade chassis device.
2. Select the blade chassis device whose slots you want to delete.
3. Choose Devices > Port Manager > Delete Ports.
4. Select the checkbox for each slot you want to delete, and then click
OK to delete the slot.

