Chapter 8: Nodes, Node Groups, and Interfaces
154
Note: You should have a space before and after operators & and |.
Otherwise, the Short Expression field may return to the default
expression, that is, Rule0 & Rule1 & Rule2 and so on, when you
delete any rule from the table.
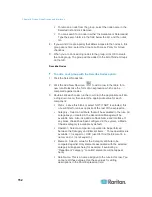
6. Click Validate when a description has been written in the Short
Expression field. If the description is formed incorrectly, a warning
appears. If the description is formed correctly, a normalized form of
the expression appears in the Normalized Expression field.
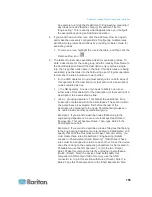
7. Click View Nodes to see what nodes satisfy this expression. A
Nodes in Node Group window opens, displaying the nodes that will
be grouped by the current expression. This can be used to check if
the description was correctly written. If not, you can return to the
rules table or the Short Expression field to make adjustments.
8. If you know you want to create a policy that allows access to the
nodes in this group at all times, select the Create Full Access Policy
for Group checkbox.
9. When you are done describing the nodes that belong in this group,
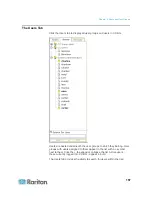
click OK to create the node group. The group will be added to the list
of Node Groups on the left.
Edit a Node Group
Edit a node group to change the membership or description of the group.
To edit a node group:
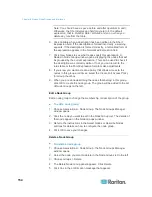
1. Choose Associations > Node Group. The Node Groups Manager
window opens.
2. Click the node you want to edit in the Node Group List. The details of
that node appear in the Node Groups window.
3. Refer to the instructions in the Select Nodes or Describe Nodes
sections for details on how to configure the node group.
4. Click OK to save your changes.
Delete a Node Group
To delete a node group:
1. Choose Associations > Node Group. The Node Groups Manager
window opens.
2. Select the node you want to delete in the Node Group List to the left.
3. Choose Groups > Delete.
4. The Delete Node Group panel appears. Click Delete.
5. Click Yes in the confirmation message that appears.

