


Included Scanner Utilities
6-38
8
In the
Address Book
dialog box, click the Save button. The changes to the destination list are
saved.
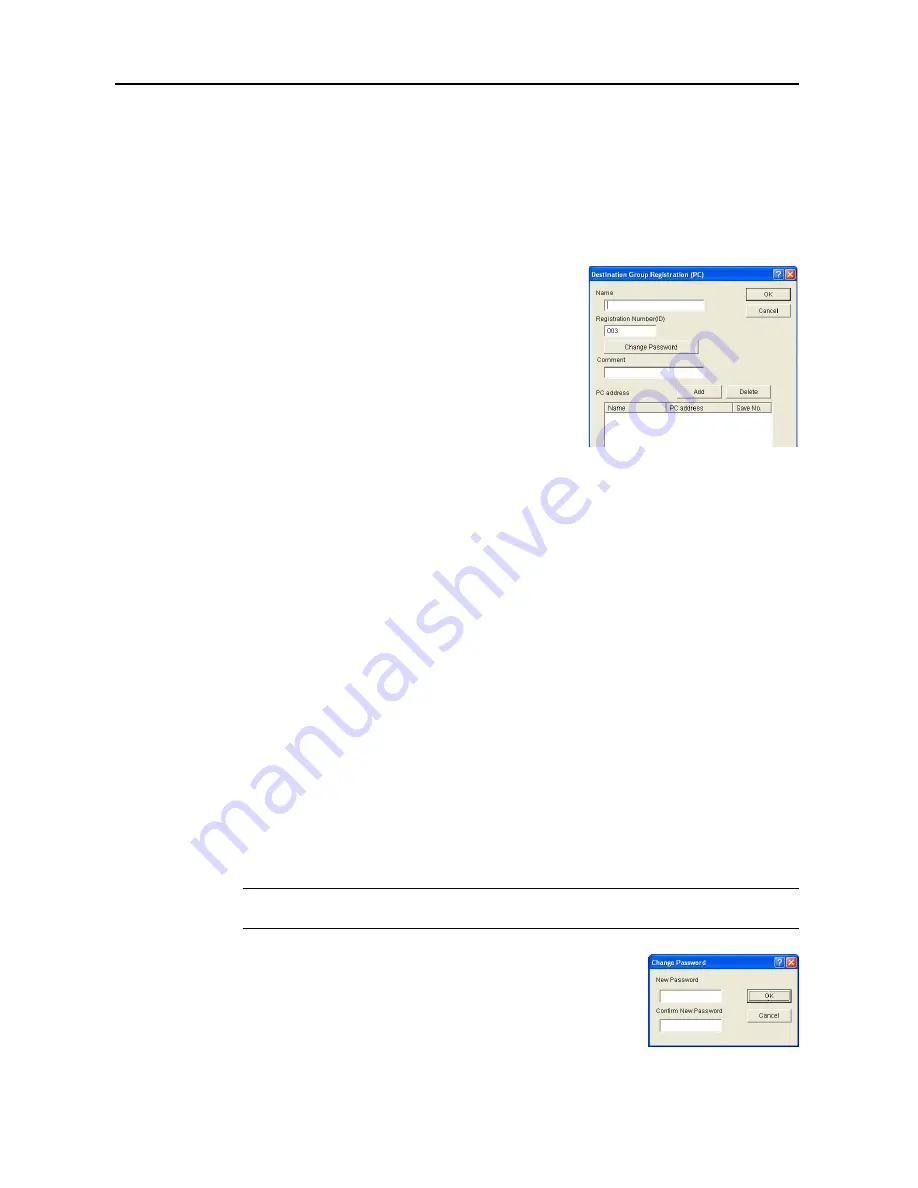
Registering and Editing Destination PC Groups
For registering a destination PC group to a destination list or editing details of an already registered
destination PC group, use the
Destination Group Registration (PC)
dialog box.
Registration Procedure
1
In the
Address Book
dialog box, click the New Group
button to show the
Destination Group Registration (PC)
dialog box. To edit destination PC group, select the
destination PC group to edit from the destination list and
click the Edit button. The setting method is the same for
registration and editing.
2
Enter a destination name for
Name
using less than 16 characters.
3
Registration Number (ID)
is automatically assigned at the time of registration in order added from
001 - 100. You can change the registration numbers.
4
To set or change a group password, click the
Change Password
button. The
Change Password
dialog box is shown. (See
Setting and Editing Destination PC Group Password
)
5
Enter a comment.
6
To add a destination PC to a group, click the
Add
button. The
Editing member (PC)
dialog box is
shown. (See page
6-39
)
7
Do delete a destination PC from a group, select destination PC you would like to delete from the
PC
address
field and click the
Delete
button.
8
Click the
OK
button. The entered destination PC group is registered and the display returns to the
Address Book
dialog box.
9
In the
Address Book
dialog box, click the Save button. The changes to the destination list are
saved.
Setting and Editing Destination PC Group Password
Use the
Change Password
dialog box to set a destination PC group password or change an
existing password.
IMPORTANT:
Set this group password to the same folder password for each PC that will be a
member of the destination PC group.
1
In the
Destination Group Registration (PC)
dialog box, click the
Change Password
button. The
Change Password
dialog box is
shown.
Summary of Contents for C2525E
Page 1: ...Advanced Operation Guide C2525E C3225E C3232E C4035E ...
Page 2: ......
Page 16: ...xiv ...
Page 21: ...Copy Functions 1 5 5 Press the Start key Copying begins ...
Page 142: ...Printer Settings 3 48 ...
Page 166: ...Scanner Settings 4 24 ...
Page 300: ...System Menu 7 52 ...
Page 324: ...Job Accounting 8 24 ...
Page 344: ...Troubleshooting 9 20 ...
Page 364: ...Appendix Appendix 20 ...
Page 370: ...Index Index 6 ...
Page 372: ......
Page 373: ... 2007 is a trademark of Kyocera Corporation ...
Page 374: ...2007 2 Rev 1 0 ...


