Working From Windows Client Workstations
55
7.
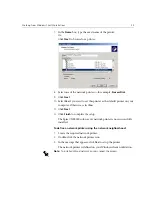
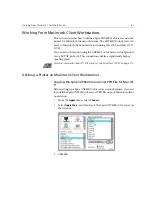
In the
Name
box, type the exact name of the printer.
Or:
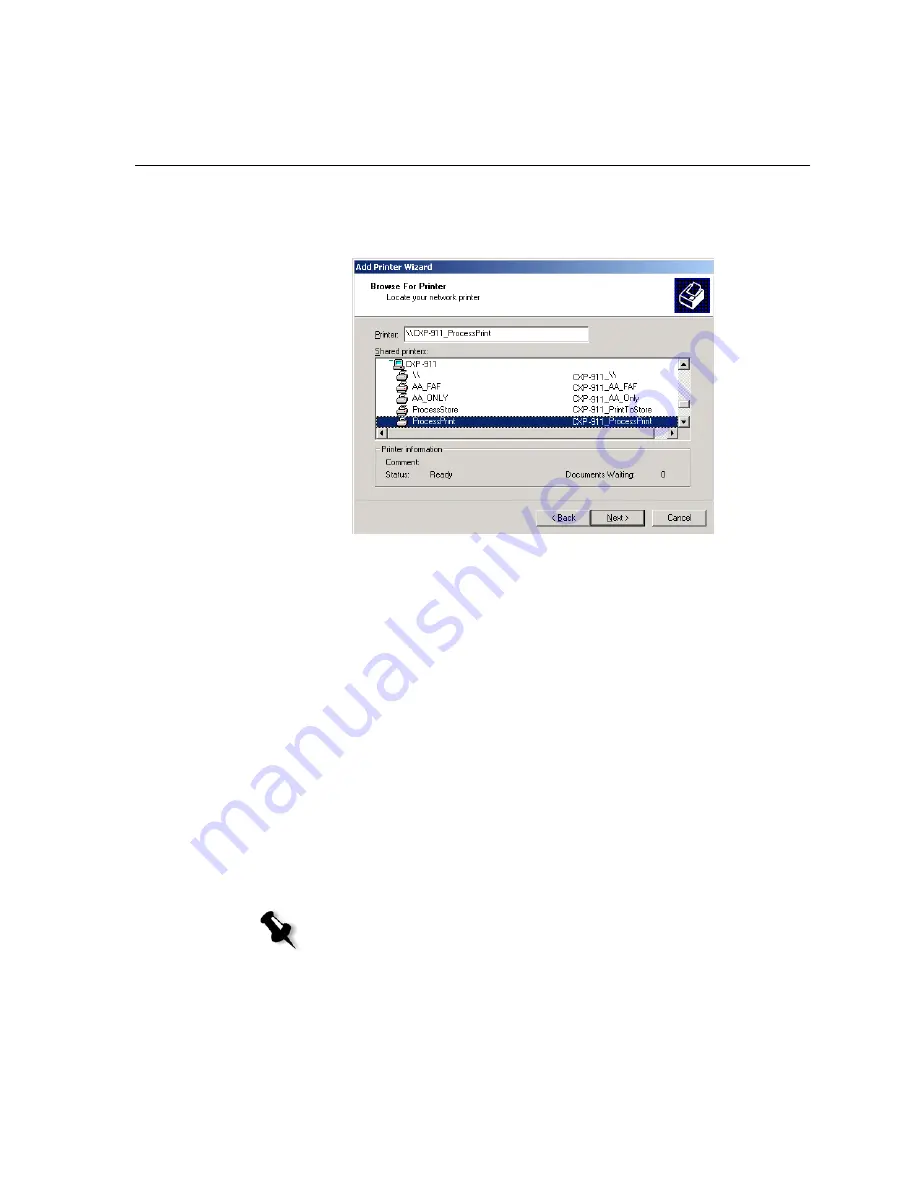
Click
Next
to browse for a printer.
8.
Select one of the network printers—for example,
ProcessPrint
.
9.
Click
Next
.
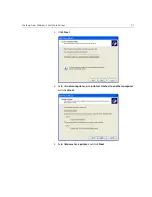
10.
Select
Yes
if you want to set this printer as the default printer on your
computer. Otherwise, select
No
.
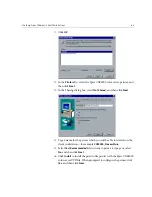
11.
Click
Next
.
12.
Click
Finish
to complete the setup.
The Spire CXP6000 color server network printer is now successfully
installed.
To define a network printer using the network neighborhood:
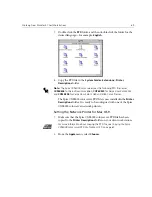
1.
Locate the required network printer.
2.
Double-click the network printer icon.
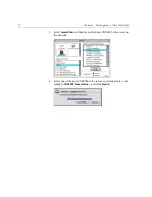
3.
In the message that appears, click
Yes
to setup the printer.
The network printer is defined on your Windows client workstation.
Note:
To install additional network printers, repeat the process.
Summary of Contents for CXP6000 Color Server
Page 2: ...This page is intentionally left blank...
Page 3: ...Spire CXP6000 color server version 4 0 User Guide...
Page 4: ...This page is intentionally left blank...
Page 8: ...This page is intentionally left blank...
Page 28: ...This page is intentionally left blank...
Page 99: ...Spire Web Center 85 Links The Links page enables you to link to related vendors or products...
Page 169: ...Basic Workflows Importing and Printing Jobs 156 Reprinting Jobs 158 Basic Settings 159...
Page 182: ...168 Chapter 4 Basic Workflows Rotate 180 To rotate your job by 180 select Yes Gallop...
Page 190: ...176 Chapter 4 Basic Workflows Coating Select Coated to print on coated paper...
Page 244: ...This page is intentionally left blank...
Page 326: ...This page is intentionally left blank...
Page 327: ...Color Workflow Calibration 314 Default Color Flow 340 Color Tools 358...
Page 416: ...This page is intentionally left blank...
Page 494: ...This page is intentionally left blank...


