Reinstalling the System
455
Confirming the Disk Striping
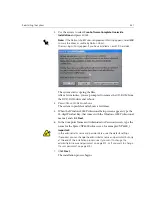
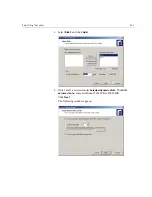
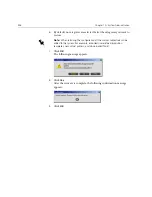
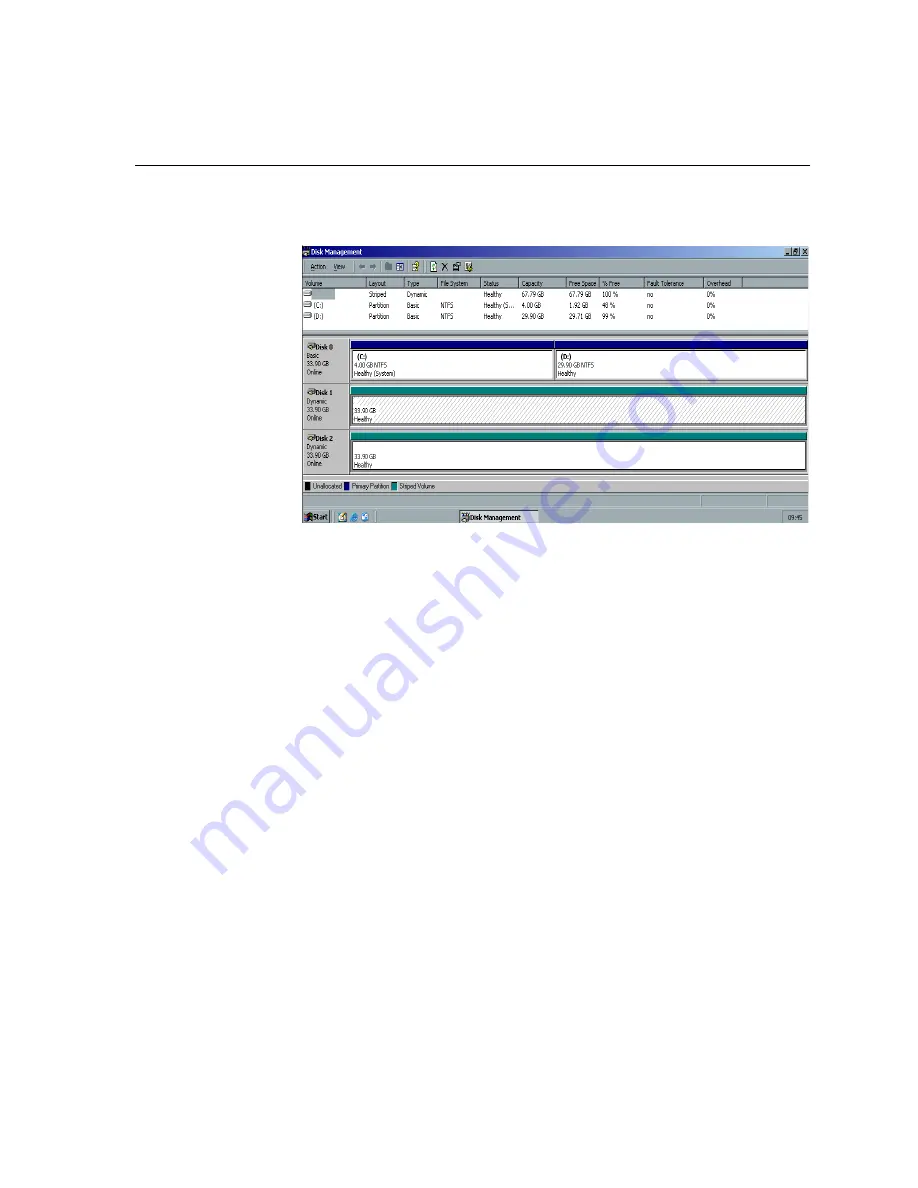
After you click Finish, the following window appears.
1.
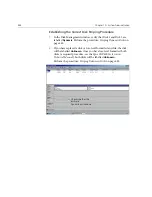
Confirm that the Disk Management window appears as illustrated in
the previous window, and verify that the drive letters have been
removed.
2.
Close the Disk Management window.
3.
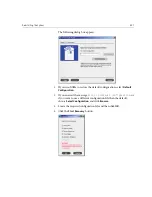
The Image Disks File System is not Formatted message appears.
Click
OK
.
4.
To make sure that the changes take effect, restart the Spire CXP6000
color server. On the Windows desktop, follow the path:
Start>Shut Down>Restart>OK
.
You have completed
Disk Striping
.
5.
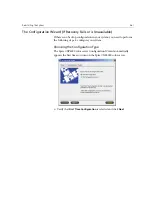
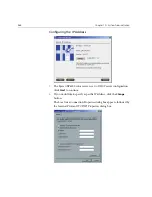
After the computer restarts, the Configuration Wizard appears.
•
If configuration recovery information is available, proceed to
The
Configuration Wizard (If Backup Available)
on page 456.
•
If there is no backup and the system configuration must be done
manually, proceed to
The Configuration Wizard (If Recovery Fails or
is Unavailable)
on page 461.
Summary of Contents for CXP6000 Color Server
Page 2: ...This page is intentionally left blank...
Page 3: ...Spire CXP6000 color server version 4 0 User Guide...
Page 4: ...This page is intentionally left blank...
Page 8: ...This page is intentionally left blank...
Page 28: ...This page is intentionally left blank...
Page 99: ...Spire Web Center 85 Links The Links page enables you to link to related vendors or products...
Page 169: ...Basic Workflows Importing and Printing Jobs 156 Reprinting Jobs 158 Basic Settings 159...
Page 182: ...168 Chapter 4 Basic Workflows Rotate 180 To rotate your job by 180 select Yes Gallop...
Page 190: ...176 Chapter 4 Basic Workflows Coating Select Coated to print on coated paper...
Page 244: ...This page is intentionally left blank...
Page 326: ...This page is intentionally left blank...
Page 327: ...Color Workflow Calibration 314 Default Color Flow 340 Color Tools 358...
Page 416: ...This page is intentionally left blank...
Page 494: ...This page is intentionally left blank...

