LPR Printing with the Spire CXP6000 Color Server
117
3.
Locate the directory that contains your file(s), and then type the
following command:
# lpr –P <virtual printer name>@<server name>
<filename>
For example:
# lpr –P OPAL3_ProcessPrint@opal3 letter.ps
4.
Press E
NTER
.
Your file is printed to the CXP6000 Color Server.
Linux User Interface
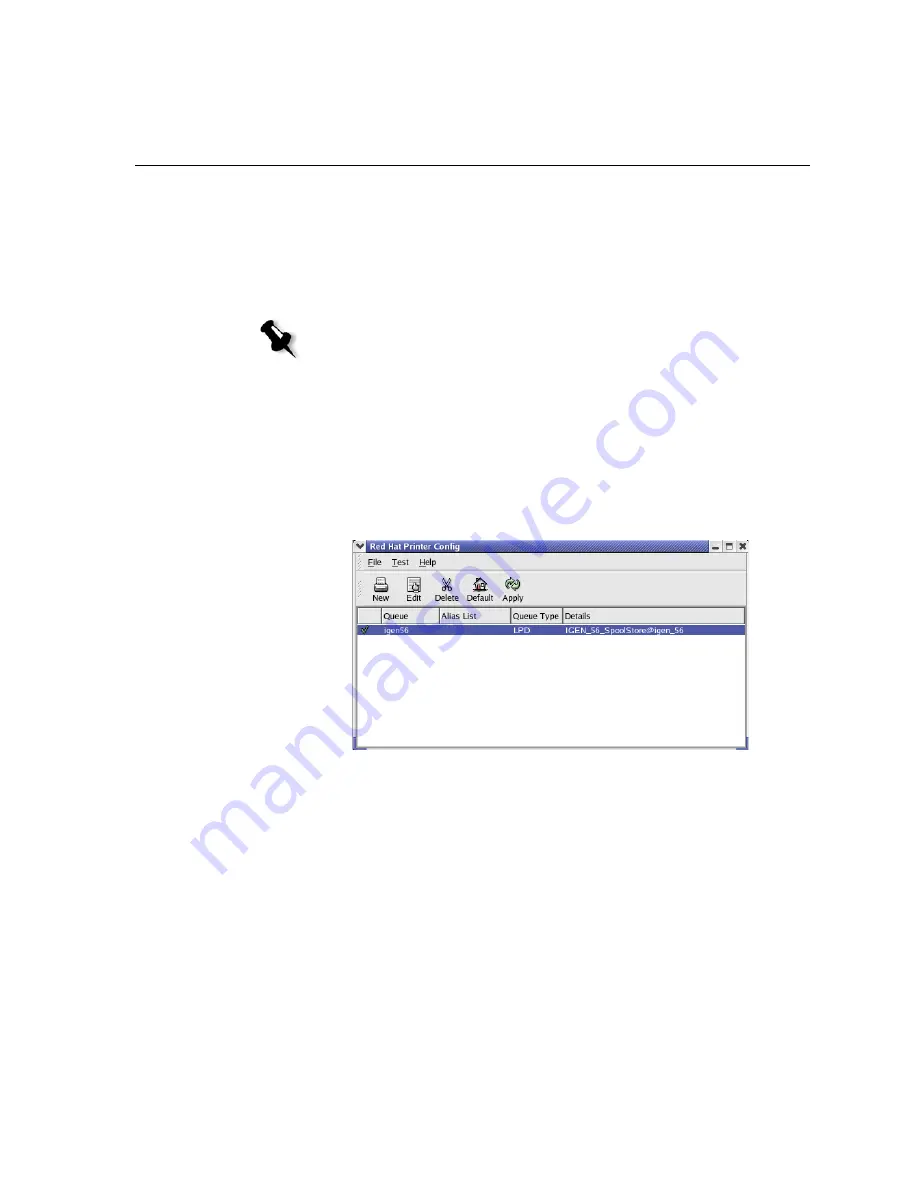
The following procedure reflects Red Hat Linux version 8.0
1.
Select
System Settings
>
Printing.
2.
Click
New
to setup a new LPR/LPD printer.
The Add A New Print Queue dialog box appears.
3.
Click
Forward
.
Note:
All commands and printer names are case-sensitive. The server name is
the name defined in the /etc/hosts file or the registered name in the DNS server
on your network (DHCP use).
Summary of Contents for CXP6000 Color Server
Page 2: ...This page is intentionally left blank...
Page 3: ...Spire CXP6000 color server version 4 0 User Guide...
Page 4: ...This page is intentionally left blank...
Page 8: ...This page is intentionally left blank...
Page 28: ...This page is intentionally left blank...
Page 99: ...Spire Web Center 85 Links The Links page enables you to link to related vendors or products...
Page 169: ...Basic Workflows Importing and Printing Jobs 156 Reprinting Jobs 158 Basic Settings 159...
Page 182: ...168 Chapter 4 Basic Workflows Rotate 180 To rotate your job by 180 select Yes Gallop...
Page 190: ...176 Chapter 4 Basic Workflows Coating Select Coated to print on coated paper...
Page 244: ...This page is intentionally left blank...
Page 326: ...This page is intentionally left blank...
Page 327: ...Color Workflow Calibration 314 Default Color Flow 340 Color Tools 358...
Page 416: ...This page is intentionally left blank...
Page 494: ...This page is intentionally left blank...


