326
Chapter 7 – Color Workflow
8.
Collect the chart from the printer.
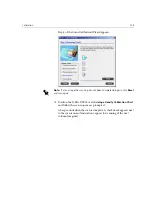
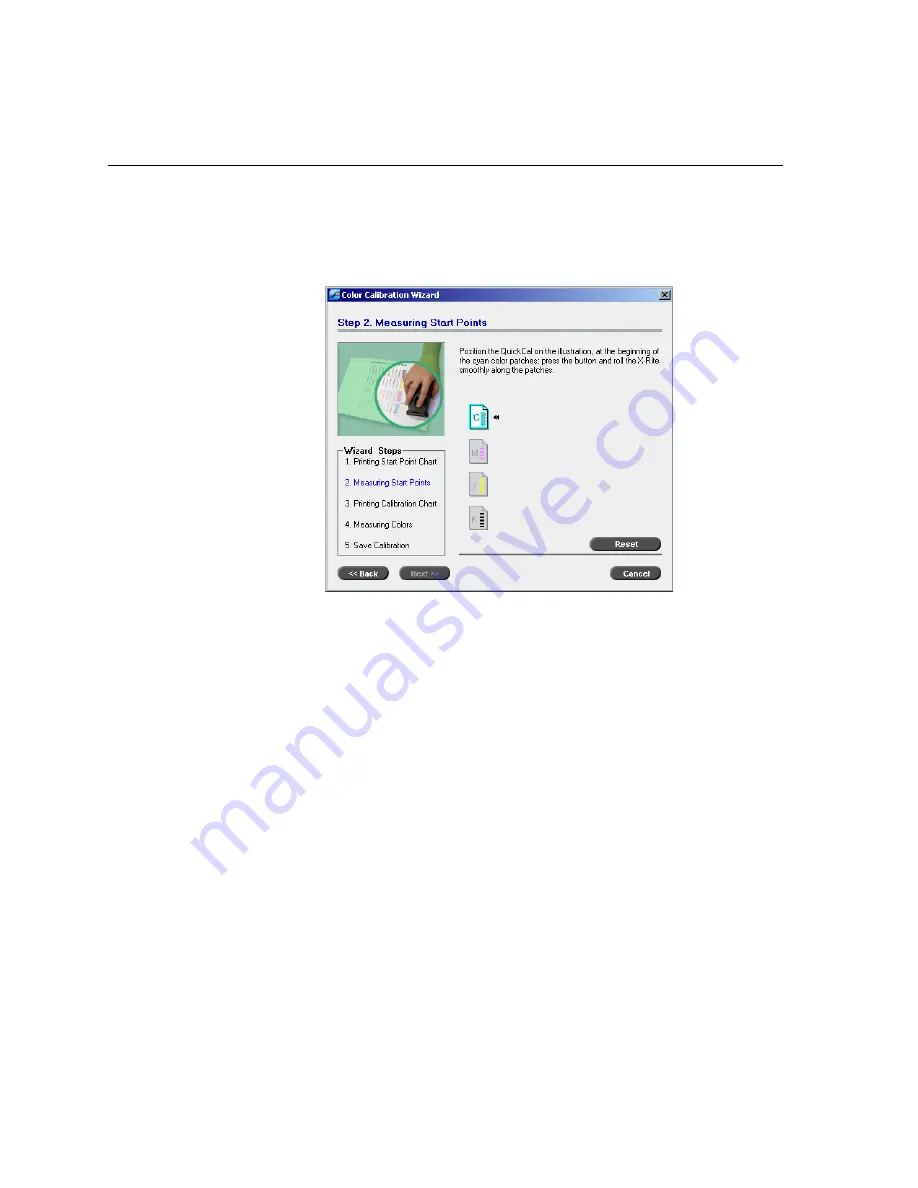
Step 2 of the Color Calibration Wizard appears. In this step you scan
the start point chart so that the wizard can measure each separation
and find the point at which the toner appears on the paper.
9.
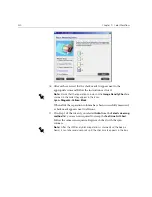
While pressing down the button on the X-Rite DTP34, align the X-
Rite DTP34’s head with the cyan arrow’s tip. The arrow is to the left of
the cyan column on the Image Density Calibration Curve. Its tip
intersects the semi-dotted line.
10.
Press the button on the X-Rite DTP34.
11.
Sweep the X-Rite DTP34 over the cyan column.
A beep sounds and a green light blinks when the scan is complete. A
check mark appears over the cyan icon and instructions appear for the
next sweep, this time for the magenta column.
Summary of Contents for CXP6000 Color Server
Page 2: ...This page is intentionally left blank...
Page 3: ...Spire CXP6000 color server version 4 0 User Guide...
Page 4: ...This page is intentionally left blank...
Page 8: ...This page is intentionally left blank...
Page 28: ...This page is intentionally left blank...
Page 99: ...Spire Web Center 85 Links The Links page enables you to link to related vendors or products...
Page 169: ...Basic Workflows Importing and Printing Jobs 156 Reprinting Jobs 158 Basic Settings 159...
Page 182: ...168 Chapter 4 Basic Workflows Rotate 180 To rotate your job by 180 select Yes Gallop...
Page 190: ...176 Chapter 4 Basic Workflows Coating Select Coated to print on coated paper...
Page 244: ...This page is intentionally left blank...
Page 326: ...This page is intentionally left blank...
Page 327: ...Color Workflow Calibration 314 Default Color Flow 340 Color Tools 358...
Page 416: ...This page is intentionally left blank...
Page 494: ...This page is intentionally left blank...


