LPR Printing with the Spire CXP6000 Color Server
103
10.
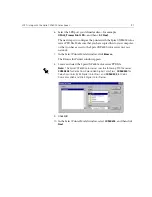
Select the following options:
•
Protocol:
Select
LPR
•
LPR Settings
:
•
Queue Name
: Type the exact name of the network printer you
want to print to (you can view the exact name of the printer on
the Spire CXP6000 color server under Resource
Center>
Virtual Printers
). In this example the Printer name is
OPAL5_ProcessPrint
.
•
LPR Byte Counting Enabled:
Select this
check box
11.
Click
OK
, and then click
Next
.
12.
Click
Finish
.
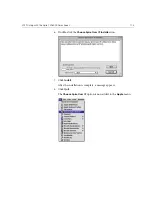
13.
In the Printer Ports window, click
Close
.
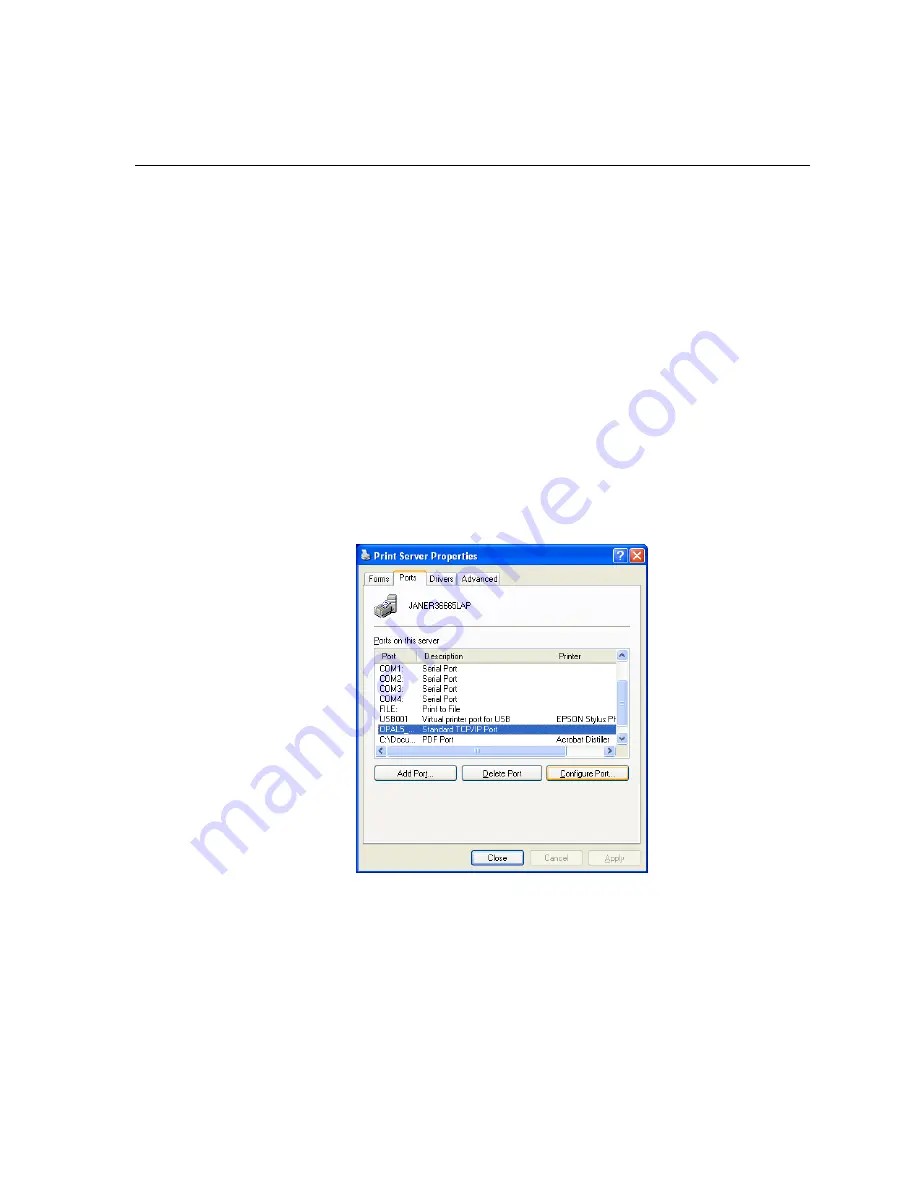
The new Standard TCP/IP Printer Port is now defined on your
computer.
The next step is to define the TCP/IP Printer using the Adobe PostScript
Printer Driver application, see the following procedure.
Summary of Contents for CXP6000 Color Server
Page 2: ...This page is intentionally left blank...
Page 3: ...Spire CXP6000 color server version 4 0 User Guide...
Page 4: ...This page is intentionally left blank...
Page 8: ...This page is intentionally left blank...
Page 28: ...This page is intentionally left blank...
Page 99: ...Spire Web Center 85 Links The Links page enables you to link to related vendors or products...
Page 169: ...Basic Workflows Importing and Printing Jobs 156 Reprinting Jobs 158 Basic Settings 159...
Page 182: ...168 Chapter 4 Basic Workflows Rotate 180 To rotate your job by 180 select Yes Gallop...
Page 190: ...176 Chapter 4 Basic Workflows Coating Select Coated to print on coated paper...
Page 244: ...This page is intentionally left blank...
Page 326: ...This page is intentionally left blank...
Page 327: ...Color Workflow Calibration 314 Default Color Flow 340 Color Tools 358...
Page 416: ...This page is intentionally left blank...
Page 494: ...This page is intentionally left blank...


