106
Chapter 3 – Working From a Client Workstation
14.
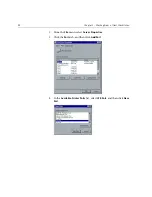
Select
Yes (Recommended)
if you want to print a test page. Otherwise,
select
No
.
15.
Click
Next
.
16.
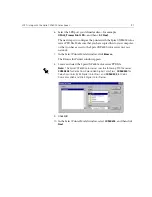
In the Setup Information window, click
Install
.
This installs the LPR printer with the Spire CXP6000 color server PPD
file.
17.
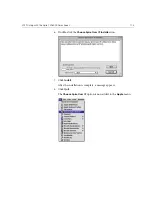
When prompted to configure the printer, click
Yes
.
18.
Click
Next
.
19.
In the Printer Configuration window, select
Yes
when prompted to
configure the printer.
20.
Click
Next
.
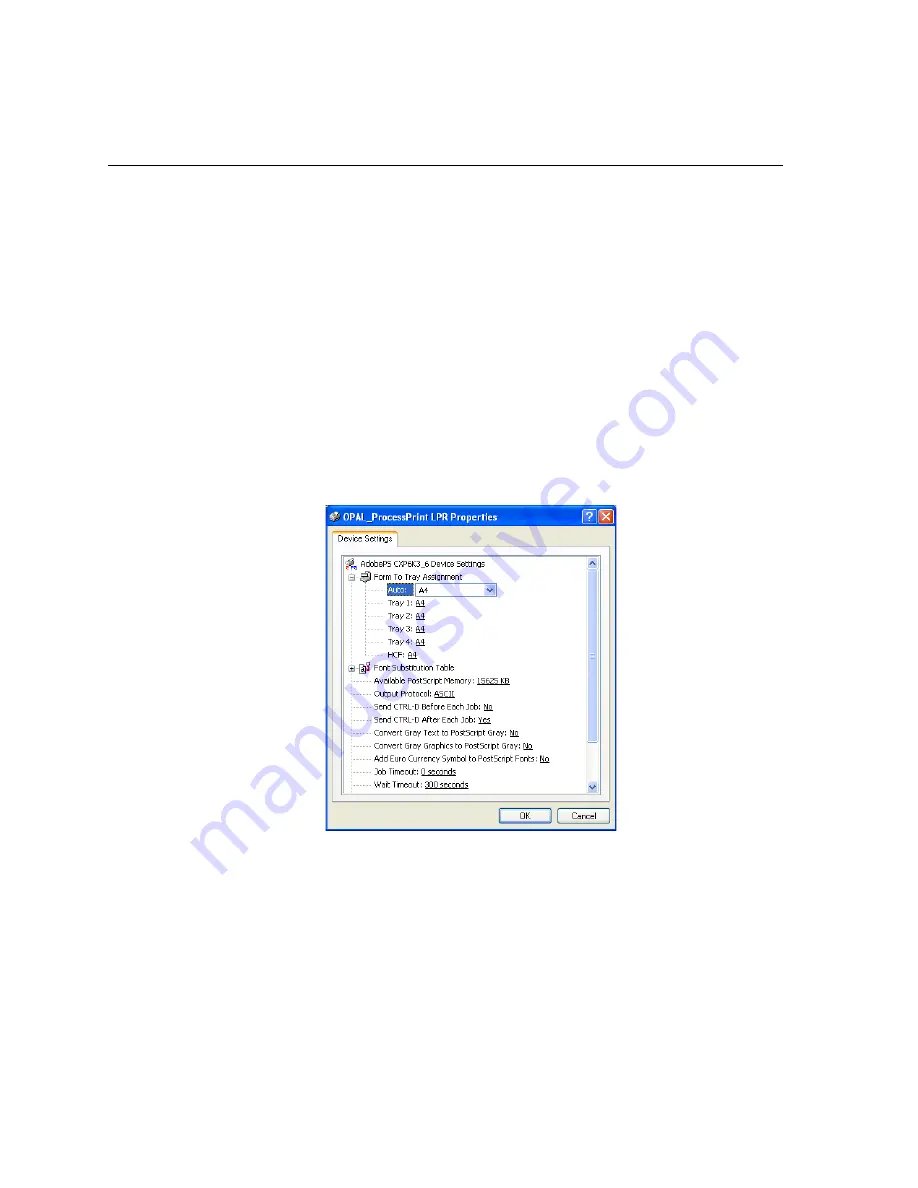
The CXP6000 Properties window appears.
21.
Configure the printer according to your specifications, and then click
OK
.
22.
In the Setup Complete window, click
Finish
to complete the setup.
The new LPR printer is now listed with your other printers on the
Windows NT computer, and you are now ready to print to the Spire
CXP6000 color server.
Summary of Contents for CXP6000 Color Server
Page 2: ...This page is intentionally left blank...
Page 3: ...Spire CXP6000 color server version 4 0 User Guide...
Page 4: ...This page is intentionally left blank...
Page 8: ...This page is intentionally left blank...
Page 28: ...This page is intentionally left blank...
Page 99: ...Spire Web Center 85 Links The Links page enables you to link to related vendors or products...
Page 169: ...Basic Workflows Importing and Printing Jobs 156 Reprinting Jobs 158 Basic Settings 159...
Page 182: ...168 Chapter 4 Basic Workflows Rotate 180 To rotate your job by 180 select Yes Gallop...
Page 190: ...176 Chapter 4 Basic Workflows Coating Select Coated to print on coated paper...
Page 244: ...This page is intentionally left blank...
Page 326: ...This page is intentionally left blank...
Page 327: ...Color Workflow Calibration 314 Default Color Flow 340 Color Tools 358...
Page 416: ...This page is intentionally left blank...
Page 494: ...This page is intentionally left blank...


