23-619
23-619
23.4. Starting I/O Simulator
Before starting the I/O simulator, create an I/O simulator definition file.
For an explanation of creating an I/O simulator definition file, refer to
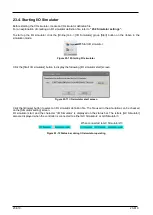
To start up the I/O simulator, click the [Online] tab -> [I/O Simulator] group [Start] button on the ribbon in the
simulation mode.
Figure 23-10 Starting I/O simulator
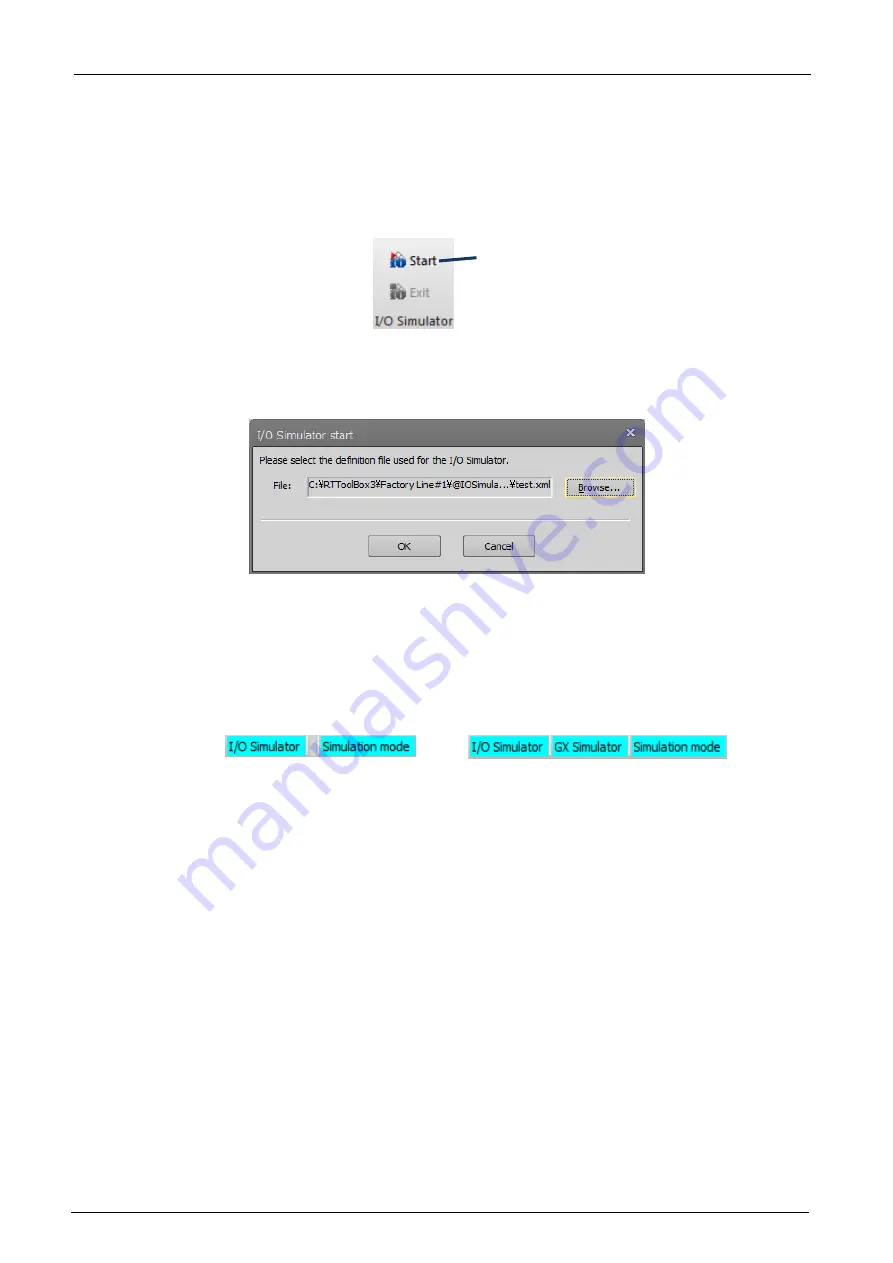
Click the [Start I/O simulator] button to display the following [I/O simulator start] screen.
Figure 23-11 I/O simulator start screen
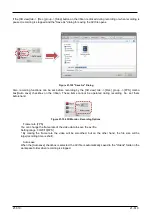
Click the [Browse] button to select an I/O simulator definition file. The file used in the simulation can be checked
on the [Simulator setting] screen.
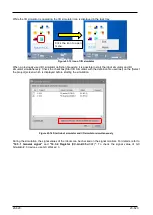
I/O simulator start, and the character “I/O Simulator” is displayed on the status bar. The letters [GX Simulator]
also are displayed when the controller is connected to either GX Simulator2 or GX Simulator3.
Figure 23-12 Status bar during I/O simulator operating
Start I/O simulator
When connected to GX Simulator2/3
Содержание 3F-14C-WINE
Страница 84: ...8 84 8 84 Figure 8 21 Parameter transfer procedure 1 2 2 ...
Страница 393: ...18 393 18 393 Figure 18 1 Starting the Oscillograph ...
Страница 413: ...18 413 18 413 Figure 18 24 Output to Robot program Selection ...
Страница 464: ...18 464 18 464 Figure 18 72 Starting the Tool automatic calculation ...
Страница 545: ...21 545 21 545 Figure 21 55 Hide display of user mechanism ...
Страница 624: ...24 624 24 624 Figure 24 4 Document output example ...


