18-398
18-398
18.1.6. Start
/
Stop
Check before starting that the target project is in an on-line state.
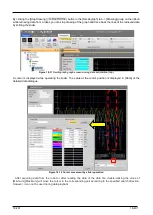
Clicking the [Start Record] (
) button in the [Oscillograph] tab -> [Record] group on the ribbon, data will be
acquired from a robot and graph drawing will start.
Clicking the [Stop Record] (
) button will stop acquisition of data.
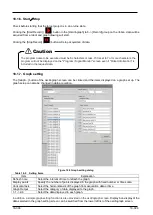
18.1.7. Graph setting
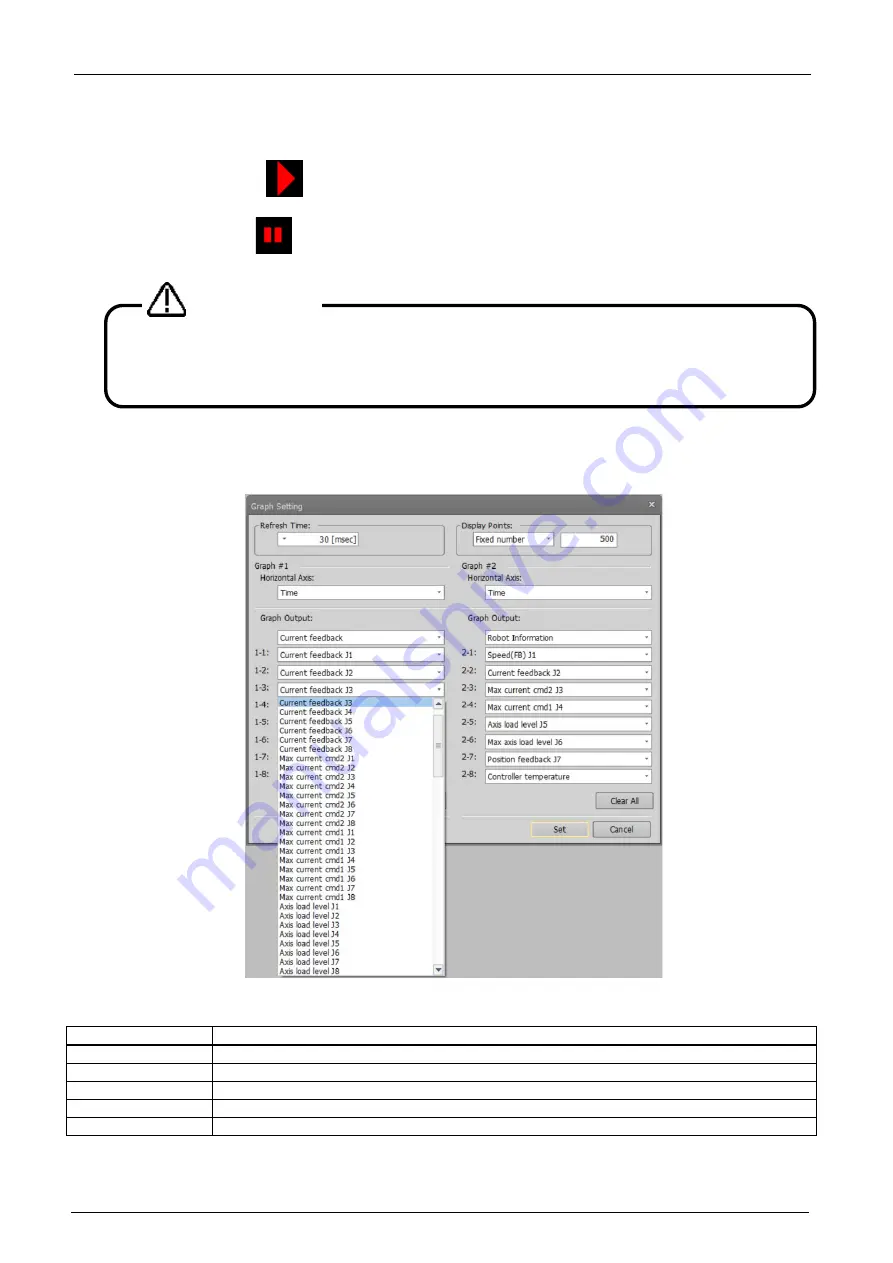
The [Graph...] button of the oscillograph screen can be clicked and the items displayed on a graph set up. The
graph setup can also be changed in data acquisition.
Figure 18-5 Graph setting dialog
Table 18-5
Setting Items
Item
Explanation
Refresh time
Select the interval of time to refresh the graph.
Display points
Specify the number of points displayed in the graph with fixed number or time scale.
Horizontal Axis
Select the horizontal axis of the graph from acquisition data or time.
Graph Output
Select the category of data displayed to the graph.
1-1 -> 2-8
Select the data displayed to each graph.
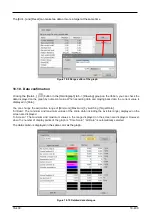
In addition, a simple graph setting function is also provided on the oscillograph screen.
Display/non-display of the
data selected in the graph setting screen can be switched from the lower left list of the oscillograph screen.
The program name to be executed must be 6 characters or less. If it is set to 7 or more characters, the
program will not be displayed on the "Program / Signal Monitor" screen even if "Robot Information" is
included in the request data.
Caution
Содержание 3F-14C-WINE
Страница 84: ...8 84 8 84 Figure 8 21 Parameter transfer procedure 1 2 2 ...
Страница 393: ...18 393 18 393 Figure 18 1 Starting the Oscillograph ...
Страница 413: ...18 413 18 413 Figure 18 24 Output to Robot program Selection ...
Страница 464: ...18 464 18 464 Figure 18 72 Starting the Tool automatic calculation ...
Страница 545: ...21 545 21 545 Figure 21 55 Hide display of user mechanism ...
Страница 624: ...24 624 24 624 Figure 24 4 Document output example ...

