Installation and Maintenance Manual
Configuring system functionality
Installation and Maintenance Manual v4/0615/10
187
Setting up an ISDN Trunk port as a NT port
All ISDN ports on a Call Server, NSG or Trunk Module can work in NT mode. Network Termination mode is
pretending to be an exchange so that other PBXs can connect to the system.
NT mode can be configured as follows:
1
In Manager select Trunks
2
Select the relevant module containing the trunk required, eg CallServer
3
Select the trunk required
4
Change the Description of the port if required
5
In the Presentation Number field enter the number to be presented as CLI on this port if required.
(Please note that the Translate CLI to field in a Dial Plan entry and a DDI Call Plan entry will have
priority over the Presentation Number.)
6
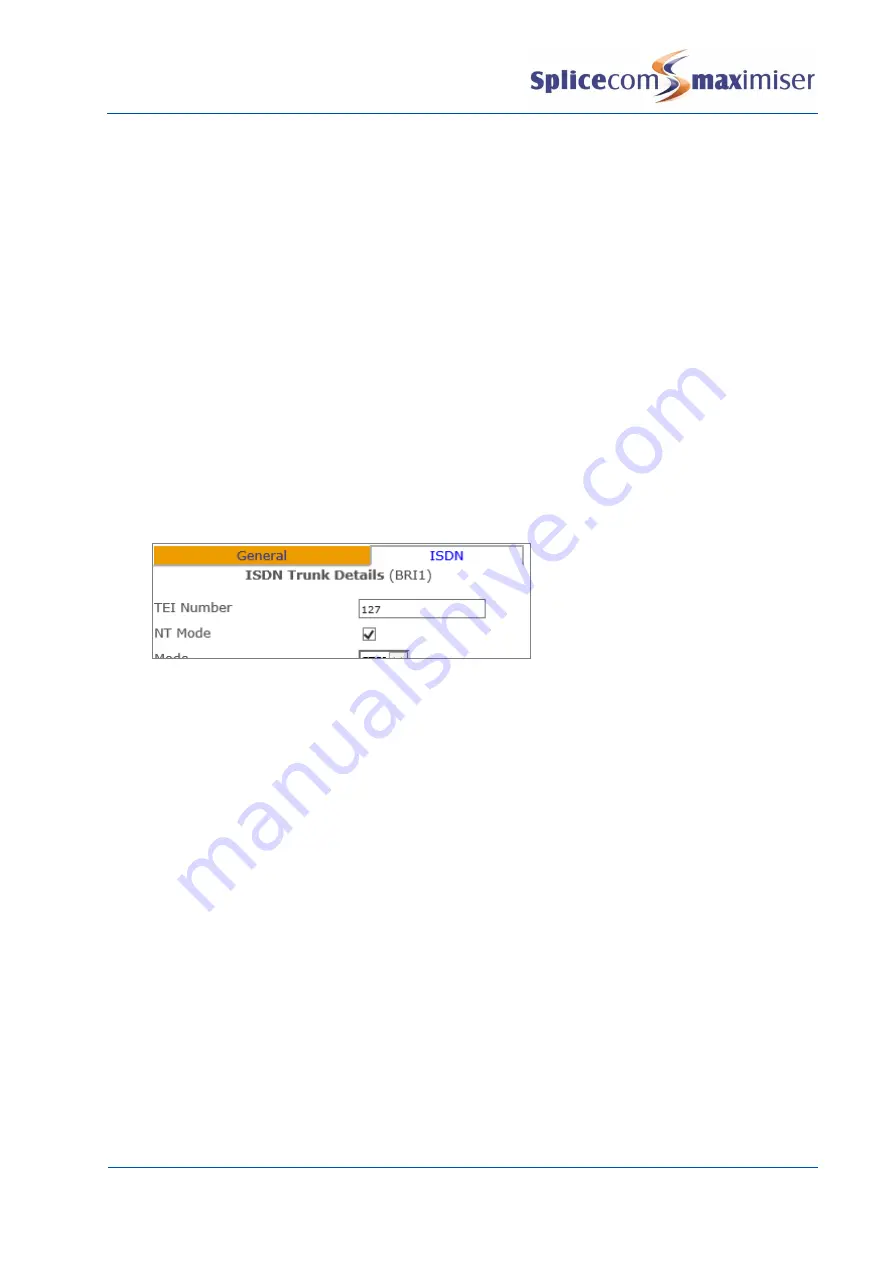
Select the ISDND page.
7
In the TEI Number field enter 127 (this may solve communication problems with the remote end.
This is not required on a PRI Trunk port).
8
Select the NT Mode field. A tick will indicate that this field is enabled.
9
Select Update or Apply when ready.
To route calls via this Trunk port the following can be configure:
10
From the navigation pane select Trunk Groups
11
Select the Add button to create a new Trunk Group
12
Enter a Name, eg NT Port, and description if required
13
Select Apply
14
Select the Add Trunk button
15
Select the Trunk field
16
From the Select Module for Trunks list select the relevant module
17
From the Select Trunk list select the Trunk modified above
18
Select Update
19
Select Update or Apply when ready.
20
From the navigation pane select LCR Plans
21
Select the relevant LCR Plan eg Standard
22
Select the Add LCR Plan Entry button
23
In the Number Match field enter the digit(s) to be used to access the NT port. (Ensure this entry
does not clash with a Dial Plan entry.)
24
From the Action list select Dial
25
In the Dial field enter the number to be dialled by the system, or
a
If all the digits entered by eg the User are to be used enter
%n
b
If the digits enter minus the numbers in the Number Match field are to be used enter
%r
26
Select Apply
27
Select the Trunk Group field
28
From the Select Trunk Group list select the Trunk Group created above


