Scanning Procedure
171
Sc
an
5
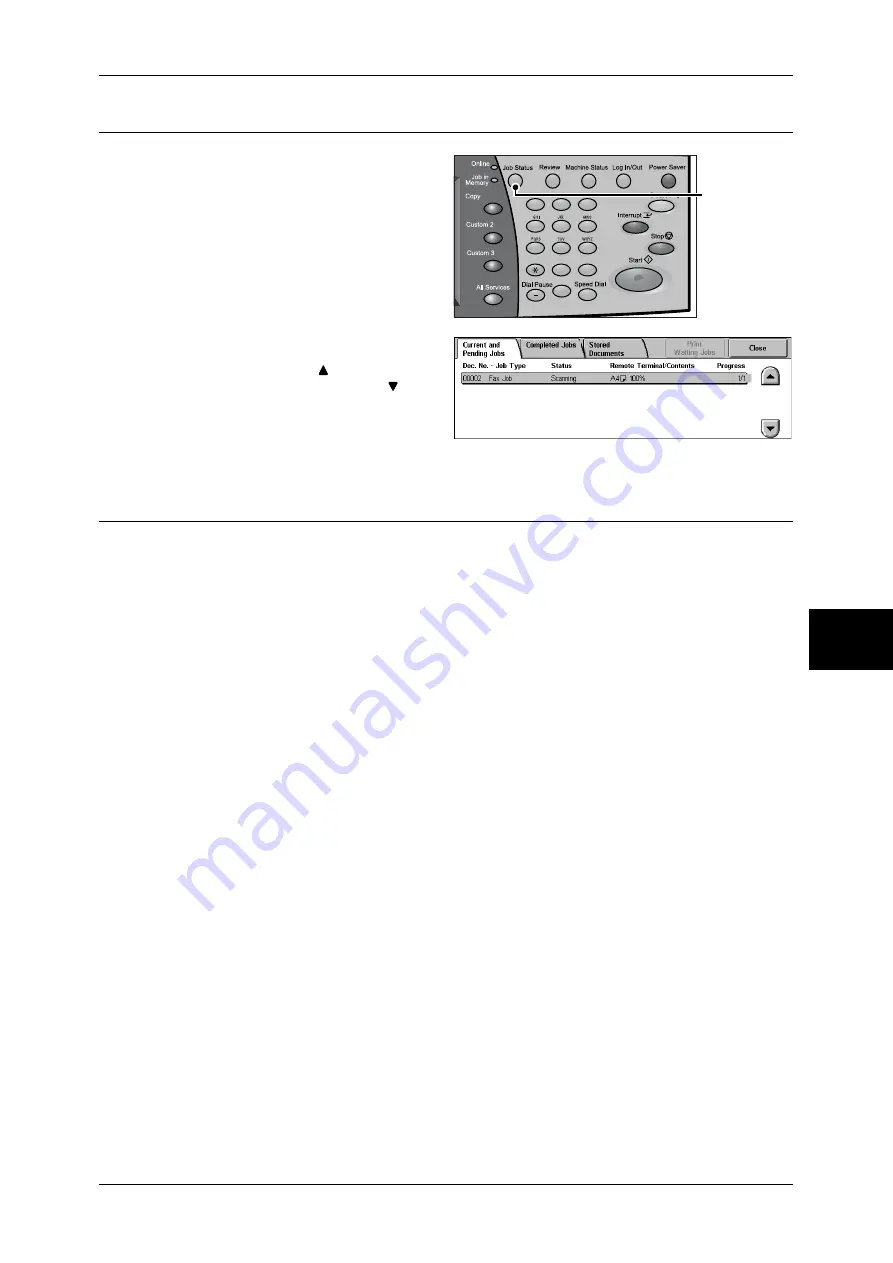
Step 4 Confirming the Scan Job in Job Status
1
Press the <Job Status> button.
2
Confirm the job status.
Note
•
Select [
] to return to the
previous screen or [
] to
move to the next screen.
Step 5 Saving the Scanned Data
When you select Scan to Mailbox, the document stored in a mailbox of the machine is
imported into your computer. Importing can be done in the following ways:
Import using application
Uses a network scan driver.
Refer to "Importing to a TWAIN Compatible Application" (P.231).
Import using Mailbox Viewer2
Uses Mailbox Viewer2 (Fuji Xerox application software).
Refer to "Importing Using Mailbox Viewer2" (P.233).
Import using CentreWare Internet Services
Uses CentreWare Internet Services.
Refer to "Importing Using CentreWare Internet Services" (P.235).
Import using WebDAV
Uses WebDAV.
Refer to "Importing with the WebDAV protocol" (P.236).
1
2
3
4
5
6
7
8
9
0
#
C
<Job Status>
button
Summary of Contents for ApeosPort-II C3300
Page 1: ...ApeosPort II C4300 C3300 C2200 DocuCentre II C4300 C3300 C2200 User Guide...
Page 14: ...12 Copy Settings 610 Common Settings 610 17 Glossary 613 Glossary 614 Index 619...
Page 48: ...2 Product Overview 46 Product Overview 2...
Page 106: ...3 Copy 104 Copy 3...
Page 436: ...14 Maintenance 434 Maintenance 14...
Page 614: ...16 Appendix 612 Appendix 16...
Page 615: ...17 Glossary This chapter contains a list of terms used in this guide z Glossary 614...
Page 634: ......


