Importing Scanned Data
231
Computer Operations
8
Importing Scanned Data
There are four methods for importing documents from a machine's mailbox to your
computer.
Importing to a TWAIN Compatible Application ..................................................................... 231
Importing Using Mailbox Viewer2 .......................................................................................... 233
Importing Using CentreWare Internet Services ....................................................................... 235
Importing with the WebDAV protocol .................................................................................... 236
Each procedure is as follows.
Importing to a TWAIN Compatible Application
The following describes how to import documents from a machine's mailbox to
application software.
Network Scan Driver is used to import stored documents.
Network Scan Driver is software to allow a client-side application to import documents
(scan data) from the machine's mailbox via the network.
For instructions on installing Network Scan Driver, refer to the manual contained in the CD-ROM of the
Driver CD Kit.
To learn about fields in the displayed dialog box, click [Help] to refer to the Network Scan Driver's
online help.
1
Launch application software to which documents are imported.
Important •
The application must support TWAIN. TWAIN is a standard for scanners and other input
devices.
Note
•
For information on supported applications, refer to the "Readme" contained in the CD-ROM
of the Driver CD Kit.
2
From the [File] menu, select the command for selecting the scanner (source).
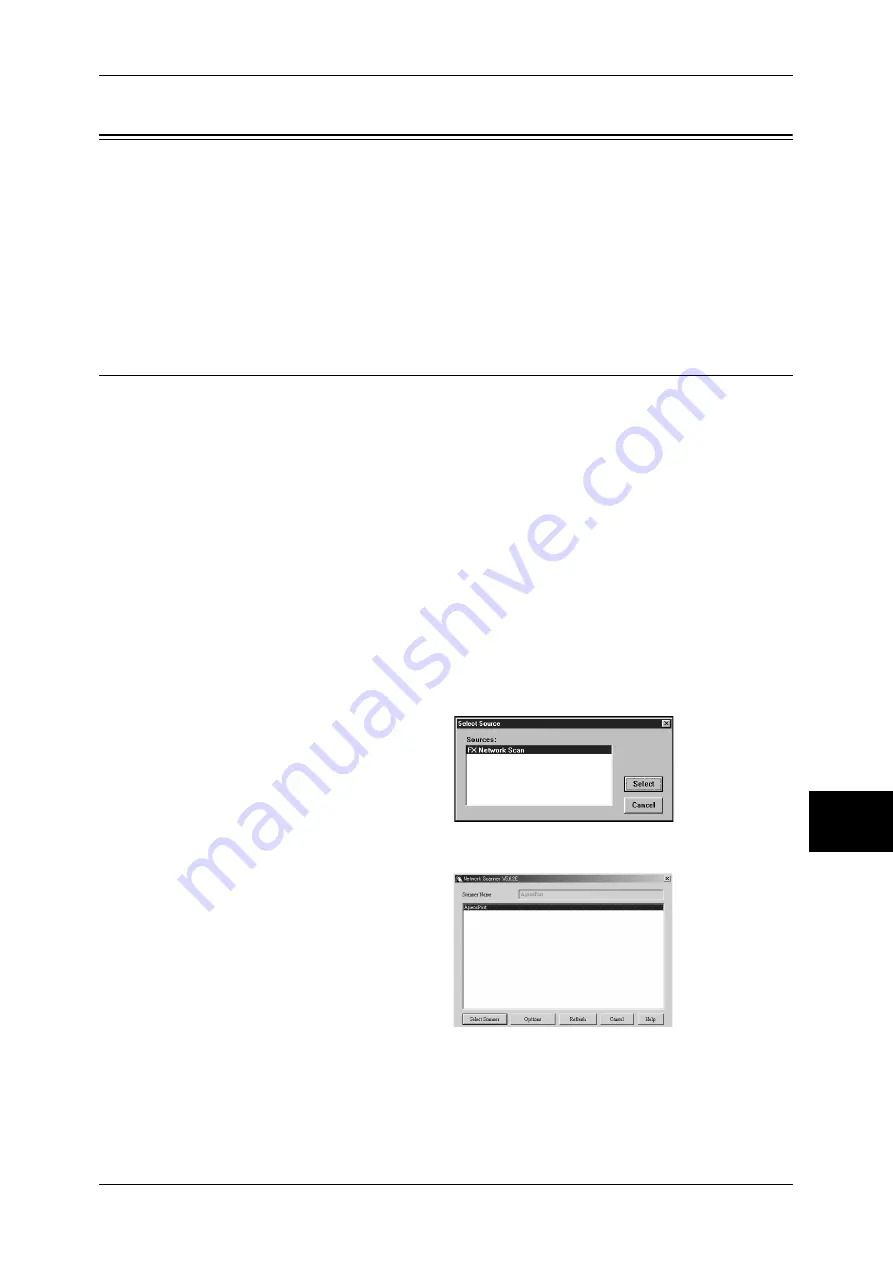
3
Select [FX Network Scan], and
click [Select].
4
From the [File] menu, select the
command for importing the image
from the scanner.
5
From the displayed list, click the
scanner name of the machine, and
click [Select Scanner].
Note
•
If no items are shown in the
list, click [Refresh]. The
application searches for
scanners.
•
To display the scanner
names, use the dialog box
which can be displayed by clicking [Options]. For information on how to change the
displayed scanner names, refer to "Changing display of scanner names" (P.232).
•
Only scanners on the network are automatically listed. To view scanners on other networks,
click [Options] to change the settings, and change IP Address and the scanner names. For
information on changing settings, refer to "Changing Network Scan Driver Settings" (P.232).
Summary of Contents for ApeosPort-II C3300
Page 1: ...ApeosPort II C4300 C3300 C2200 DocuCentre II C4300 C3300 C2200 User Guide...
Page 14: ...12 Copy Settings 610 Common Settings 610 17 Glossary 613 Glossary 614 Index 619...
Page 48: ...2 Product Overview 46 Product Overview 2...
Page 106: ...3 Copy 104 Copy 3...
Page 436: ...14 Maintenance 434 Maintenance 14...
Page 614: ...16 Appendix 612 Appendix 16...
Page 615: ...17 Glossary This chapter contains a list of terms used in this guide z Glossary 614...
Page 634: ......


