HYDRAULIC AND PARK BRAKE SYSTEMS
Brake Pads and Caliper
Page 6-6
2007 Carryall 295/295 SE & XRT 1550/1550 SE Gasoline, Diesel and IntelliTach M & S Manual
6
ý
CAUTION
• Do not pump the brake pedal without brake fluid in the master cylinder and reservoir.
• Worn or damaged brake discs cannot be machined to refinish them. Replace as necessary.
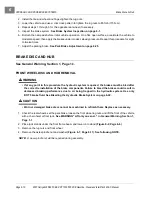
1. Chock the rear wheels, set the park brake, loosen the front wheel lug nuts, and lift the front of the vehicle
with a chain hoist or floor jack.
See WARNING “Lift only one end...” in
General Warning, Section 1,
Page 1-2
.
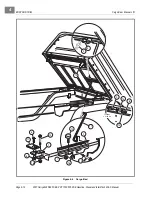
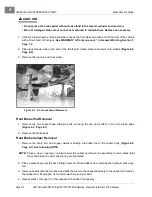
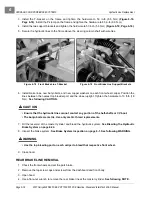
2. Place jack stands under each end of the floorboard crossmember and lower onto stands
(Figure 6-2,
Page 6-6)
.
3. Remove the lug nuts and front wheel.
Front Brake Pad Removal
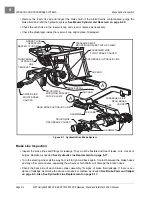
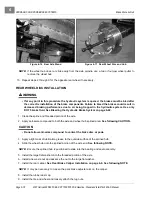
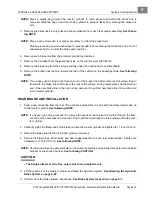
1. Remove the two socket-head slide-pin bolts securing the top and bottom of the two brake pads
(Figure 6-3, Page 6-7)
.
2. Remove the brake pads.
Front Brake Caliper Removal
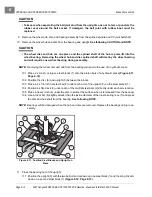
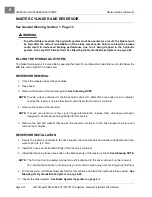
1. Remove the banjo bolt and copper washers holding the brake line to the caliper body
(Figure 6-4,
Page 6-7)
.
See following NOTE.
NOTE:
Place a clean, tray-type container below the caliper and brake line assembly to catch brake fluid
when the brake line and caliper body are separated.
2. Place a plastic bag over the hose fitting to prevent dirt and debris from entering the hydraulic brake sys-
tem.
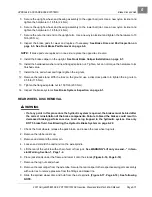
3. Remove and discard the two hex-head bolts that secure the caliper assembly to the upright and remove
the caliper and, if equipped, its two shim washers (one per bolt).
4. Repeat steps 1 through 3 for the opposite front wheel if necessary.
Figure 6-2 Front Jack Stand Placement
Summary of Contents for IntelliTach XRT 1550
Page 2: ......
Page 22: ...1...
Page 54: ...4...
Page 60: ...5...
Page 90: ...6...
Page 114: ...8...
Page 118: ...9...
Page 196: ...11A...
Page 290: ...11C...
Page 468: ...13C...
Page 490: ...14...
Page 498: ...15...
Page 548: ...16...
Page 560: ...Club Car R NOTES...
Page 561: ...Club Car R NOTES...
Page 562: ...Club Car R NOTES...
Page 563: ......

