HONDA GASOLINE ENGINE, MUFFLER, FUEL SYSTEM, AND CLUTCHES
Fuel System
Page 13b-12
2007 Carryall 295/295 SE & XRT 1550/1550 SE Gasoline, Diesel and IntelliTach M & S Manual
13B
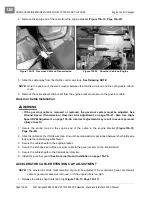
5. Use a crisscross pattern to tighten the hardware to 9 in-lb (1 N·m). If the hardware cannot be tightened
to 9 in-lb (1 N·m), the fuel tank must be replaced.
See following CAUTION.
CAUT ION
• Do not overtighten the screws. Overtightening the screws will strip the mounting holes in the
fuel tank.
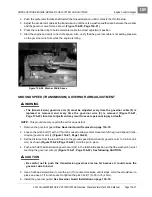
6. Secure the orange wire (7) to the center post with the nut (9) previously removed
(Figure 13b-4,
Page 13b-10)
. Tighten the hardware to 17 in-lb (1.9 N·m) and secure the rubber boot (8) to the center
post.
7. Install the passenger seat.
See Seat Installation, Section 4, Page 4-9.
8. Connect the spark plug wires.
9. Connect the battery cables, positive (+) cable first, and tighten the hardware to 144 in-lb (16 N·m). Coat
terminals with Battery Terminal Protector Spray (CCI P/N 1014305).
FUEL TANK
See General Warning, Section 1, Page 1-1.
ý
WARNING
• If the fuel tank is damaged, replace it. Do not attempt to repair it. See the following tank
removal and disposal procedure.
Fuel Tank Removal
1. Turn the key switch OFF and remove the key. Place the Forward/Reverse handle in NEUTRAL. Chock
the wheels.
2. Disconnect the battery cables as instructed.
See WARNING “To avoid unintentionally starting...” in
General Warning, Section 1, Page 1-1.
3. Remove both seats.
4. Remove the center seat plate.
5. Remove the upper portion of the ROPS.
See ROPS Removal, Section 4, Page 4-7.
6. Remove the bolts, washers and flanged locknuts from the seat frame, seat side plates, and engine cover
plate.
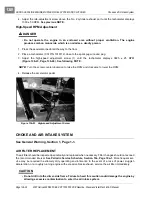
7. Turn the fuel shut-off valve to the closed (OFF) position
(Figure 13b-9, Page 13b-15)
.
8. Run the engine until all fuel in the carburetor, fuel pump, and fuel lines is used and the engine stalls.
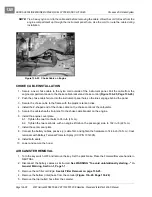
9. Loosen the clamp and disconnect the fuel line from the fuel tank shut-off valve
(Figure 13b-7,
Page 13b-13)
.
10. Loosen the clamp and remove the vent tube from the fuel tank
.
11. Remove the fuel tank cap.
12. Use a siphon with a built-in suction device to siphon all fuel from the tank and into an approved container.
See following DANGER and WARNING.
Summary of Contents for IntelliTach XRT 1550
Page 2: ......
Page 22: ...1...
Page 54: ...4...
Page 60: ...5...
Page 90: ...6...
Page 114: ...8...
Page 118: ...9...
Page 196: ...11A...
Page 290: ...11C...
Page 468: ...13C...
Page 490: ...14...
Page 498: ...15...
Page 548: ...16...
Page 560: ...Club Car R NOTES...
Page 561: ...Club Car R NOTES...
Page 562: ...Club Car R NOTES...
Page 563: ......

