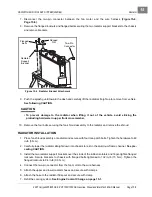
RADIATOR AND COOLANT SYSTEM (DIESEL)
Radiator
Page 15-4
2007 Carryall 295/295 SE & XRT 1550/1550 SE Gasoline, Diesel and IntelliTach M & S Manual
15
COOLANT RESERVOIR INSTALLATION
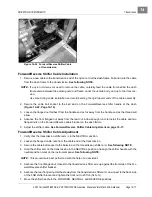
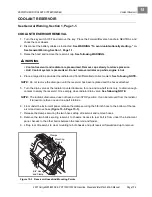
1. Install reservoir, aligning holes in mounting tabs with holes in chassis, and secure with bolts. Tighten the
hardware to 132 in-lb (15 N·m).
2. Attach 5/8 inch hose to the bottom of reservoir and secure with clamp.
3. Attach the two hoses to top of reservoir and secure with clamps.
4. Fill the reservoir to the FULL mark with an appropriate coolant mixture and check for leaks.
See follow-
ing NOTE.
NOTE:
Use a mixture of 45% water and 55% propylene glycol with anti-corrosion additives.
5. Replace the reservoir cap.
6. Connect the battery cables, positive (+) cable first, and tighten the hardware to 144 in-lb (16 N·m). Coat
terminals with Battery Terminal Protector Spray (CCI P/N 1014305).
7. Start and run the engine until it reaches operating temperature and check for leaks.
8. Stop the engine and allow the engine and coolant to cool.
See following WARNING.
ý
WARNING
• Coolant reservoir and radiator are pressurized. Remove caps slowly to relieve pressure.
• Hot! Coolant system is pressurized. Do not remove radiator cap while engine is hot.
9. If necessary, remove reservoir cap and fill the reservoir to the FULL mark. Replace cap.
See preceding
WARNING.
10. Lower and secure the hood.
RADIATOR
See General Warning, Section 1, Page 1-1.
RADIATOR REMOVAL
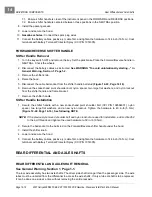
1. Turn the key switch OFF and remove the key. Place the Forward/Reverse handle in NEUTRAL and
chock the rear wheels.
2. Disconnect the battery cables as instructed.
See WARNING “To avoid unintentionally starting...” in
See General Warning, Section 1, Page 1-1.
3. Raise the hood.
4. Drain the radiator, reservoir and engine.
See Engine Coolant Change on page 15-1.
See following
WARNING.
ý
WARNING
• Coolant reservoir and radiator are pressurized. Remove caps slowly to relieve pressure.
• Hot! Coolant system is pressurized. Do not remove radiator cap while engine is hot.
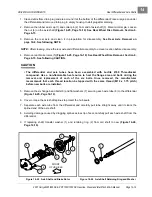
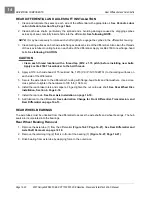
5. Release the clamp securing the hose to the radiator fill spout and remove hose.
6. Release the clamps securing the upper and lower radiator hoses to the radiator and remove hoses.
Summary of Contents for IntelliTach XRT 1550
Page 2: ......
Page 22: ...1...
Page 54: ...4...
Page 60: ...5...
Page 90: ...6...
Page 114: ...8...
Page 118: ...9...
Page 196: ...11A...
Page 290: ...11C...
Page 468: ...13C...
Page 490: ...14...
Page 498: ...15...
Page 548: ...16...
Page 560: ...Club Car R NOTES...
Page 561: ...Club Car R NOTES...
Page 562: ...Club Car R NOTES...
Page 563: ......

