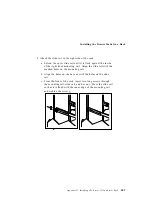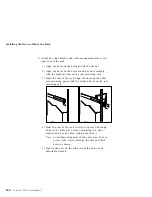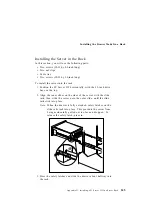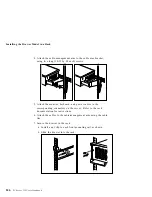
Installing the Drawer Model in a Rack
Attention:
To ensure cabinet stability, plan the installation of
servers in the rack starting from the bottom.
Notes:
1. This procedure requires two people.
2. Some slide brackets have threaded holes on the flange. These
brackets do not require the bar nuts.
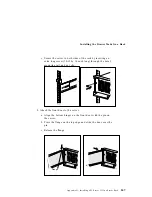
To attach the mounting hardware to the rack:
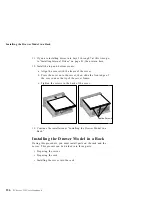
1. Mark the positions of the slide brackets on the mounting rails
on the rack.
a. Position the template on the front mounting on the rack,
aligning the holes. Secure the template in place with tape.
b. Mark the holes for the slide brackets and nut clips.
c. Carefully remove the tape from the mounting rails, and
attach the template to the rear mounting rails. Mark the
locations for the slide brackets.
Note: You must align the slide brackets properly, or the
installation cannot be completed.
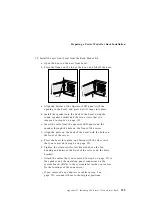
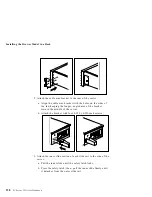
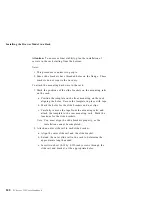
2. Attach an outer slide rail to each slide bracket.
a. Align the outer slide rail and the slide bracket.
b. Extend the outer slide rail in the rack to determine the
approximate length needed.
c. Insert two short (8-32 by 0.325-inch) screws through the
slide rail and bracket, at the appropriate holes.
240
PC Server 325 User's Handbook
Summary of Contents for PC Server 325
Page 1: ...PC Server 325 User s Handbook IBM...
Page 6: ...vi PC Server 325 User s Handbook...
Page 10: ...Laser Compliance Statement x PC Server 325 User s Handbook...
Page 136: ...Updating the Server Configuration 122 PC Server 325 User s Handbook...
Page 212: ...Resolving Configuration Conflicts 198 PC Server 325 User s Handbook...
Page 238: ...Installed Device Records 224 PC Server 325 User s Handbook...
Page 287: ......
Page 288: ...IBM Part Number 76H8831 Printed in U S A September 1996 76H8831...

