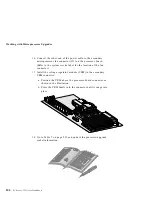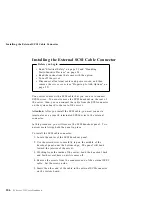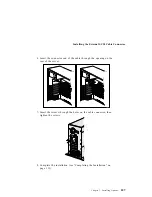
Working with Microprocessor Upgrades
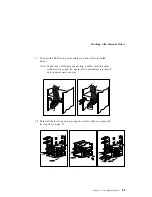
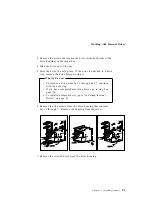
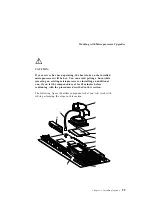
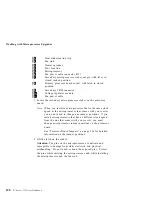
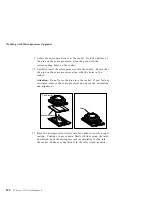
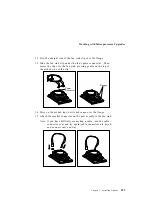
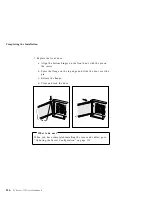
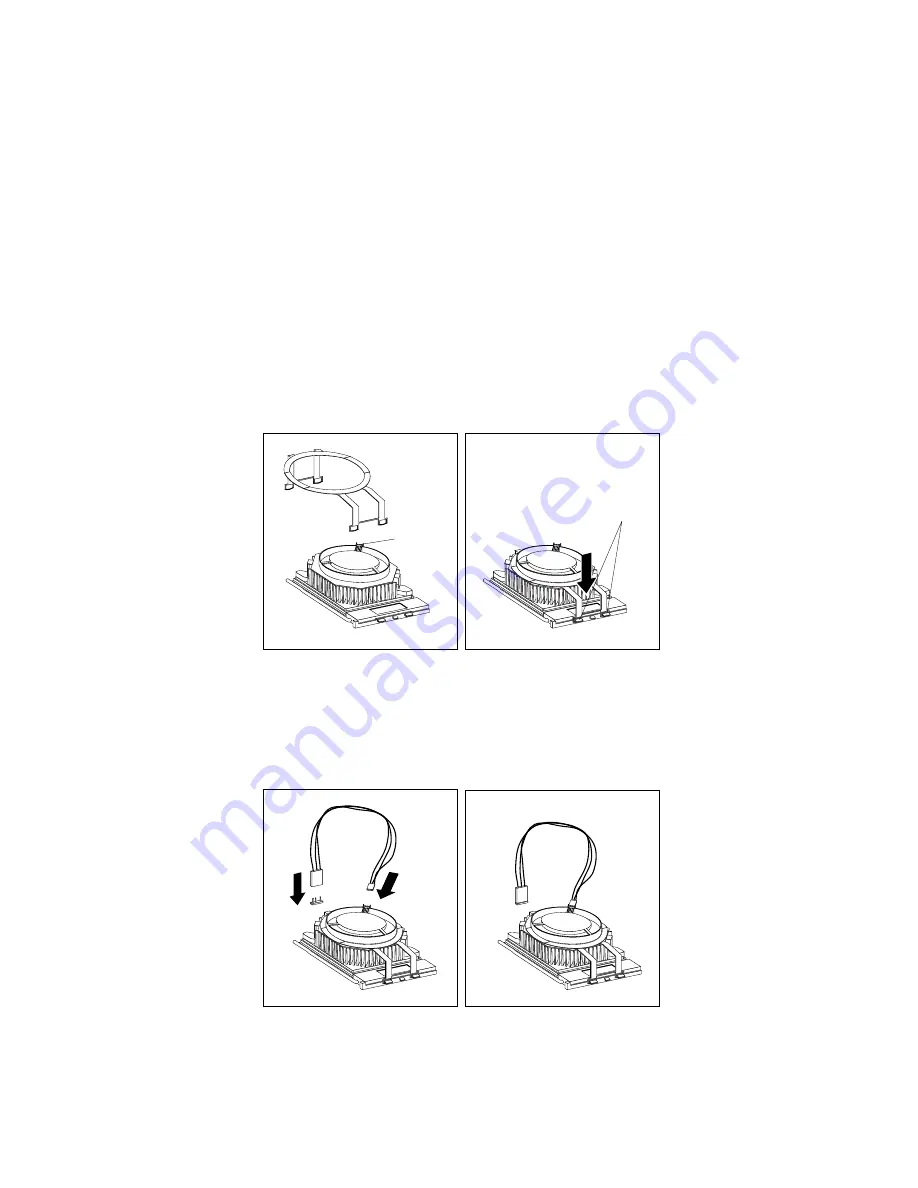
12. Clip the straight side of the fan sink clip over the flange.
13. Slide the fan sink clip under the fan's power connector. Then,
center the clip over the fan sink, pressing gently on the top of
the arched side of the clip.
Power
Connector
Flanges
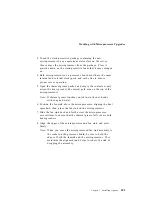
14. Press on the arched legs, until each snaps over the flange.
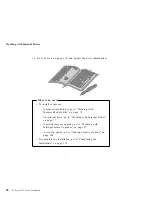
15. Attach the smaller connector on the power cable to the fan sink.
Note: If you have difficulty connecting a cable, turn the cable
connector over and try again; cable connectors are keyed
and connect only one way.
Chapter 3. Installing Options
103
Summary of Contents for PC Server 325
Page 1: ...PC Server 325 User s Handbook IBM...
Page 6: ...vi PC Server 325 User s Handbook...
Page 10: ...Laser Compliance Statement x PC Server 325 User s Handbook...
Page 136: ...Updating the Server Configuration 122 PC Server 325 User s Handbook...
Page 212: ...Resolving Configuration Conflicts 198 PC Server 325 User s Handbook...
Page 238: ...Installed Device Records 224 PC Server 325 User s Handbook...
Page 287: ......
Page 288: ...IBM Part Number 76H8831 Printed in U S A September 1996 76H8831...

