


Working with Internal Drives
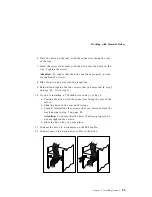
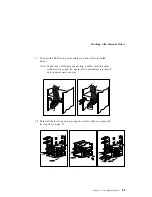
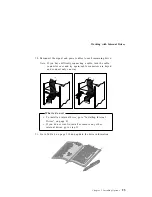
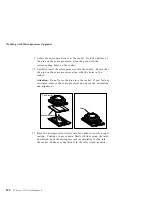
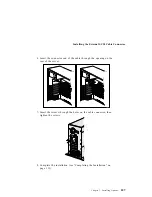
3. Remove the screws that secure the drive (from both sides of the
drive housing) in the target bay.
4. Slide the drive out of the bay.
5. Store the drive in a safe place. If the drive is attached to a drive
tray, remove the drive before storing it.
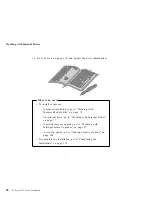
What to do next
To remove a drive from bay 3 through bay 7, continue
with the next step.
If you have completed removing drives, go to step 8 on
page 94.
To install an internal drive, go to “Installing Internal
Drives” on page 81.
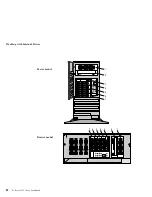
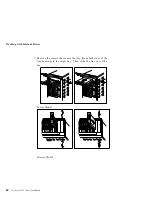
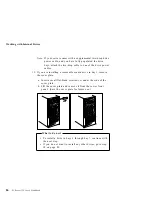
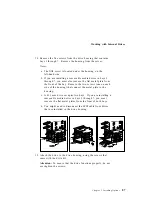
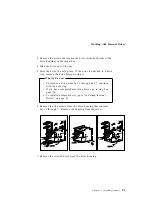
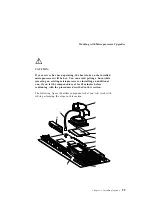
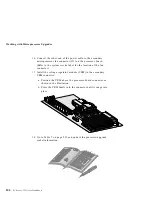
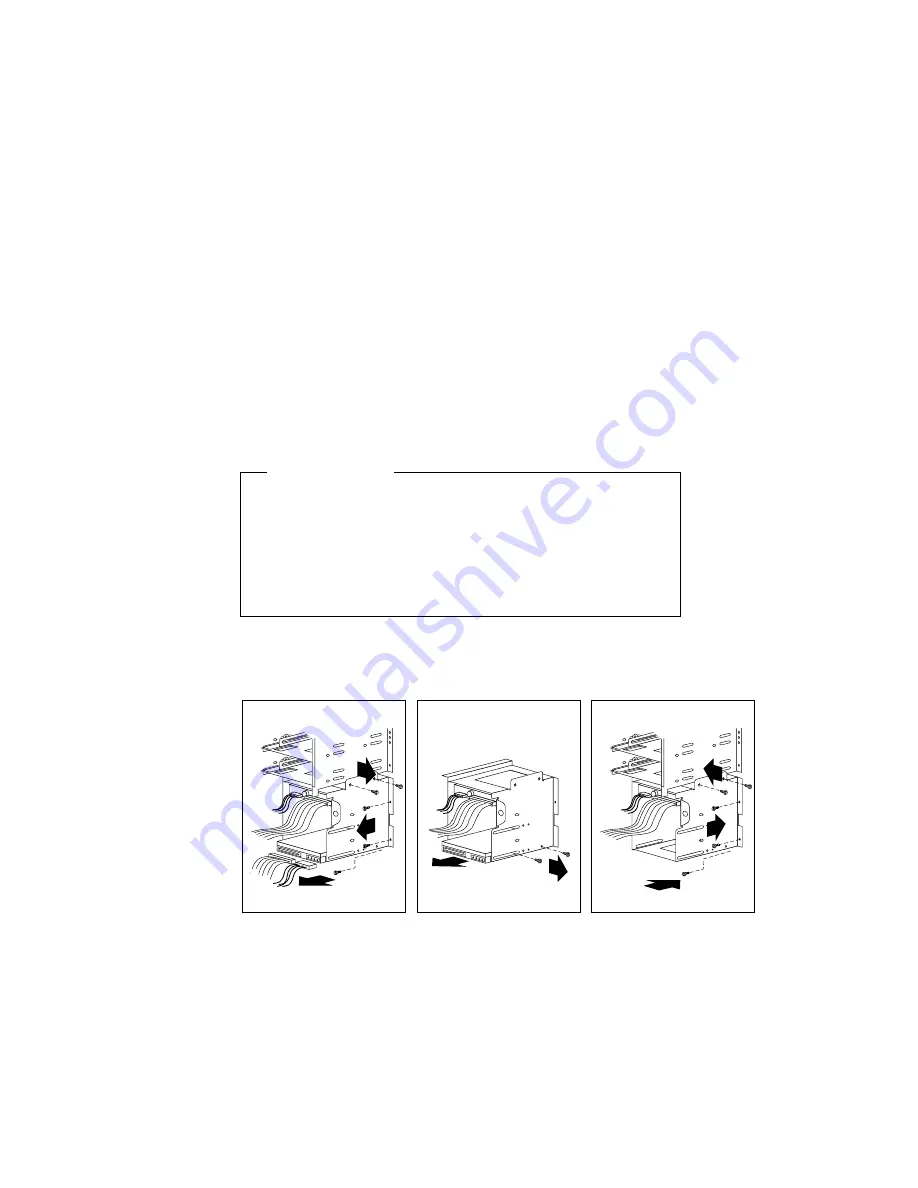
6. Remove the five screws from the drive housing that contains
bays 3 through 7. Remove the housing from the server.
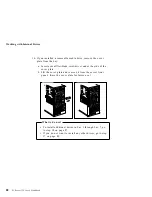
7. Remove the selected drive from the drive housing.
Chapter 3. Installing Options
93
Summary of Contents for PC Server 325
Page 1: ...PC Server 325 User s Handbook IBM...
Page 6: ...vi PC Server 325 User s Handbook...
Page 10: ...Laser Compliance Statement x PC Server 325 User s Handbook...
Page 136: ...Updating the Server Configuration 122 PC Server 325 User s Handbook...
Page 212: ...Resolving Configuration Conflicts 198 PC Server 325 User s Handbook...
Page 238: ...Installed Device Records 224 PC Server 325 User s Handbook...
Page 287: ......
Page 288: ...IBM Part Number 76H8831 Printed in U S A September 1996 76H8831...