Canceling the switch assignment
After the switching assignment has been activat-
ed as described at the beginning of this section,
touch the
N
button.
touch
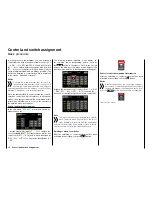
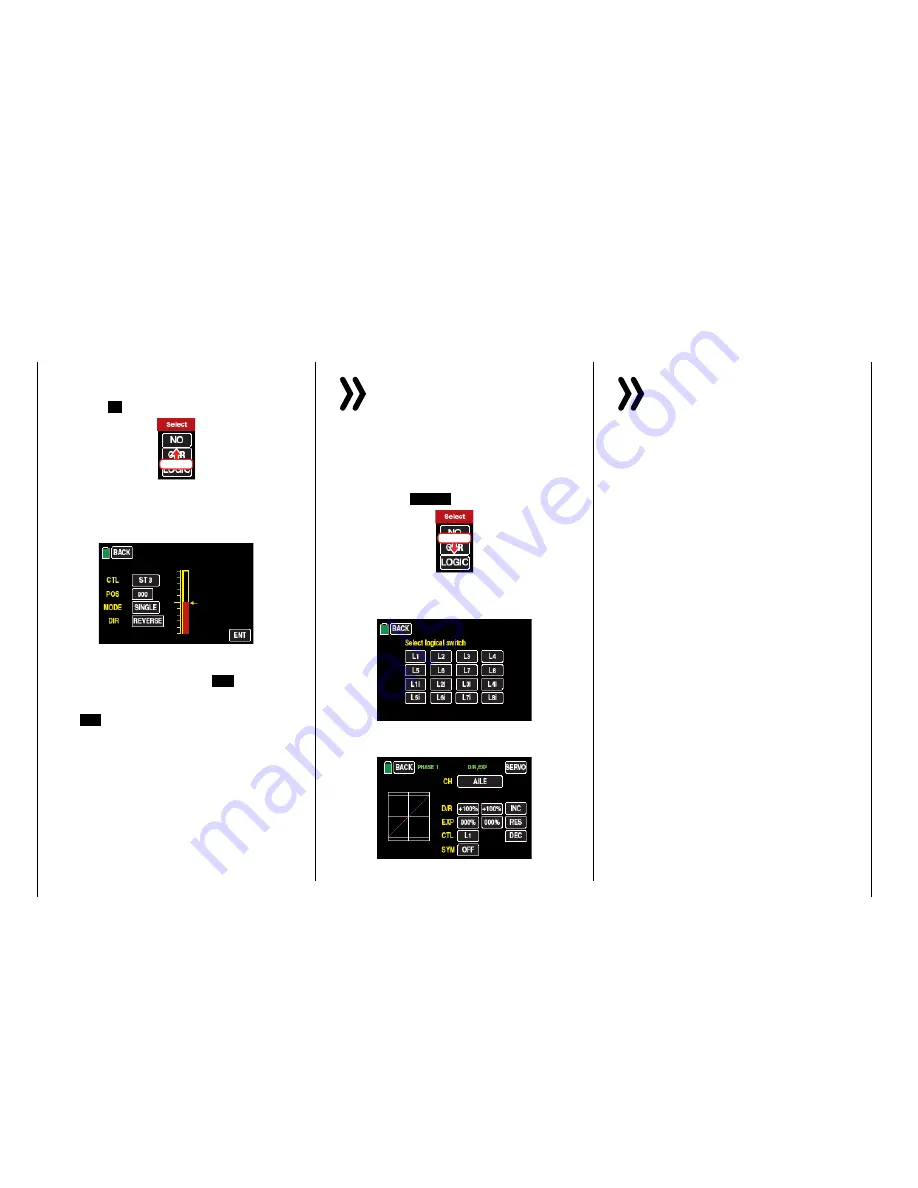
• Control switch assignment
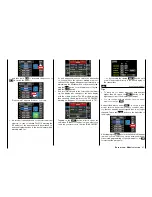
Move the control that you want to use to activate
the switching function, for example the control
function 3, indicated with "SL2":
The yellow arrow to the right of the bar diagram
illustrates the current control position which can
be accepted by touching the
ENT
button as the
switching point in the value field to the right of
"POS". Reverse the switching direction by touch-
ing
REV
in the line "DIR(ection)".
In the "MODE" line, the switching function of the
control switch can be changed from on/off like
a 2-stage switch to the switching behavior of a
3-stage switch.
Notice
In this case, be sure to specify a switching po-
sition that is not "000". Otherwise, you risk
switching continuously back-and-forth be-
tween the two switching states while the relevant
control is in the middle control position.
• Assigning logical switch
After the switching or control assignment has been
activated as described at the beginning of this sec-
tion, touch the
LOGIC
button:
touch
In the new window appears a list with the eight
logical switches "L1 ... L8" so as 8 inverted logi-
cal switches.
As soon as you tap on the desired switch, it will be
assumed in the output menu, for example:
Notice
Therefore do not forget to program the related
selected logical switch in the "
Logical sw
"
sub-menu!
Tips
Through the logical switches, see sub-menu "
Logi-
cal sw
", you can logically interconnect two switch-
es and/or also control switch in a "AND" or "OR"
switch.. A total amount of 8 logical switches "L1 ...
L8" (so as 8 accessory logical switches with reversed
switch direction) are available.
The result of one of these logical switch functions
can also be used as switch function in another logi-
cal switch. For more specific details, see the related
menu.
• All of these switches can be given multiple assign-
ments. Make sure that you do not accidentally as-
sign competing functions to a switch. It is recom-
mendable to write down the switching functions.
Practical examples:
• Turning an on-board glow plug heater on and
off when a idling switching point for the THR con-
trol stick is exceeded or undershot. The switch for
the glow plug heater is controlled at the transmitter
by a mixer.
• Automatically turning the stopwatch on and off to
measure the actual flight time of a helicopter by
means of a control switch on the throttle limiter.
• Automatically turning off the mixer "AILE
RUDD"
when the brake flap extends to adapt the landing
position of the model to the ground contour when
landing on a slope without affecting the direction
of flight by rudders which are otherwise involved.
28
Control and switch assignment
Summary of Contents for mz-24 PRO
Page 13: ...13 Personal notes...
Page 19: ...19 Personal notes...
Page 37: ...37 Personal notes...
Page 59: ...Touch 59 Base menu Model selection...
Page 79: ...79 Personal notes...
Page 89: ...89 Personal notes...
Page 115: ...115 Personal notes...
Page 153: ...Helicopter model function menus Common function menus 153 Personal notes...
Page 169: ...169 Personal notes...
Page 187: ...187 Personal notes...
Page 199: ...199 Personal notes...
Page 207: ...Fixed wing model function menus System menus 207 Personal notes...
Page 211: ...211 Personal notes...
Page 219: ...219 Personal notes...
Page 237: ...237 Personal notes...
Page 238: ...238 Personal notes...
Page 239: ...239 Personal notes...


