Control and switch assignment
Basic procedure
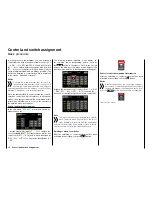
In many places in the program, you can actuate a
control function with a freely selectable control (ST 1
… 4, DV1 … D4, DT1 and DT2, SL1 and SL2), switch
(S1 … 8), or switch between settings with a switch
(S1 … 8), control or logical switch (see below). In both
cases, multiple assignments are always possible. (The
distinction between a control and switch is explained
in the section "Definition of terms").
Notice
It should be noted however that incorrect re-
sponses may arise from functional overlaps such
as using the same physical switch as a switch to
switch between Phase switch and as a control for Phase
trimming. Change also your switch assignment.
Since the same method is used to assign the controls,
switches control and logical switches in all relevant
menus, the basic procedure will be explained at this
point which will allow you to focus on the specifics in
the detailed menu descriptions.
Control and switch assignment
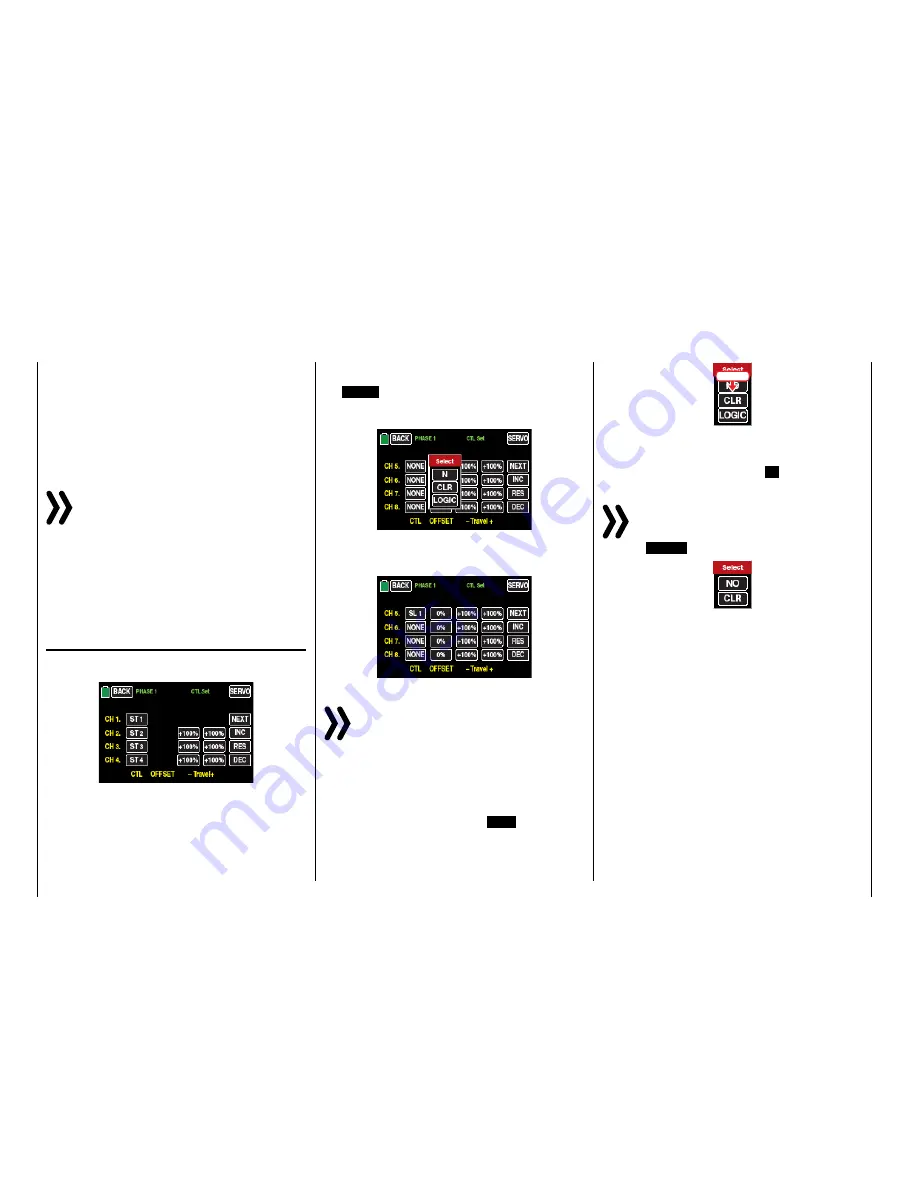
In the sub-menu
"CTL Set"
(control and switch as-
signment) you can …
… assign transmitter inputs 1 … 12 to operate ser-
vos of the
mz-24
HoTT Pro transmitter as well as any
control stick (ST1 … ST4) and controls identified as
"DVx", "SLx" or "DTx", or any switch identified as "S1
… S8".
The following window appears in the display af-
ter touching the corresponding button, such as
the
NONE
button to the right of "CH 5" in the second
page of the display of this menu, with a finger or the
provide stylus, and the following window will appear:
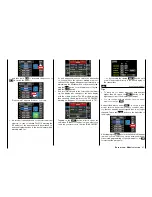
Actuate the desired control (control stick 1 … 4, DV1
… DV4, SL1 … SL2, or DT1 … DT2) or switch (S1 …
S8), such as the right proportional rotary control SL1:
Note
The controls are only recognized after a specific
path. Therefore move the control to the left or
right, forward or backward until the assignment
appears on the display. If the length of travel is insuffi-
cient, move the control in the opposite direction.
Deleting controls or switches
After the switching or control assignment has been
activated as described, touch the
CLR
button.
touch
Control or switch assignment interruption
After the switching or control assignment has been
activated as described, touch the
N
button.
Notice
In few menu positions you can assign only phys-
ical controls or switches, that is the reason why in
the pop-up windows that appear in those posi-
tions the
LOGIC
button is not available, for example:
This is not an error.
26
Control and switch assignment
Summary of Contents for mz-24 PRO
Page 13: ...13 Personal notes...
Page 19: ...19 Personal notes...
Page 37: ...37 Personal notes...
Page 59: ...Touch 59 Base menu Model selection...
Page 79: ...79 Personal notes...
Page 89: ...89 Personal notes...
Page 115: ...115 Personal notes...
Page 153: ...Helicopter model function menus Common function menus 153 Personal notes...
Page 169: ...169 Personal notes...
Page 187: ...187 Personal notes...
Page 199: ...199 Personal notes...
Page 207: ...Fixed wing model function menus System menus 207 Personal notes...
Page 211: ...211 Personal notes...
Page 219: ...219 Personal notes...
Page 237: ...237 Personal notes...
Page 238: ...238 Personal notes...
Page 239: ...239 Personal notes...

