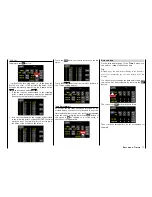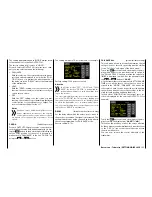
"CTL/Set" column
(control/switch)
Assigning switch or control
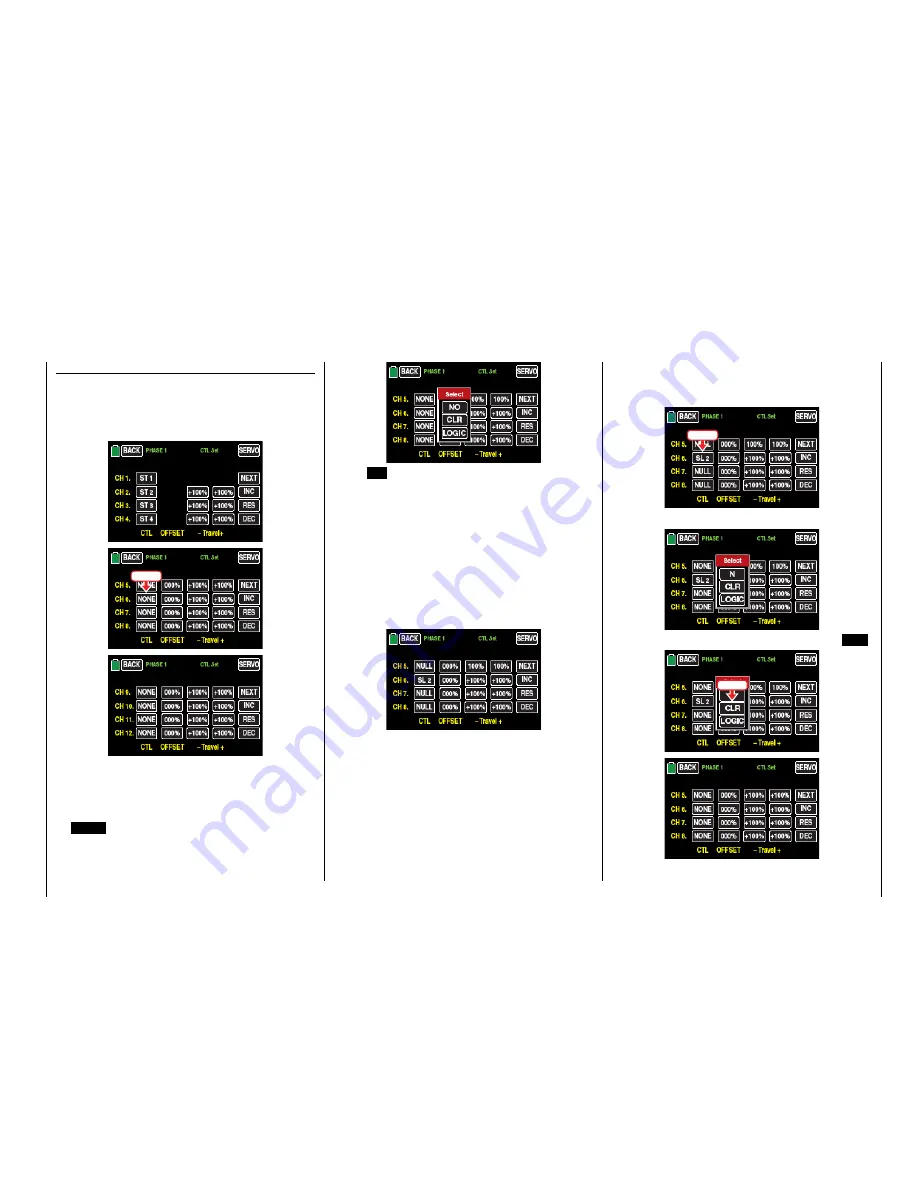
To assign a control element tap on the value field in
the line of the desired control channel, for example
input 6 in the second display page of this sub-menu:
Touch
Tip
In order to set the control channels CH5 ... 8 and CH 9
... 12 so as to be able to set a delay in the fourth page
of this sub-menu, tap in the right side of the display
on
NEXT
[
change page
].
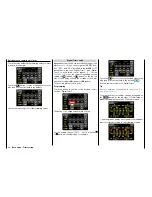
The "SELECT" pop-up display appears:
Touch
NO
to terminate the procedure. To assign the
control or switch, activate the desired control ele-
ment; remember that the proportional dials and ro-
tary controls are only recognized after a pause and
therefore need to be activated for slightly longer. If the
travel is no longer sufficient, activate the control in
the opposite direction if necessary. With an assigned
2-position switch, you can only switch back-and-forth
between the end values as for example motor ON /
OFF The 3-position switch offers a middle position.
The display shows either the control name or the
switch number, such as:
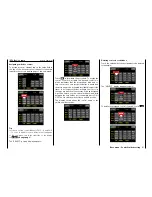
Deleting controls or switches
Touch the value field of the assignment to be deleted,
for example:
Touch
The "SELECT" display reappears again:
To delete the assigned control or switch, touch
CLR
:
Touch
91
Base menu - Control/switch setting
Summary of Contents for mz-24 PRO
Page 13: ...13 Personal notes...
Page 19: ...19 Personal notes...
Page 37: ...37 Personal notes...
Page 59: ...Touch 59 Base menu Model selection...
Page 79: ...79 Personal notes...
Page 89: ...89 Personal notes...
Page 115: ...115 Personal notes...
Page 153: ...Helicopter model function menus Common function menus 153 Personal notes...
Page 169: ...169 Personal notes...
Page 187: ...187 Personal notes...
Page 199: ...199 Personal notes...
Page 207: ...Fixed wing model function menus System menus 207 Personal notes...
Page 211: ...211 Personal notes...
Page 219: ...219 Personal notes...
Page 237: ...237 Personal notes...
Page 238: ...238 Personal notes...
Page 239: ...239 Personal notes...

