Faxing
275
21
Faxing
NOTE:
If the Function Enabled setting for
FAX
is set to
On(Password)
, you need to enter the four digit password to use the
fax function. If the Function Enabled setting for
FAX
is set to
Off
, the fax function is disabled. For details, see "Function
Enabled" on page 197.
NOTE:
If the
Panel Lock Set
is set to
Enable
, you need to enter the four digit password to enter the
Admin Menu
.
NOTE:
Ensure that the telephone line is connected properly. For details, see "Connecting the Telephone Line" on page 43.
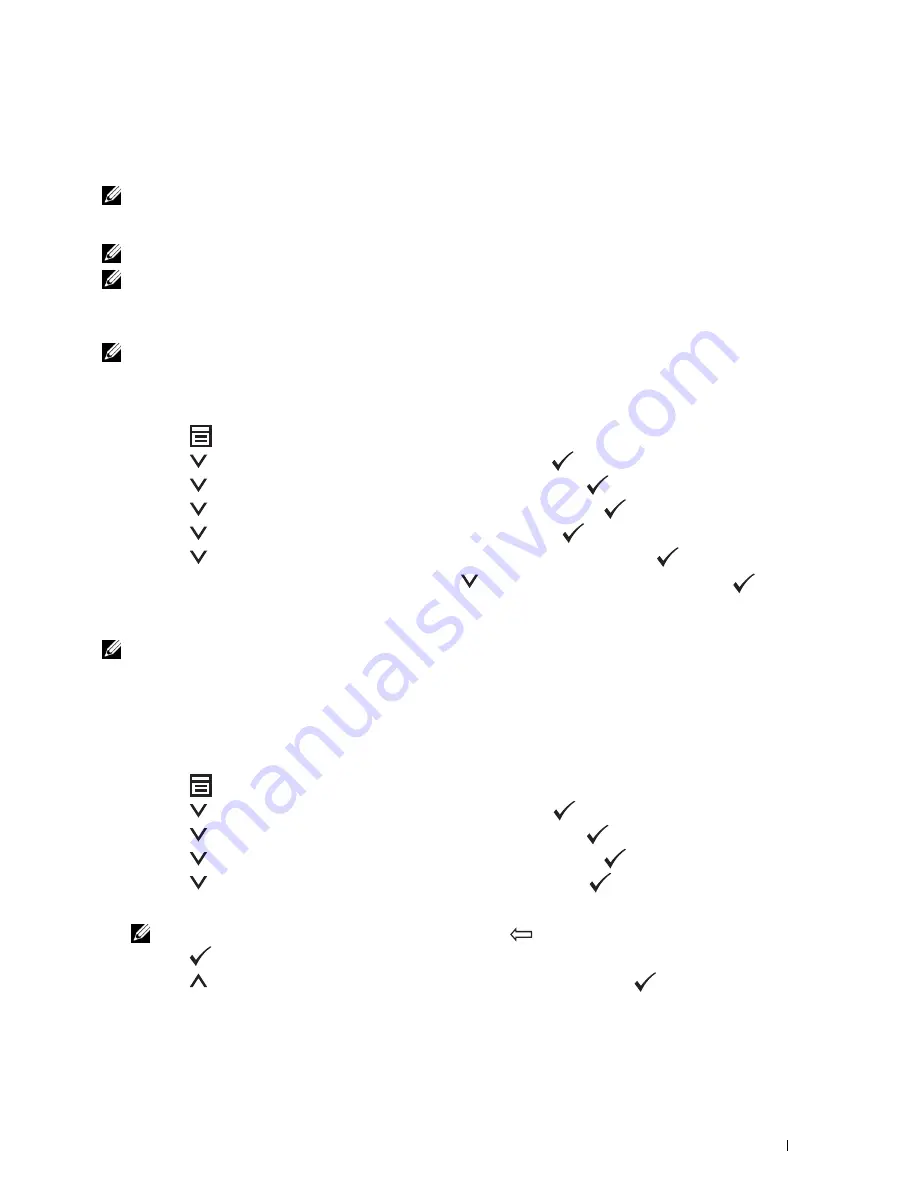
Configuring Fax Initial Settings
NOTE:
The following settings can be configured also using Advance Tools on Easy Setup Navigator.
Setting Your Country
You need to set the country where your printer is used for using the fax service on the printer.
1
Press the
(Menu)
button.
2
Press the
button until
System
is highlighted, and then press the
(Set)
button.
3
Press the
button until
Admin Menu
is highlighted, and then press the
(Set)
button.
4
Press the
button until
Fax Settings
is highlighted, and then press the
(Set)
button.
5
Press the
button until
Country
is highlighted, and then press the
(Set)
button.
6
Press the
button to select the country where the printer is used, and then press the
(Set)
button.
7
Ensure that
Are You Sure?
is displayed, press the
button to select
Yes
, and then press the
(Set)
button.
The printer restarts automatically to apply the settings.
NOTE:
In case of either one, when you configure the country setting, the information, which is registered to the device, is
initialized.
Setting the Printer ID
In most countries, you are required by law to indicate your fax number on any fax you send. The printer ID,
containing your telephone number and name or company name, will be printed at the top of each page sent from
your printer.
1
Press the
(Menu)
button.
2
Press the
button until
System
is highlighted, and then press the
(Set)
button.
3
Press the
button until
Admin Menu
is highlighted, and then press the
(Set)
button.
4
Press the
button until
Fax Settings
is highlighted, and then press the
(Set)
button.
5
Press the
button until
Fax Number
is highlighted, and then press the
(Set)
button.
6
Enter your fax number using the number keypad.
NOTE:
If you make a mistake while entering numbers, press the
(Backspace) button to delete the last digit.
7
Press the
(Set)
button when the number on the display is correct.
8
Press the
button until
Fax Header Name
is highlighted, and then press the
(Set)
button.
Summary of Contents for C1765nf Color Laser
Page 2: ......
Page 16: ...14 Contents ...
Page 18: ...16 ...
Page 20: ...18 Notes Cautions and Warnings ...
Page 22: ...20 Dell C1765nf C1765nfw Color Multifunction Printer User s Guide ...
Page 34: ...32 ...
Page 36: ...34 Removing Packaging Material ...
Page 48: ...46 Connecting Your Printer ...
Page 54: ...52 Setting Up Your Printer ...
Page 58: ...56 Setting the IP Address ...
Page 66: ...64 Loading Paper ...
Page 90: ...88 Installing Printer Drivers on Computers Running Macintosh ...
Page 92: ...90 ...
Page 98: ...96 Operator Panel ...
Page 204: ...202 Understanding the Printer Menus ...
Page 212: ...210 Print Media Guidelines ...
Page 230: ...228 ...
Page 234: ...232 Printing ...
Page 248: ...246 Copying ...
Page 276: ...274 Scanning ...
Page 300: ...298 ...
Page 316: ...314 Specifications ...
Page 317: ...315 Maintaining Your Printer 25 Maintaining Your Printer 317 26 Clearing Jams 331 ...
Page 318: ...316 ...
Page 345: ...Clearing Jams 343 8 Close the rear cover ...
Page 346: ...344 Clearing Jams ...
Page 347: ...345 Troubleshooting 27 Troubleshooting 347 ...
Page 348: ...346 ...
Page 367: ...365 Appendix Appendix 366 Index 371 ...
Page 382: ...380 Index ...


