MA Lighting Technology GmbH . Dachdeckerstr. 16 . D-97297 Waldbüttelbrunn . www.malighting.de eMail: [email protected]
76
76
76
76
76
Preset 1
Preset 1
Preset 1
Preset 1
Preset 1
Preset 2
Preset 2
Preset 2
Preset 2
Preset 2
value 2
value 1
Link zu
value 1
○
○
○○○
Preset 1
Preset 1
Preset 1
Preset 1
Preset 1
Preset 2
Preset 2
Preset 2
Preset 2
Preset 2
value 2
Preset 3
Preset 3
Preset 3
Preset 3
Preset 3
value 3
value 1
Link zu
value 1
link zu
value 1
○
○○○○
○○○○○○○○○○○○○○○○○○
Preset 3
Preset 3
Preset 3
Preset 3
Preset 3
value 2
Link zu
value 1
○ ○
○ ○
○ ○
○ ○
○ ○
○ ○
○ ○
○ ○
○
copy
copy
copy
copy
copy
3.7.6 Embedded Presets
3.7.6 Embedded Presets
3.7.6 Embedded Presets
3.7.6 Embedded Presets
3.7.6 Embedded Presets
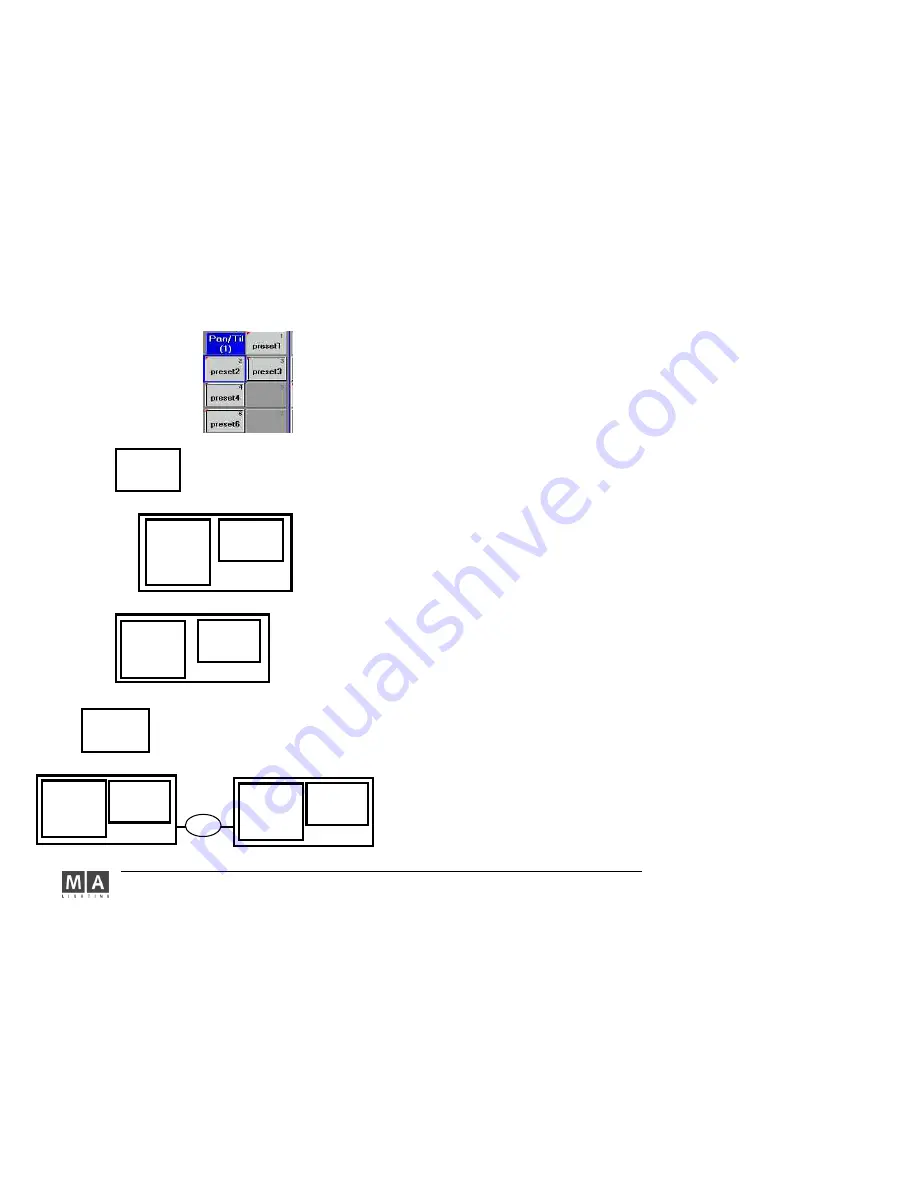
With this function, you can „embed“ preset values into other presets, so you can quickly change multiple presets.
As the embedded value is nothing but a link to the original preset, all changes of the original preset will be
contained in all those presets containing this link. All Embedded Presets, as well as all presets having a link to
another preset, can be distinguished by a black frame in the Preset Sheet.
Creating an Embedded Preset:
call up a preset
adjust additional values or positions
use STORE to save the new preset to an empty button in the Preset Pool – mind the preset filter setting. The
black frame around the new preset indicates an Embedded Preset.
Example:
- activate Preset 1 and save it with an additional value as Preset 2. In the Preset Pool, Preset 2 will be displayed
with a black frame indicating an Embedded Preset. Create Preset 3 in the same way. If you change Preset 1, this
will automatically change Presets 2 and 3.
Editing an Embedded Preset:
press
EDIT
call up a preset – in the Fixture Sheet, all Embedded Presets will now be displayed with a black frame
make your changes
press
UPDATE and confirm with OK
If you change the values of all Embedded Presets, they will become a „normal“ preset after an update. If an
Embedded Preset or a part of an Embedded Preset (e.g. only the PAN channel) is kept, the character of the
Embedded Preset will also be kept.
Preventing changes by previous Presets:
call up the Embedded Preset
press
STORE (red LED is on)
press the button of the Preset and confirm with OVERWRITE
The black frame around the Preset will vanish and the link to the Embedded Preset will be cancelled.
Example:
- Activate and save Preset 3. The link to value 1 will be cancelled, value 1 will be entered in Preset 4 (the black
frame in the Preset Pool will vanish). If you now change Preset 1, Preset 3 will remain unchanged.
Copying an Embedded Preset:
press
COPY
press on the Preset
press on a free button, to which the Preset is to be copied
Example:
COPY
press on Preset 2
press on a free button and rename the new preset to Preset 3
Important: The link to Preset 1 will be kept in Preset 3, even if you delete Preset 2 after the copying
process (see graphics on the left).


