MA Lighting Technology GmbH . Dachdeckerstr. 16 . D-97297 Waldbüttelbrunn . www.malighting.de eMail: [email protected]
20
20
20
20
20
2.2.2 P
2.2.2 P
2.2.2 P
2.2.2 P
2.2.2 Patching Scanners/Dimmers
atching Scanners/Dimmers
atching Scanners/Dimmers
atching Scanners/Dimmers
atching Scanners/Dimmers
In The lower part of the window shows the Scanners/Dimmers of the selected
Select a fixture in the “Patch“ column (blue background).
If all fixtures of these “Fixture Layers“ are to be patched one after the other, you can select all of them together by
clicking on the column title (in this case PATCH). Now, all fixtures are displayed on a blue background.
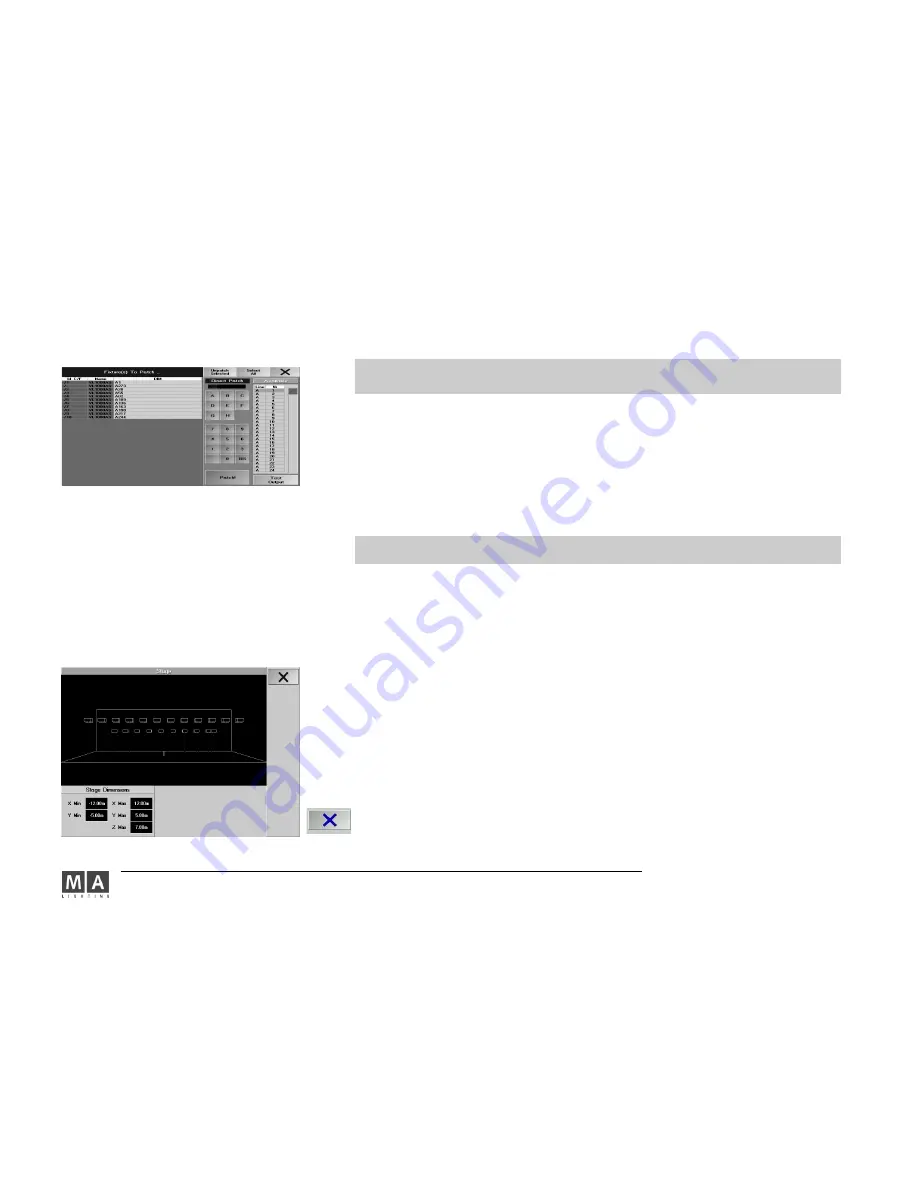
Pressing the Encoder will open this menu:
Below “Direct Patch“, the first free
DMX channel is displayed.
First, you have to set the DMX output (e.g.: A, B, ...), then the (first) DMX channel.
Finally, press the “Patch!“ key. That’s all.
o r :
o r :
o r :
o r :
o r :
All free channels are displayed in the right column. By turning the Encoder, all invisible channels can be displayed
and selected. Pressing the Encoder will accept the channel.
If the TEST OUTPUT button is pressed (green background), the selected DMX output channel is set to 100%. This
accelerates the localizing of a patched channel in the stage setup.
This function will only affect fixtures, whose DMX signal is directly output by the console. Consoles in Slave operation
or fixtures, whose signals are output over the MA-Net, cannot execute this function.
Now, the selected and patched fixtures can bei positioned in a 3D stage display.
Leave menu with X .
press
Save to save the modified settings
Don´t Save will discard the modifications
with
Cancel you stay in this menu.
2.2.3 P
2.2.3 P
2.2.3 P
2.2.3 P
2.2.3 Position of fixtures
osition of fixtures
osition of fixtures
osition of fixtures
osition of fixtures
In the upper right part of the window, you’ll find a simplified representation of the stage that can be used to
position the fixtures. Settings will also be taken over onto the grandMA 3D.
If this part of the window is active (title bar “Stage“ is displayed in dark blue), you can modify the stage view by
turning or turning plus simultaneously pressing the Encoder.
Setting the stage size
Setting the stage size
Setting the stage size
Setting the stage size
Setting the stage size
In the geometrical system of the grandMA (Stage window) or in the grandMA 3D, you can position objects in the
three-dimensional space.
It is modelled on the geometrical system used in architecture: The X/Y level is defined as base area (stage) and the
height as Z axis.
To adjust the stage size,
press
Stage Setup .
Click on the values and enter a value in the entry window. (the values do always refer to the centre of the stage)
By turning or turning and simultaneously pressing the Encoder, you can change the stage views.
Close menu with
X .


