Hotline: +49 5251 688865-99
Hotline: +49 5251 688865-99
Hotline: +49 5251 688865-99
Hotline: +49 5251 688865-99
Hotline: +49 5251 688865-99
. Operating Manual grandMA Version 5.4
129
129
129
129
129
-
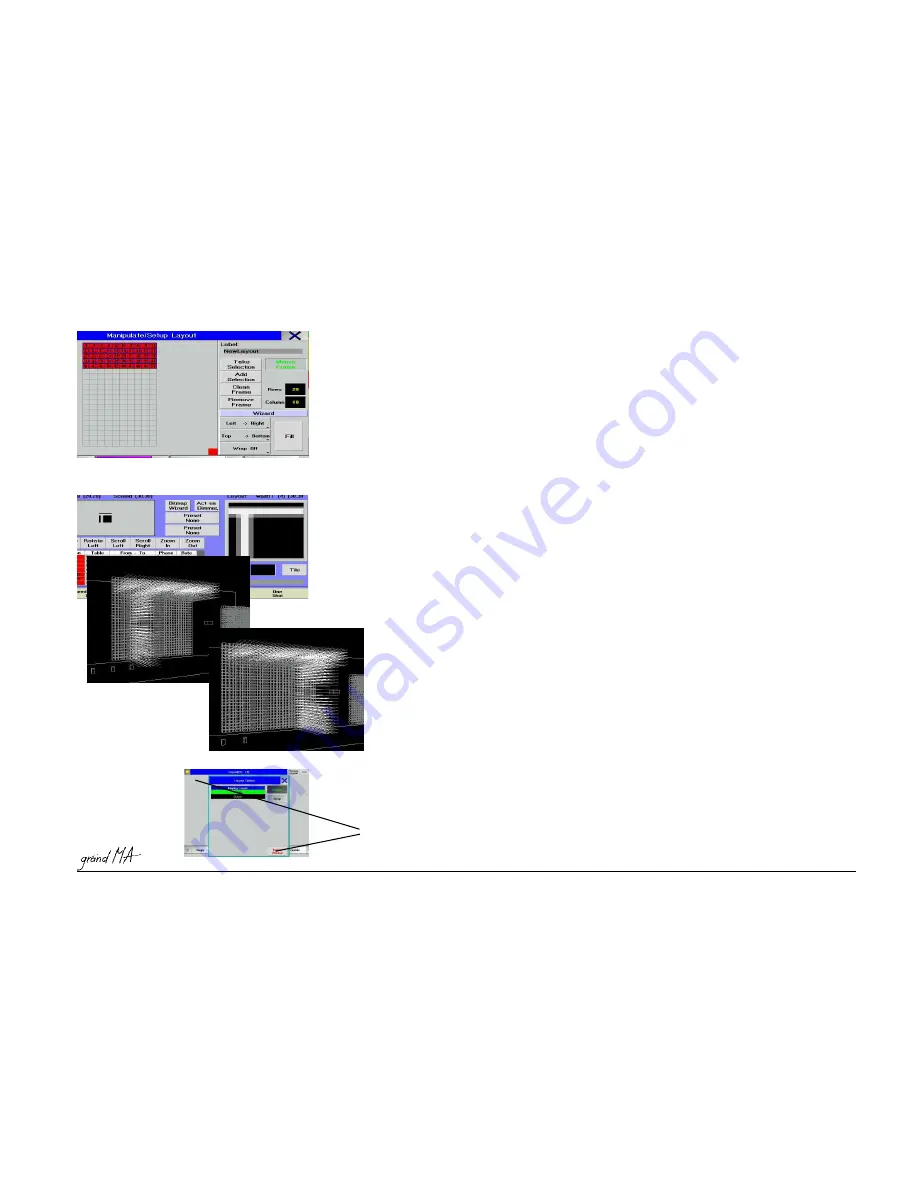
MOUSE FRAME; if the button is activated (text turns green), you can draw a blue frame on the grid. This frame
forms the target for the commands CLEAN, REMOVE, and FILL. If the button is not active (text is grey), you can fill the
grid using the FILL command, or you can deliberately position individual fixtures on a free cell.
-
TAKE SELECTION; the selected fixtures will be transferred into the layout and you can position them using the
WIZZARD command.
-
ADD SELECTION; when there are already fixtures positioned in the layout, the selected fixtures will be added.
-
CLEAN FRAME; fixtures within the blue frame (drawn with the active MOUSE FRAME) will be taken out of the layout
and „bunkered“ as red squares adjacent to the grid.
-
REMOVE FRAME; fixtures within the blue frame (drawn with the active MOUSE FRAME) will be deleted from the
layout, but can reintegrated again into the layout using the ADD SELECTION command.
Positioning fixtures within the layout:
The order in which fixtures are arranged, will influence how the effect will appear later.
The default setting is Left-Right, Top-Bottom, and Wrap Off – with this setting, the stage output will correspond to
what is displayed in the Preview window. Changes applied to this setting will not appear in the Preview window of the
Bitmap Editor, so that it is advisable to check them in the STAG view.
-
LEFT - RIGHT / RIGHT - LEFT; places the ID number starting point to the left / right margin
-
BOTTOM - TOP / TOP - BOTTOM; places the ID number starting point to the bottom / top margin
-
WRAP OFF; arranges the fixtures horizontally in an ascending order of their ID numbers;
-
WRAP ON; arranges the fixtures vertically in an ascending order of their ID numbers;
If a Bitmap effect runs on the same fixture matrix, but with differently filled layout, this will produce mirrored
representations. (see example on the left)
Using the default setting will take the stage output as displayed in the Preview window; if LEFT and RIGHT are
exchanged, the stage output will be displayed mirrored. You can save both layouts under different names and allocate
them to the effect.
FILL; all fixtures taken over into the layout will be placed in it using the selected settings (as far as there is enough
space available – fixtures in excess will be „spared“ in a red square adjacent to the grid.
or
position each fixture individually; in order to do so, click (mouse or finger) on the red square and draw it on a free
cell in the grid.
Press „
X“ to leave the SETUP menu.
leave the
LAYOUT VIEW menu using OPTIONS and DELETE WINDOW.
Use
DRAW to switch over to the drawing mode.
In this menu, you can create a graphics in a selected layout by hand or mouse, or you can modify already created
graphics. Besides changing the layout, you can also change all values of the fixtures involved. Save the drawn
graphics as a bitmap or save the individual layout steps as a Cue. You can delete all changes by pressing CLEAR 3
times.


