MA Lighting Technology GmbH . Dachdeckerstr. 16 . D-97297 Waldbüttelbrunn . www.malighting.de eMail: [email protected]
34
34
34
34
34
Entering Names and Values
Entering Names and Values
Entering Names and Values
Entering Names and Values
Entering Names and Values
The Attribute, for which names and values can be entered, is displayed in the title bar
or
or
or
or
or
above the right Encoder
below the Display. To select another one, rotate the Encoder, until the desired Attribute is displayed.
The first column contains the name (for Color e.g.: Color1). Click on this name and change it, if needed (e.g.: Close,
Red, ...).
In the Range column, 0.00% - 100.00% is displayed. Using the second and third Encoder, you can enter the
starting and end values for this name (Channel Values). By pressing the Percent Values buttons, you can switch to
decimal or hexadecimal display.
For further names and values, repeat these two steps, using the next lines, respectively.
Examples:
Here are some examples for standard functions (e.g.: Dimmer, ...), variable functions (e.g.: Strobe, Pan, Rotation, ...)
and functions with fix values (Gobo, Colors, ...). You can sign-on different fixtures for a trial, of course, or have a
look at the given names and settings and use them for your own fixtures.
- Standard function: Closed will be displayed, if the set value is „O“. Open, if on 255. Between 1- and 254, only
the value will be displayed.
- Variable function: (Discrete Values) The set value will be displayed. Furthermore, a value indication will
bedisplayed together with „Degrees“ as unit. In this case, -270° to 270° would be displayed. For Strobe, “Hz“ and
for Gobo_Rotate “RPM“ would appear here.
- Fixed values: Open will be displayed, if the set value is „O“.
Red between „8“ and „24“ and additionally a color will be displayed on the side. This color can be set in the Extra
column. Sames applies for the other colors.
Between the given values (e.g.: here 1 - 7), the color would be displaced by Open, and the color be inserted for
Red. Only after reaching the value “8“ would the color be displayed completely for Red.
2.8 Creating, Assigning and Deleting Profiles (see also: TTOLS-Menu)*
2.8 Creating, Assigning and Deleting Profiles (see also: TTOLS-Menu)*
2.8 Creating, Assigning and Deleting Profiles (see also: TTOLS-Menu)*
2.8 Creating, Assigning and Deleting Profiles (see also: TTOLS-Menu)*
2.8 Creating, Assigning and Deleting Profiles (see also: TTOLS-Menu)*
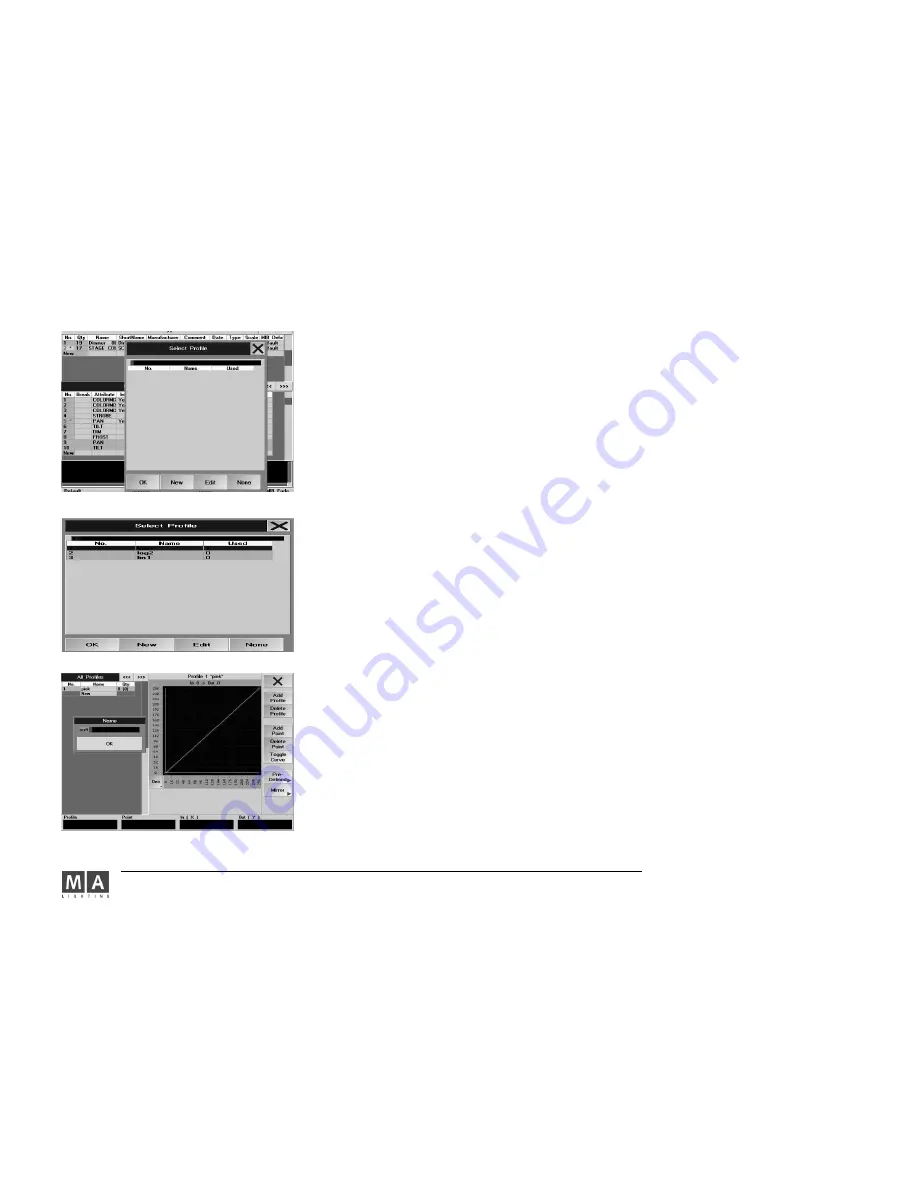
In the PROFILE TOOL menu, you can create individual profiles. The profiles created can be assigned to any Fixture
parameter or dimmer channel.
Assigning a profile to a DMX channel
press
Setup
Open the FIXTURE TYPES menu
2.5
2.5
2.5
2.5
2.5
Modifying scanners (EDIT FIXTURE) or
2.6
2.6
2.6
2.6
2.6
Creating Scanners (EDIT
FIXTURE). Here, you can assign a profile to
all
all
all
all
all
fixtures of one type
simultaneously
simultaneously
simultaneously
simultaneously
simultaneously
.
Or:
Or:
Or:
Or:
Or:
Open the Patch Sheets menu
2.3
2.3
2.3
2.3
2.3
DMX List -Single Channel-specific Adjustments for the Current Show. Here, you
can assign a profile to each individual DMX channel.
In the Profile column, elect the cell for the fixture or DMX channel, and press the Encoder. The Select Profile menu


