MA Lighting Technology GmbH . Dachdeckerstr. 16 . D-97297 Waldbüttelbrunn . www.malighting.de eMail: [email protected]
28
28
28
28
28
Creating an additional Feature in a Preset group
Creating an additional Feature in a Preset group
Creating an additional Feature in a Preset group
Creating an additional Feature in a Preset group
Creating an additional Feature in a Preset group
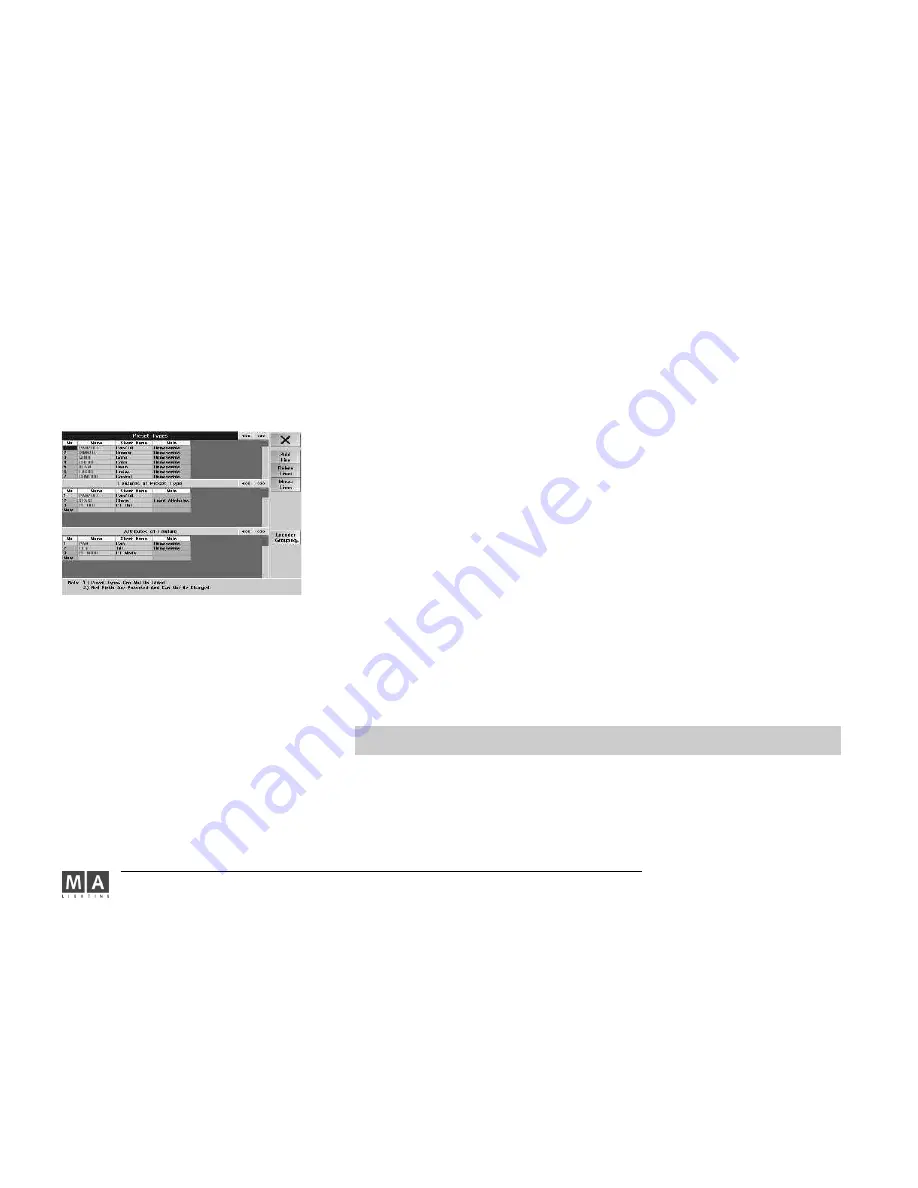
When creating new scanners or adjusting of present ones, you possibly need additional Features and Attributes.
Select a Preset group.
Click into the empty cell below the present Features. Enter a name for the new Feature using the keyboard (e.g.:
Gobo 4) and confirm with Enter. The same name is automatically taken over and will be displayed in the Fixture
window on the right side. If you want to use a different name, change it as indicated further above.
Now, you still have to create Attributes for this Feature.
Click into the first cell below the name. Enter a name using the keyboard (e.g.: Gobo 4) and confirm with Enter. The
same name is automatically taken over and will be displayed in the Fixture window on the right side. If you want to
use a different name, change it as indicated further above. To create further Attributes, go to the next free cell and
proceed as you did for the first Attribute..
Adding additional Attributes to a Feature
Adding additional Attributes to a Feature
Adding additional Attributes to a Feature
Adding additional Attributes to a Feature
Adding additional Attributes to a Feature
Select a Preset group and then an Feature.
Click into the free cell below the available Attributes.
Enter a name for the new Attribute using the keyboard (e.g.: Gobo 4) and confirm with Enter. The same name is
automatically taken over and will be displayed in the Fixture window on the right side. If you want to use a different
name, change it as indicated further above.
Inserting, deleting or moving Features or Attributes
Inserting, deleting or moving Features or Attributes
Inserting, deleting or moving Features or Attributes
Inserting, deleting or moving Features or Attributes
Inserting, deleting or moving Features or Attributes
Select a Feature or Attribute (blue background). Pressing the buttons below will have the indicated results:
Add Line will add a new Feature or Attribute in front of the selected one.
Delete Line will delete the selected Feature or Attribute. Only self-created Features or Attributes can be deleted.
Moves Lines will move the selected Feature or Attribute to another place in the table. The different ways to move
Features or Attributes will be explained in the two following items.
Moving a Feature to another Preset group
Moving a Feature to another Preset group
Moving a Feature to another Preset group
Moving a Feature to another Preset group
Moving a Feature to another Preset group
Click on a Feature, e.g.: Gobo1.
Press the Moves Lines button, will be displayed in red.
Select a Preset group, to which the Feature is to be moved.
Select the position in the Features table by clicking on it. The Feature will now be displayed in this Preset group.
Some Features cannot be moved (e.g.: Color Mix). This is indicated by the words “Fixed Attributes“ in the table on
the right of the respective Feature.
The changes will take effect and wiil be saved only after leaving the Full or Live Access menu and pressing the
SAVE button.
Moving Attributes to another Feature or Preset group
Moving Attributes to another Feature or Preset group
Moving Attributes to another Feature or Preset group
Moving Attributes to another Feature or Preset group
Moving Attributes to another Feature or Preset group
Click on an Attribute, e.g.: Shutter.
Press the Moves Lines button, will be displayed in red.
Select a Preset group, to which the Attribute is to be moved, e.g.: Control.
Then, select a Feature, to which the Attribute is to be moved, e.g.: Control.
Select the position in the Attributes table by clicking on it. In this Preset group, the Attribute will now be moved into
this Feature


