MA Lighting Technology GmbH . Dachdeckerstr. 16 . D-97297 Waldbüttelbrunn . www.malighting.de eMail: [email protected]
40
40
40
40
40
converter are identical, e.g.: 192.168.0.
xxxxx
).
If the Node is activated after having opened the menu, you can look for the Node by pressing the
Scan for
Scan for
Scan for
Scan for
Scan for
Nodes
Nodes
Nodes
Nodes
Nodes
button to be displayed in the table.
In the left table, all found DMX outputs are indicated by a number. These are the assigned xDMX slots (PATHPORT -
Node Configuration, next page). The outputs can be distinguished by these numbers.
Select an address for the DMX output.
In the right table, one line is displayed for each Node. The selected DMX output will be indicated by a green
background.
If an output is indicated by a red background, this means that it is already assigned and cannot be used.
If you press the
Identify by Backlight
Identify by Backlight
Identify by Backlight
Identify by Backlight
Identify by Backlight
button, the background lighting of the Display will blink.
Pressing the
Save
Save
Save
Save
Save
button will save the changes.
Press the
XXXXX
button. Now, the converter for this DMX port is configured and the menu will be closed.
If additional ports are to be assigned, repeat all steps as indicated. After all settings have been made, press the SAVE
button in the DMX-OUTPUT CONFIGURATION menu. The changes made will be saved then. On the assigned
Ethernet-DMX converter,
Active
Active
Active
Active
Active
will be displayed for the assigned DMX outputs and inputs.
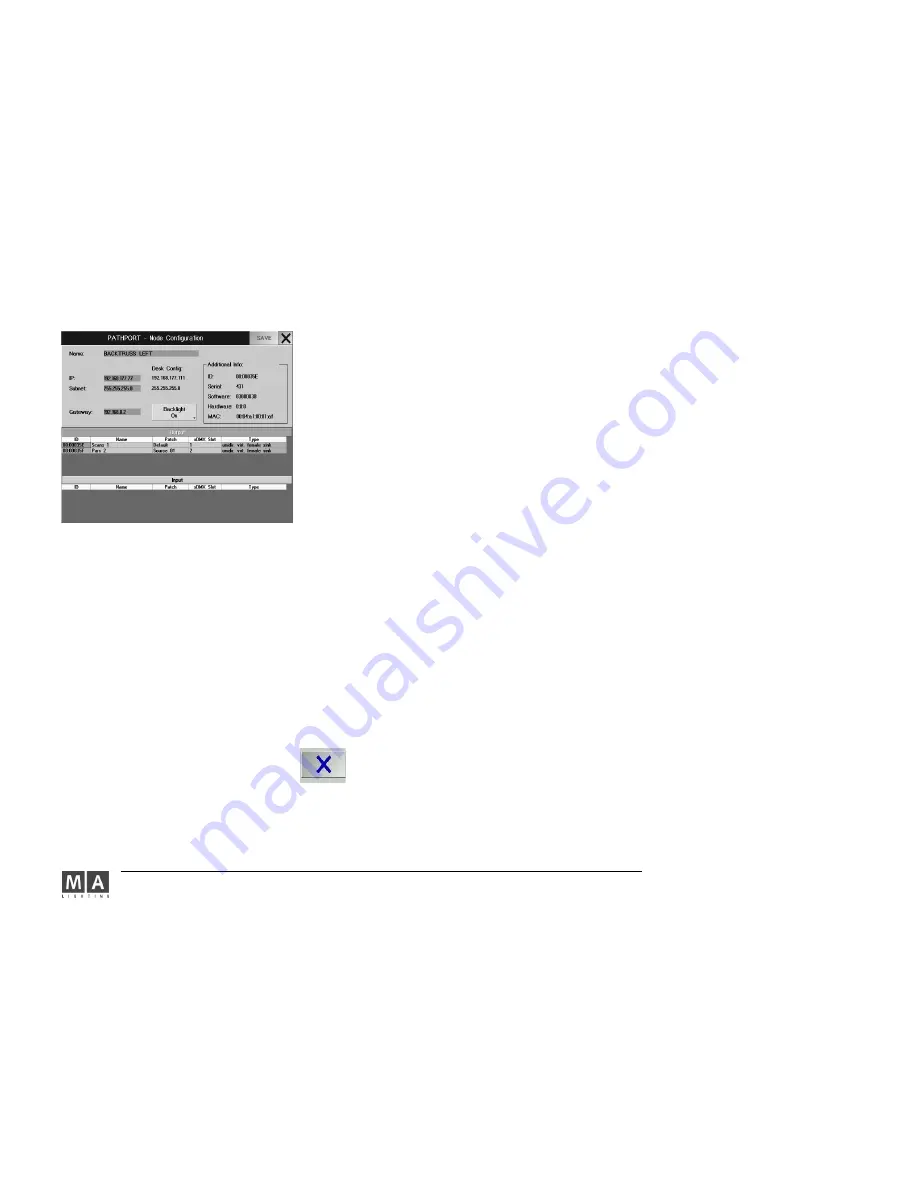
PATHPORT - Node Configuration:
First, choose a DMX converter to be adjusted in the table.
By pressing the
Edit Nodes
Edit Nodes
Edit Nodes
Edit Nodes
Edit Nodes
button, open the menu for this DMX converter.
The data will be read from the Ethernet-DMX converter and be displayed.
Aside from the name, a deliberate name for this node can be chosen.
IP:
IP:
IP:
IP:
IP:
here, you can set the IP address. When pressing the
Save
Save
Save
Save
Save
button, you have to start the Ethernet-DMX
converter transmission by pressing
OK
OK
OK
OK
OK
in the opened window. The converter will reboot and set the new IP address.
Under Desk Config, the IP address and the Subnet of the console will be displayed.
If the SubNet is not identical, this has to be adjusted. For further information, please contact you network
administrator.
Gateway: For further information, please contact you network administrator.
With the Backlight button, you can switch the background lighting on and off.
In the
Output
Output
Output
Output
Output
table, all available DMX outputs of the DMX converter are displayed.
In the
Input
Input
Input
Input
Input
table, all available DMX inputs of the DMX converter are displayed (DMX input four pages earlier).
In the tables, you can adjust the name, patch for every DMX output or input.
In the xDMX column, you can assign a number for every DMX output or input. Each DMX output or input will be
assigned by this number.
If you press the
Save
Save
Save
Save
Save
button, the changes are transferred to the converter.
By pressing the
XXXXX
button, you close the menu


