Hotline: +49 5251 688865-99
Hotline: +49 5251 688865-99
Hotline: +49 5251 688865-99
Hotline: +49 5251 688865-99
Hotline: +49 5251 688865-99
. Operating Manual grandMA Version 5.4
41
41
41
41
41
2.1
2.1
2.1
2.1
2.100000 DMX Output Window
DMX Output Window
DMX Output Window
DMX Output Window
DMX Output Window
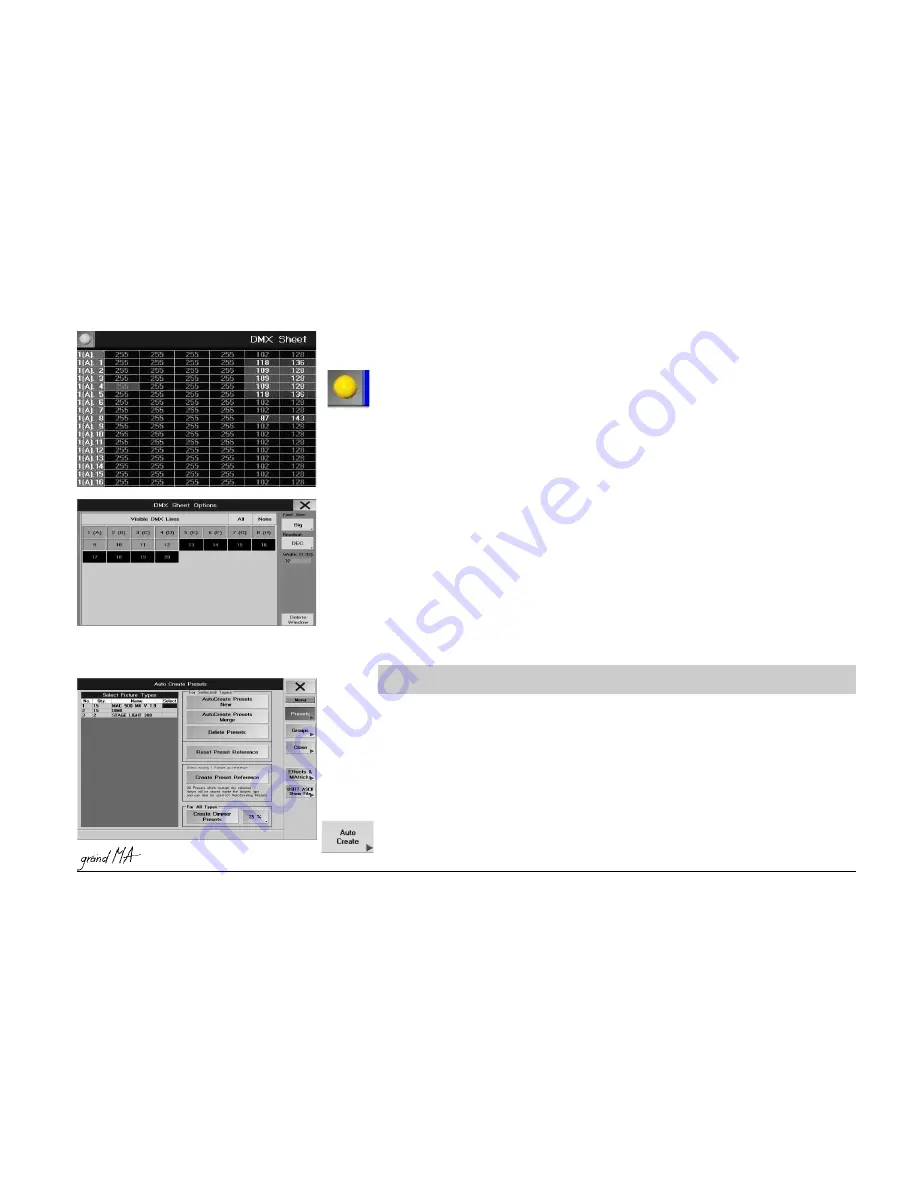
Create a DMX Output Window (DMX) using a TFT Display.
3.1
3.1
3.1
3.1
3.1
Creating windows
Open
Options Menu
In this window, each patched channel can be displayed showing the value it is currently outputing.
By briefly pressing the respective keys (A – H) (dark background), all DMX ports’ DMX channels will be displayed
in this window (if needed, scroll through the window using the Encoder next to the Display.)
The first DMX channel of this row is displayed here.
If you position the mouse pointer on a cell, the DMX channel (possibly already patched channels with their
fixture types and functions) will be displayed in the lower part of the window.
In the DMX-sheet you can also change the DMX-Patch:
Cchange patch:
Press button
Move (LED lights) and click on a channel with left mouse button, hold left mouse button down and
move the fixture to an empty space. You can only move the complete fixture, therefore you need enough space
(in a continuous row) at the new address.
Unpatch:
Press button
Delete (LED lights) and select a channel (with mouse or touch). All channels of the fixture will be
deleted.
New Patch of Fixtures:
Fixtures, which are present in the fixture-Sheet, can directly patched in the DMX-Sheet
- select fixture in fixture sheet (with mous or touch)
- press button
Assign (LED lits)
- press empty space in the DMX-sheet, the fixture will be patched (if the fixture needs more channels
as available in this area, the procedure will be stopped. Look for an area with enough empty channels
in a row.
Note: when you take action in the DMX-sheet and
Full Access is aktive, dont press Save after closing Full
Access - otherwise all changes in the DMX-shet will be rejected.
2 . 1
2 . 1
2 . 1
2 . 1
2 . 111111 Auto Create
Auto Create
Auto Create
Auto Create
Auto Create - Creating presets, effects and group keys
- Creating presets, effects and group keys
- Creating presets, effects and group keys
- Creating presets, effects and group keys
- Creating presets, effects and group keys
automatically
automatically
automatically
automatically
automatically
For most of the Fixtures in the library, there are ready-made presets that can be created in this window. Further-
more, ready-made effects and group keys for each Fixture and Dimmer can be also be created.
open AUTO CREATE in SETUP-Menu
2.1
2.1
2.1
2.1
2.11.1 Creating Presets automatically
1.1 Creating Presets automatically
1.1 Creating Presets automatically
1.1 Creating Presets automatically
1.1 Creating Presets automatically
Call up AUTO CREATE in the SETUP menu.
In the table, all Scanner and Dimmer types are displayed that are used in the current Show. On the right of each
Scanner and Dimmer, you’ll find the Select column. By choosing a cell and pressing the Encoder on the right of
the Display, you can select them and the display switches to Yes. When creating Presets, these will only be


