IO-390-D Series Engine Maintenance Manual
© 2020 Avco Corporation. All Rights Reserved
72-20
March 2020
Page 149
IO-390-D Series Engine Maintenance Manual
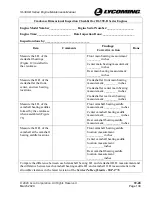
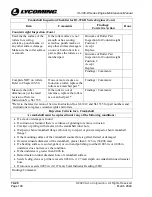
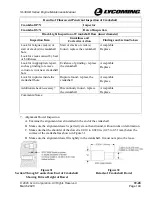
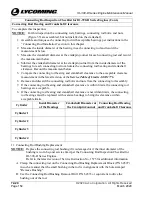
Results of Fluorescent Penetrant Inspection of Crankshaft
Crankshaft P/N
Inspector
Crankshaft S/N
Date of Inspection
Black Light Inspection of Crankshaft Bore (inner diameter)
Inspection Item
Guidelines and
Corrective Action
Findings and Action Taken
Look for fatigue crack(s) or
start of crack(s) in crankshaft
bore
Look for cracks caused by heat
or brittleness
Start of cracks or crack(s)
found - replace the crankshaft
Acceptable
Replace
Look for inappropriate repair,
such as grinding to remove
corrosion, in or near crankshaft
bore
Evidence of grinding - replace
the crankshaft
Acceptable
Replace
Look for ruptures inside the
crankshaft bore
Rupture found - replace the
crankshaft
Acceptable
Replace
Additional check necessary?
Discontinuity found - replace
the crankshaft
Acceptable
Replace
Comments/Notes:
7.
Alignment Dowel Inspection
A.
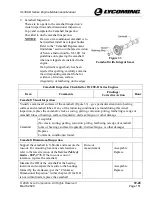
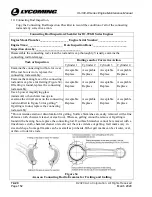
Examine the alignment dowel installed in the end of the crankshaft.
B.
Make sure the alignment dowel is perfectly smooth and round, without nicks or deformation.
C.
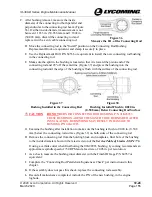
Make sure that the shoulder of the dowel is 0.010 to 0.020 in. (0.25 to 0.51 mm) below the
surface of the crankshaft as shown in Figure 31.
D.
Make sure the alignment dowel fits tightly in the crankshaft. It must not spin or be loose.
Figure 31
Section Through Counterbore End of Crankshaft
Showing Driven Height of Dowel
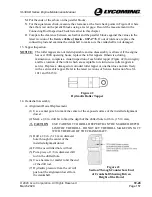
Figure 32
Details of Crankshaft Dowel

