IO-390-D Series Engine Maintenance Manual
73-10
© 2020 Avco Corporation. All Rights Reserved
Page 262
March 2020
IO-390-D Series Engine Maintenance Manual
NOTICE:
If this fuel line replacement procedure is completed with the engine installed in the
airframe, refer to the airframe manufacturer’s instructions for shutting off the fuel and
grounding the aircraft.
A.
Fuel Line Removal
(1)
Put a fuel collection container under the fuel line at each fitting connection.
(2)
Make a sketch to identify clamps that attach to brackets for reference on assembly.
(3)
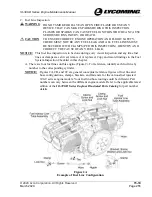
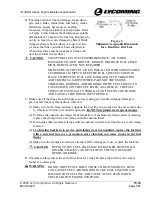
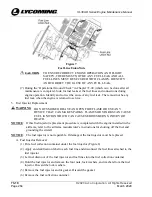
Remove and discard the P and L clamps (Figures 4 and 5) from the fuel line.
Figure 4
P-Clamp
Figure 5
L-Shape Clamp
(4)
Disconnect the fuel line from the fitting on each end.
(5)
Discard the fuel line. (Keep the fuel fittings if they are not part of the fuel line.)
(6)
Remove the fuel collection container and dispose of the fuel in accordance with
environmental regulations.
NOTICE:
If no clamps were attached to the fuel line, replace the fuel line.
B.
Fuel Line Installation
WARNING
DO NOT ROUTE FUEL LINES CLOSE TO HEAT SOURCES. HEAT
CAN DAMAGE THE FUEL LINE AND CAUSE A FUEL LEAK WHICH
COULD LEAD TO CATASTROPHIC ENGINE FAILURE.
NOTICE:
Refer to the latest revision of Service Instruction No. 1301 for superseded fuel line
part numbers.
(1)
Do not let the fuel line touch the engine or aircraft baffle hardware.
(2)
Make sure there is a minimum clearance of 3/16 in. (4.76 mm) between a fuel line and
any engine or aircraft surface.
(3)
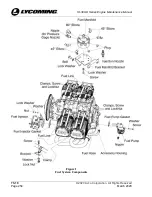
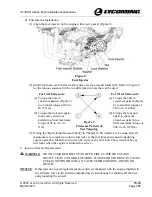
Make sure the fuel line is not crimped or kinked, there are no cracks at solder joints, and
the fuel line is in compliance with Figure 3 for the minimum acceptable dimension for a
bend in the fuel line.
NOTICE:
If installing a new fuel line where fittings were not attached as part of the fuel
line assembly, the fitting can be re-installed if the threads are not damaged.
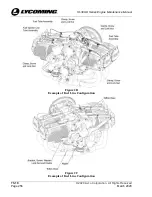
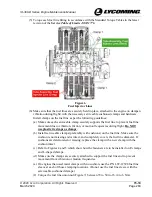
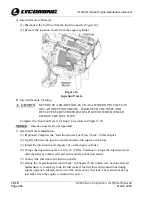
Some fuel line configurations can either use short or long fuel injector lines.
Figure 6 shows short fuel injector lines and long fuel injector lines for an IO-
390-D1A6 engine model.
(4)
Connect the fuel line to the fuel fitting on each end.

