IO-390-D Series Engine Maintenance Manual
© 2020 Avco Corporation. All Rights Reserved
Appendix A
March 2020
Page 293
IO-390-D Series Engine Maintenance Manual
APPENDIX A
Stud Replacement
NOTICE:
This procedure applies to crankcase, accessory housing, and oil sump studs and does not
apply to crankcase
thru-studs
.
The procedure for replacement of studs depends on the type of stud and how it was
damaged.
1.
Replace all studs that are bent, broken, damaged, loose, rusted, corroded, or cannot be
cleaned.
2.
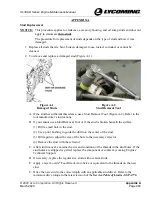
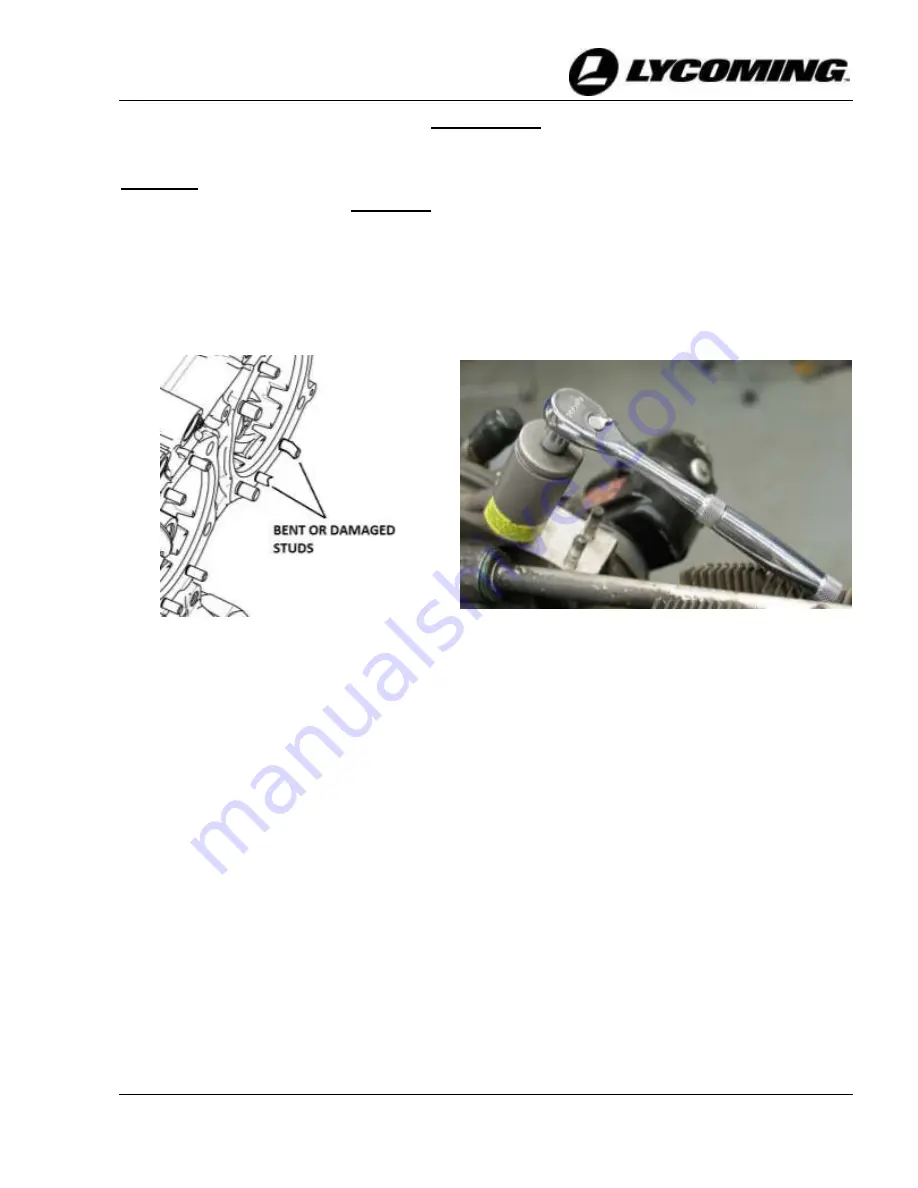
To remove and replace a damaged stud (Figure A-1):
Figure A-1
Damaged Studs
Figure A-2
Stud Removal Tool
A.
If the stud has sufficient thread area, use a Stud Removal Tool (Figure A-2). Refer to the
tool manufacturer’s instructions.
B.
If you cannot use a Stud Removal Tool or if the stud is broken beneath the surface:
(1)
Drill a small hole in the stud.
(2)
Use a pilot bushing to guide the drill into the center of the stud.
(3)
Drill again to adjust the size of the hole to the necessary extractor.
(4)
Remove the stud with the extractor.
C.
After stud removal, examine the size and condition of the threads in the stud holes. If the
stud holes are stripped or galled, replace the component or contact Lycoming Engines’
Technical Support.
D.
If necessary, replace the regular size studs with oversize studs.
E.
Apply a layer Loctite
®
Food-Grade Anti-Seize or equivalent to the threads on the new
stud.
F.
Drive the new stud to the correct depth with an applicable stud driver. Refer to the
minimum drive torque in the latest revision of the
Service Table of Limits - SSP-1776
.

